If your smart motion sensor lights keep turning on and off for no reason, they quickly go from convenient to frustrating. Constant flicking can wake people up at night, annoy neighbors, and even shorten the life of bulbs and fixtures.
The good news: most false triggers are caused by a handful of common issues—sensitivity, placement, automations, or wiring—and you can usually fix them yourself with a few targeted tweaks.
This guide walks you through why your smart motion sensor lights misbehave, plus 10 proven fixes that work for both indoor and outdoor setups. You’ll also get indoor/outdoor checklists, preventive tips, and help deciding when it’s time to call support or upgrade your gear.
Why Your Smart Motion Sensor Lights Keep Turning On and Off
Common symptoms of false triggers vs normal operation
Not every quick on-off cycle means something is broken. Smart motion lights are designed to react fast, but there’s a difference between normal behavior and a problem.
Normal operation looks like:
- Light turns on when someone walks through the area, then stays on for the set timer (e.g., 30–120 seconds).
- Light turns off and stays off until new motion is detected.
- Occasional brief false trigger from a known source (like a pet or passing car) but not constantly.
False trigger issues typically look like:
- Light turns on and off every few seconds even when no one is there.
- Light activates repeatedly all night because of cars, wind, or wildlife.
- Indoor lights flash on and off whenever the HVAC kicks in or sunlight changes.
- Smart bulbs quickly toggle between on and off because of a misconfigured automation loop.
Typical causes indoors vs outdoors
Indoors, constant triggering is usually caused by:
- Overly sensitive PIR (passive infrared) sensors that detect tiny heat changes.
- Motion sensors aimed at windows, mirrors, or shiny floors.
- Air vents, radiators, or heaters blowing warm air into the detection zone.
- Pets walking close to the sensor or jumping on furniture.
- Conflicting smart home automations toggling the same light.
Outdoors, common causes include:
- Sensor aimed at a busy street, sidewalk, or neighbor’s driveway.
- Trees, flags, or decorations moving in the wind.
- Wildlife—cats, raccoons, birds—passing through the detection area.
- Car headlights sweeping across the yard or wall.
- Rain, fog, or reflections from puddles or shiny siding.
When rapid on-off cycling can damage bulbs or fixtures
Occasional false triggers won’t usually hurt anything. But rapid on-off cycling over weeks or months can cause real problems:
- Reduced bulb lifespan – Repeated power cycling stresses LED drivers and capacitors.
- Overheating electronics – Smart bulbs and integrated fixtures generate heat every time they power up.
- Premature sensor failure – Cheap or aging sensors can fail faster when constantly retriggering.
- Neighbors and household complaints – Security lights flashing all night can create conflicts.
If your light is cycling every few seconds or minutes for long periods, it’s worth fixing quickly to avoid replacing bulbs and fixtures earlier than necessary.
Quick Checks Before You Start Troubleshooting
Confirming power, Wi‑Fi, and app connectivity
Before diving into settings, confirm the basics:
- Power – Verify the wall switch is on (for smart bulbs and fixtures), breakers aren’t tripped, and any battery-powered sensors have fresh batteries.
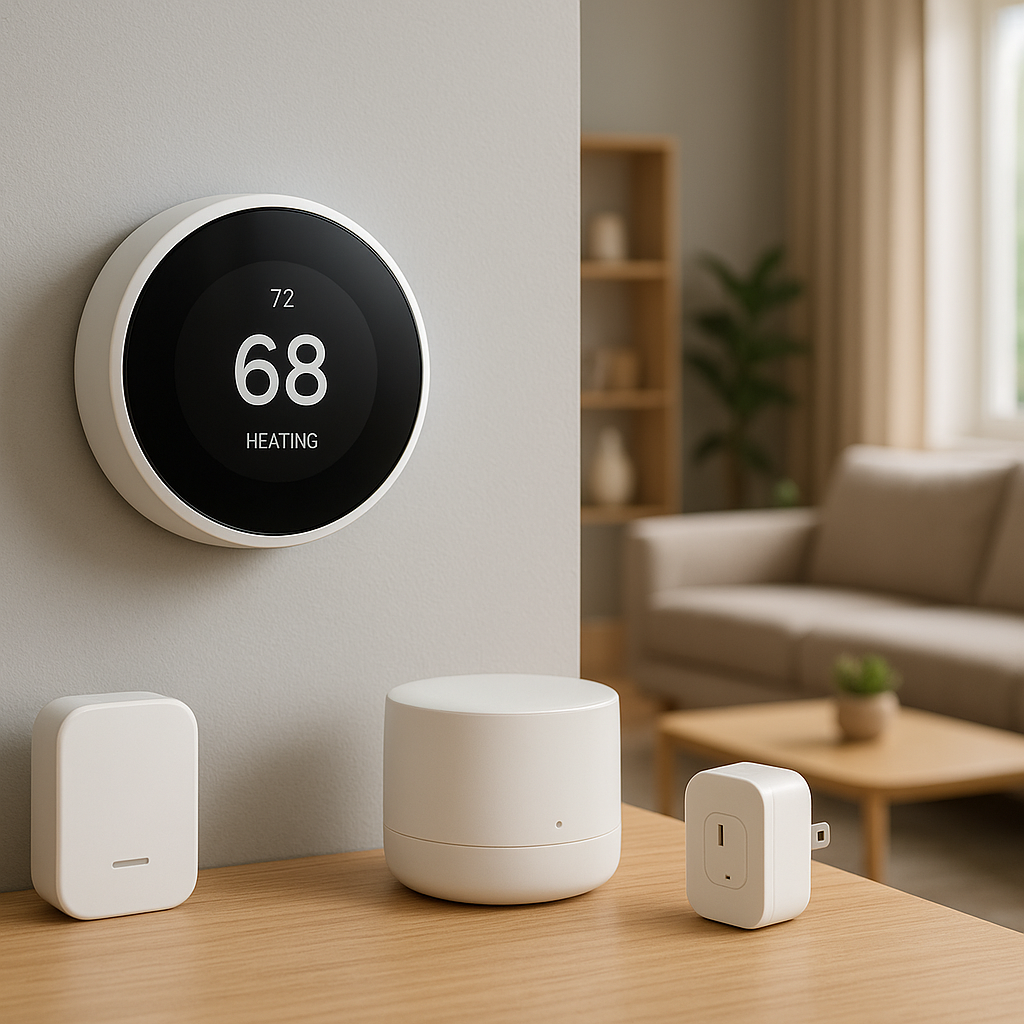
- Wi‑Fi or hub connection – In your smart home app (e.g., Philips Hue, Ring, Alexa, Google Home), confirm the device shows as online.
- Signal strength – Weak Wi‑Fi or Zigbee/Z-Wave signal can cause delayed commands that look like random on-off behavior.
Testing the light in manual/on mode
Most smart fixtures and bulbs support a manual or always-on mode:
- If it’s a fixture with built-in motion, look for a hardware switch or app setting for “ON” or “Manual.”
- If you use a separate motion sensor and smart bulb, temporarily disable the automation and control the bulb directly from the app or wall switch.
Leave the light on for a few minutes:
- If it stays on without flickering, the problem is likely motion or automation settings, not power or wiring.
- If it still flickers or turns off randomly, jump ahead to Fix #6 about power and wiring.
Checking firmware updates and manufacturer app alerts
Smart motion lights from brands like Philips Hue, Ring, and TP-Link/Kasa regularly receive firmware updates to fix bugs and improve detection.
- Open the manufacturer’s app and check for device updates.
- Look for alerts or notifications about sensor calibration, known issues, or power problems.
- Apply updates, then retest to see if behavior improves.
For example, Ring publishes guidance on optimizing motion detection in their support center: Ring: Optimizing Motion Detection. While specific to Ring, the principles are similar for many brands.
Fix #1 – Adjust Motion Sensitivity and Detection Zones
How high sensitivity causes constant triggering
Most motion lights use PIR sensors that detect changes in infrared (heat) patterns. At high sensitivity, they react to small movements and tiny temperature shifts—like a cat walking by or warm air from a vent.
Outdoors, high sensitivity can cause triggers from:
- Cars passing at the end of your driveway.
- People walking on the sidewalk.
- Tree branches or bushes moving in the wind.
Indoors, high sensitivity often picks up:
- Pets moving close to the device.
- Shadows or light changes from windows.
- Airflow from HVAC vents.
Step-by-step: lowering sensitivity in the app or on the sensor
To dial back sensitivity:
- In the app (e.g., Hue, Ring, Kasa):
- Open the device settings for the motion sensor or light.
- Look for “Sensitivity,” “Motion detection,” or “Detection strength.”
- Reduce it one step at a time (e.g., from High to Medium), then test for a day.
- On the sensor hardware:
- Many non-smart fixtures have a small dial labeled “SENS.”
- Turn the dial slightly counterclockwise to reduce sensitivity.
- Wait for any built-in test period to complete, then walk through the area to test.
Using activity zones to ignore sidewalks, streets, and neighbors
Some smart systems (e.g., Ring Floodlight Cam, Philips Hue Outdoor Sensor) let you draw activity zones in the app. Motion outside these zones won’t trigger the light.
- Open the sensor’s settings and look for “Motion zones” or “Detection area.”
- Exclude obvious sources of false triggers like the street, sidewalk, or neighbor’s driveway.
- Focus the zone on your porch, steps, or the path people actually use.
Take a few days to fine-tune zones until you see reliable triggers only when someone enters your property.
Fix #2 – Change the Sensor Angle and Mounting Position
Ideal mounting height and tilt for outdoor motion lights
PIR sensors have a specific field of view and work best at a certain height and angle. Typical recommendations:
- Height: 6–10 feet (about 1.8–3 m) off the ground.
- Tilt: Aim slightly downward so the sensor “looks” across the area you want covered, not over it.
Mounting too high means the sensor sees too much—your yard, the street, and the sky. Too low, and it may be easily triggered by small animals.
Avoiding hot spots: HVAC vents, windows, and busy walkways
Indoors, mounting location is often the biggest issue. Avoid placing sensors:
- Directly above or opposite air vents or radiators.
- Facing large windows where sunlight changes rapidly.
- Right over a staircase where airflow and warm air rise.
Instead, mount hall and stair sensors to the side, at about 6–8 feet high, facing the direction people walk, not the window or HVAC register.
Preventing car headlights and passing traffic from triggering
Outdoors, car headlights often cause lights to snap on and off all night. To reduce this:
- Rotate the sensor so it faces across your yard or driveway, not toward the street.
- Use built-in shields or hoods (if provided) to block the upper/lower field of view.
- Combine this with activity zones or reduced sensitivity from Fix #1.
Fix #3 – Tweak the Timer and Auto-Off Settings
Understanding delay time, retrigger, and dusk-to-dawn modes
Timer and mode settings control how your lights behave between motion events:
- Delay time / auto-off – How long the light stays on after the last detected motion (e.g., 30 seconds, 2 minutes, 10 minutes).
- Retrigger – Whether new motion extends the timer. If set very low, the light can flick off briefly between detections.
- Dusk-to-dawn – Some fixtures stay on at low brightness all night, then go bright with motion.
Very short timers (e.g., 10–15 seconds) can feel like flickering if people move in and out of range often.
Recommended timer settings for porches, driveways, and hallways
As a starting point:
- Front porch / entry: 2–5 minutes. Enough time to unlock doors and get inside.
- Driveway: 5–10 minutes. Gives time to park and unload without repeated on-off cycles.
- Hallways and stairs: 1–3 minutes. Short enough to save energy but long enough for short trips.
- Bathrooms: 5–10 minutes, especially if the sensor can’t see into the shower or tub.
Adjust based on real use: if lights frequently turn off while you’re still in the area, increase the delay.
Resetting to factory defaults when settings are a mess
If you’ve changed settings many times and behavior is unpredictable, use the app or hardware reset button to restore factory defaults for the motion sensor. Then reconfigure from scratch using the recommended values above.
Fix #4 – Eliminate False Triggers from Pets and Wildlife
Using pet mode or person-only detection (if available)
Newer smart motion systems increasingly combine PIR with algorithms that classify motion. Features may include:
- Pet mode – Ignores small heat signatures under a certain height.
- Person detection – Uses AI to look for human-shaped motion, often in camera-based systems.
- Advanced zones – Allow head-height focus instead of floor-level detection.
Check your device documentation or app to see if these modes are available and turn them on where pets or wildlife are common.
Mounting tips to reduce cat, dog, and small animal triggers
Mounting position is key for avoiding pet triggers:
- Mount indoor sensors higher on the wall (around 7–8 feet) and angle them slightly upward.
- Avoid pointing sensors at stairs or furniture where pets like to climb.
- Outdoors, avoid aiming directly at fences or garden beds where animals pass through.
When to narrow the detection zone with tape or shields
If your fixture doesn’t support digital zones, you can still narrow coverage:
- Use opaque tape or the manufacturer’s provided shields to cover parts of the sensor lens.
- Block the lower section to ignore ground-level movement from pets or small animals.
- Test adjustments at night to make sure you still catch human movement at normal walking height.
Fix #5 – Reduce Reflections, Heat Sources, and Moving Shadows
Glass, mirrors, and shiny surfaces that confuse PIR sensors
PIR sensors watch for changes in infrared energy. Highly reflective surfaces can bounce heat and light, causing confusing signals.
- Avoid pointing sensors directly at mirrors, glossy tiles, or glass doors.
- Outdoors, be cautious with metal siding, vehicles, or polished stone in the detection area.
Re-aim or relocate the sensor so that its main field of view covers matte surfaces like walls, ceilings, or garden areas.
Curtains, trees, and flags that move in the wind
Movement alone isn’t always enough to trigger PIR, but combined with changing sunlight or temperatures, moving objects can cause frequent activations.
- Indoors, avoid facing sensors toward sheer curtains that wave in drafts.
- Outdoors, trim or reposition branches, shrubs, and hanging decorations in front of the sensor.
- Consider heavier outdoor fabrics or repositioning wind-prone items.
Heat sources: radiators, vents, and sunlight patches
Anything that rapidly changes temperature in the sensor’s view can cause false triggers:
- HVAC vents that blow warm or cold air onto the sensor.
- Radiators or space heaters that cycle on and off.
- Sun patches moving across the floor, wall, or furniture throughout the day.
Reposition the sensor or the heat source if possible, or use shields and lower sensitivity to reduce these effects.
For more background on how PIR sensors react to temperature changes, see the overview of passive infrared sensors.
Fix #6 – Check Power Supply, Wiring, and Bulb Compatibility
How loose wiring and low voltage cause rapid cycling
If your motion lights cycle on and off even in manual mode, power may be the culprit.
- Loose connections – Wires not fully secured in wire nuts, terminal screws, or back boxes can cause intermittent power.
- Low voltage or shared circuits – Overloaded circuits and long cable runs can cause voltage drops that trip smart electronics.
- Moisture ingress – Outdoors, water in junction boxes or fixtures can create short circuits or ghost switching.
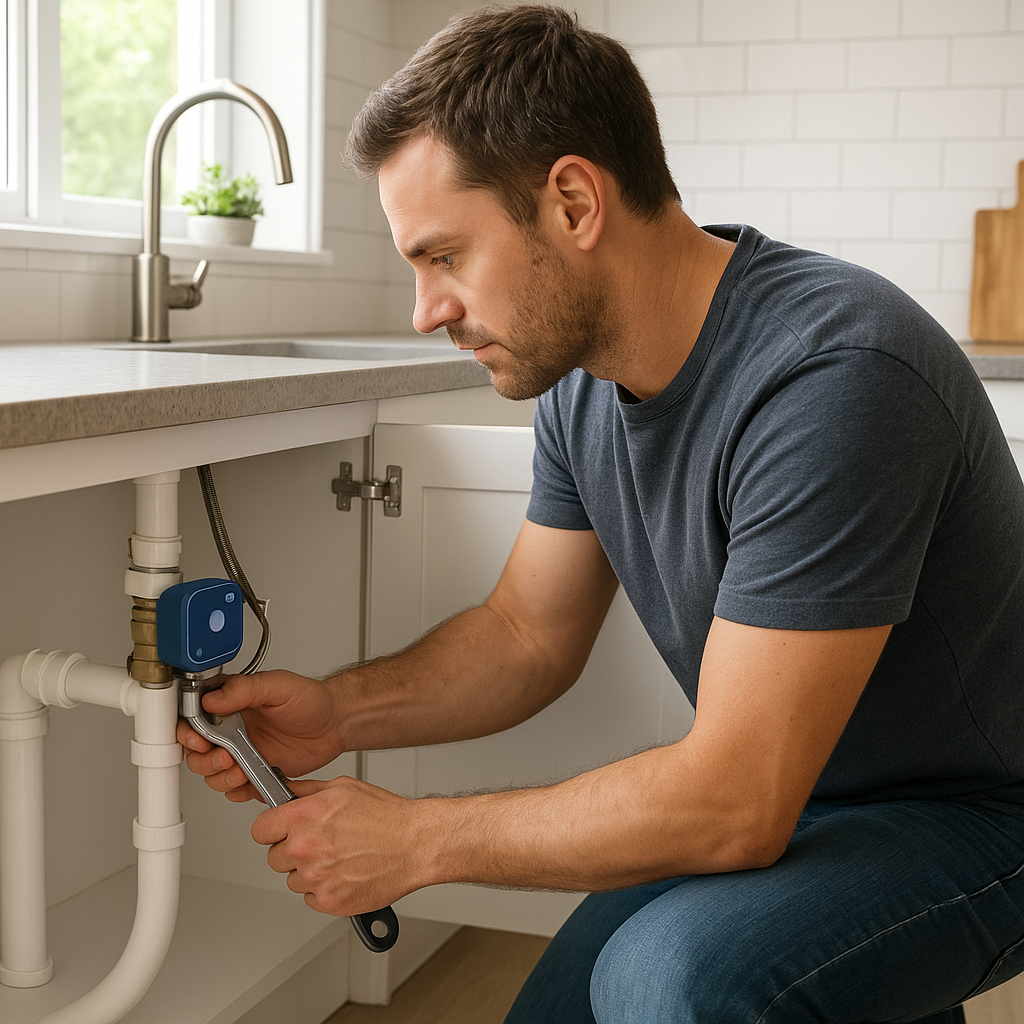
Turn off power at the breaker before inspecting any connections. If you’re not comfortable with electrical work, skip directly to the “call an electrician” advice below.
Using compatible LED bulbs with motion sensor fixtures
Not all LED bulbs work well with all motion fixtures, especially older models designed for incandescent bulbs:
- Check the fixture’s maximum wattage and bulb type recommendations.
- Use bulbs specifically labeled as compatible with motion sensors or for use in enclosed fixtures if applicable.
- Avoid mixing different bulb types (e.g., one smart bulb and one dumb LED) in the same fixture unless the manufacturer allows it.
If you have a smart bulb in a fixture that already has its own motion sensor, consider using one or the other, not both, to reduce conflicts.
When you should call an electrician for inspection
Call a qualified electrician if:
- Lights flicker or cycle even with motion disabled.
- You see burn marks, melted plastic, or corrosion on wiring, sockets, or junction boxes.
- Breakers trip repeatedly after installing the fixture.
- You’re unsure how the circuit is wired or how to safely test it.
Fix #7 – Diagnose Smart Home Automations and Routines
Checking schedules, scenes, and routines in your smart home app
In smart homes, false triggers aren’t always physical. A misconfigured automation can easily create on-off loops.
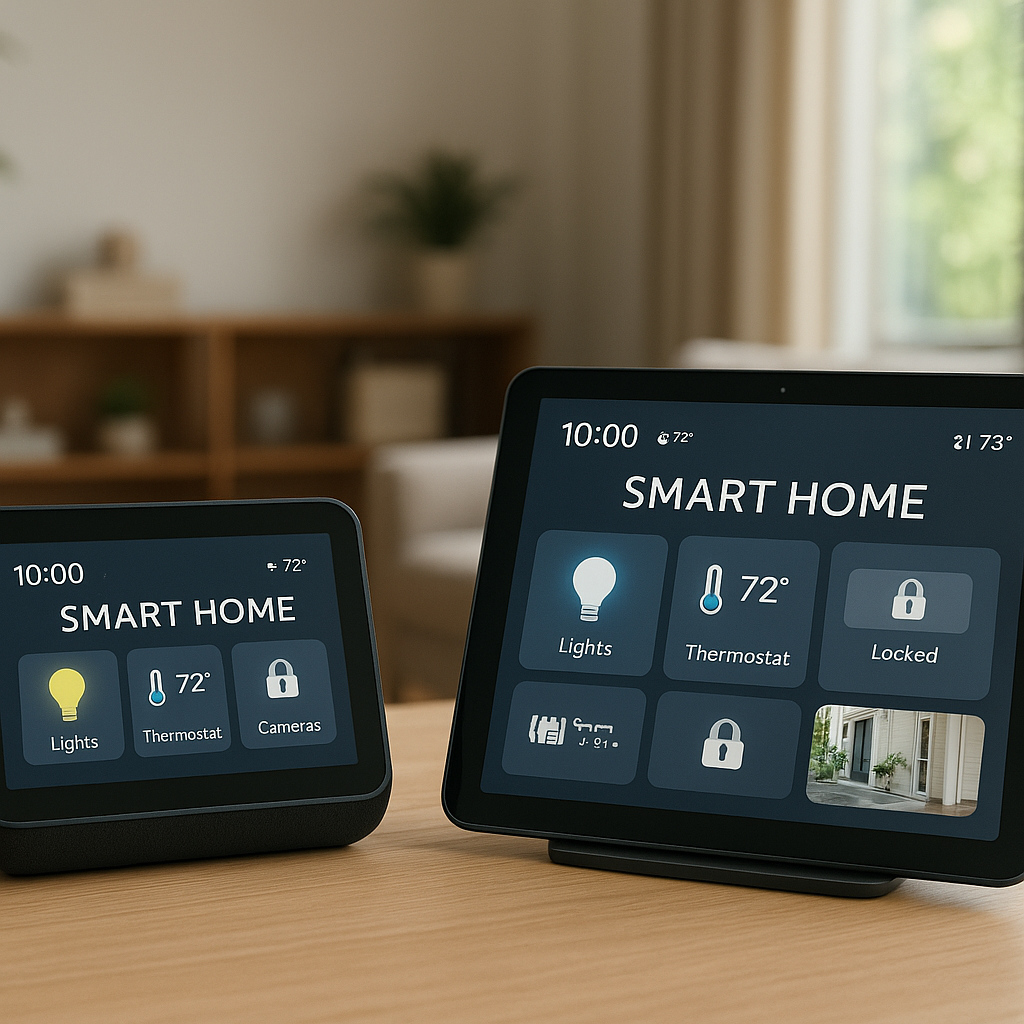
- Open your hub app (Alexa, Google Home, SmartThings, HomeKit, etc.).
- Review Routines, Scenes, and Schedules that control the affected light.
- Disable everything temporarily and see if the light behaves with only the built-in motion feature.
Identifying conflicts between multiple automations
Common conflict patterns:
- One automation says “turn on light when motion is detected,” while another says “turn off light at 10:00 PM,” and a third runs a night mode that changes brightness.
- Two different platforms both control the same bulb (e.g., manufacturer app plus Alexa routine).
- An automation triggered by power state causes the light to turn off when it turns on.
Try to keep one “source of truth” for each light—either the manufacturer app or your main smart home hub—to minimize conflicts.
Example automations that won’t cause constant on-off loops
Stable, low-risk automations include:
- “Turn on hallway light to 50% when motion is detected between sunset and sunrise, then turn off after 3 minutes of no motion.”
- “If front door unlocks after dark, turn on porch light for 10 minutes.”
- “During Away mode, turn on driveway light if outdoor motion is detected, then off after 5 minutes.”
Automations that re-check state too often (e.g., every few seconds) or depend on the light’s current state can easily create loops and should be simplified.
Fix #8 – Separate Motion Detection from Ambient Light Control
How lux/light level settings work with motion sensors
Many smart motion sensors include a built-in light (lux) sensor. The light only turns on if:
- Motion is detected, and
- The measured light level is below your configured threshold.
Incorrect lux thresholds can make lights turn on during daylight or fail to turn on at night.
Stopping lights from turning on during bright daytime
To prevent daytime triggering:
- In the app, raise the lux threshold or use a setting like “Only at night.”
- Use a scene or schedule so that motion-based control is only active after sunset.
- Test by walking through the area at different times of day and adjusting until you get consistent, night-only behavior.
Using separate sensors for motion vs light when needed
In complex setups, you might want a dedicated motion sensor and a separate outdoor light/brightness sensor. This gives you more control:
- Motion sensor handles occupancy or presence.
- Light sensor or time-based rule handles day vs night.
Platforms like Home Assistant, SmartThings, or Hubitat let you combine these into flexible rules without relying only on the built-in lux sensor.
Fix #9 – Perform a Full Reset and Recalibration
How to safely reset smart motion sensor lights
If settings and automations seem tangled beyond repair, a full reset can give you a clean slate:
- Check the manual for the correct reset procedure (e.g., power cycling the switch a certain number of times or holding a reset button).
- Turn off power at the breaker if you need to press a hidden button on a ceiling or outdoor fixture.
- After reset, the device should appear as a new device in your app.
Re-adding the light to your Wi‑Fi and smart home platform
Once reset:
- Open the manufacturer app and follow the steps to add a new device.
- Connect it to your Wi‑Fi or hub (Zigbee, Z-Wave, Thread, etc.).
- Rename the device clearly (e.g., “Garage Motion Light” instead of “Light 2”).
- Recreate only the essential automations first to avoid reintroducing conflicts.
Testing the light zone-by-zone after reset
Before rebuilding complex routines, test the basic behavior:
- Confirm the light triggers when you walk through the desired area.
- Walk at the edges of where you expect detection to stop.
- Observe behavior over a full evening to see if any false triggers reappear.
Fix #10 – When to Replace the Sensor or Upgrade Your Setup
Signs the motion sensor hardware is failing
Sometimes the sensor itself is simply at the end of its life:
- Light triggers randomly even when fully covered or blocked.
- Sensor works only intermittently regardless of settings.
- Physical damage from weather, UV exposure, or impact is visible.
- Very old non-smart fixtures with no firmware support or updates.
If you’ve tried sensitivity, placement, and resets without improvement, replacement is often the most time-efficient solution.
Choosing newer smart lights with advanced detection (PIR + radar + AI)
Newer smart motion solutions combine technologies for more reliable detection:
- PIR + microwave/radar – PIR detects heat, radar detects motion speed and distance.
- AI-based person detection – Camera-based lights can identify people vs animals or cars.
- Configurable zones and schedules – More granular controls to avoid false triggers.
When upgrading, look for devices that integrate well with your existing platform (Alexa, Google, Apple Home, or your hub of choice).
Best practices for planning sensor placement in your home
When designing or upgrading your setup:
- Start with key paths: front door, driveway, main hallway, stairs, and garage entry.
- Place sensors so they see people walking across their field of view, not directly toward them.
- Avoid pointing sensors at glass, busy streets, HVAC vents, and high-reflective surfaces.
- Test temporarily using tape or removable mounts before drilling permanent holes.
Indoor vs Outdoor Troubleshooting Checklist
Indoor checklist: hallways, bathrooms, stairwells, garages
For indoor smart motion lights that keep turning on and off:
- Confirm power and connectivity (Fix #2 quick checks).
- Lower motion sensitivity and adjust timer (Fix #1, Fix #3).
- Re-aim away from windows, vents, and mirrors (Fix #2, Fix #5).
- Enable pet mode if available, or mount higher to avoid pet triggers (Fix #4).
- Check for competing automations in your smart home app (Fix #7).
Outdoor checklist: porches, driveways, backyards, side paths
For outdoor smart motion lights:
- Mount at the recommended height and downward angle (Fix #2).
- Reduce sensitivity; set or adjust activity zones (Fix #1).
- Aim away from streets, sidewalks, and neighbor areas (Fix #2).
- Trim or move trees, shrubs, and hanging decor that move in the wind (Fix #5).
- Check for water ingress or damaged wiring (Fix #6).
Printable step-by-step checklist for homeowners
To keep things simple, walk through these steps in order:
- Confirm power, connectivity, and firmware updates.
- Test manual/on mode to rule out wiring vs settings.
- Reduce sensitivity and adjust timer/auto-off settings.
- Reposition or re-aim the sensor to avoid known triggers.
- Check for pets, wildlife, reflections, and heat sources.
- Review smart home automations controlling the light.
- Adjust lux/daylight settings if lights trigger during the day.
- Reset and recalibrate if behavior remains inconsistent.
- Inspect wiring or call a professional if power issues persist.
- Replace or upgrade the sensor if it appears to be failing.
Preventive Tips to Keep Smart Motion Lights Working Reliably
Seasonal maintenance: cleaning lenses and adjusting for foliage
Once your lights behave well, a little maintenance keeps them that way:
- Gently clean sensor lenses and camera windows twice a year with a soft cloth.
- After big weather changes, check that branches and plants haven’t grown into the detection zone.
- Re-test at night after storms or landscaping changes.
Reviewing automations after adding new devices or routines
Each time you add a new sensor, camera, or routine:
- Review existing routines that reference the same lights or rooms.
- Avoid duplicating triggers (e.g., two separate “turn on with motion” rules).
- Test bedtime and away-mode routines to ensure lights don’t loop on and off.
Documenting your final settings so you can quickly revert later
After you’ve tuned everything:
- Take screenshots of your final sensor and automation settings.
- Label breakers and switches that affect key smart fixtures.
- Keep a simple text note listing which sensors control which lights and at what sensitivity and timer values.
Having this reference makes it easy to undo experimental changes or reconfigure after a reset.
When to Contact Support or a Professional
What information to gather before calling manufacturer support
Before contacting the manufacturer, collect:
- Brand and exact model number of your light or sensor.
- App screenshots of settings and any error messages.
- Firmware version and smart home platform (e.g., Alexa, Google Home, HomeKit).
- A short description of what you’ve already tried and how the light behaves.
This helps support teams avoid repeating basic steps and gets you to more advanced troubleshooting faster.
Safety warnings and electrical work you shouldn’t DIY
Some jobs are better left to pros:
- Working on circuits you can’t easily identify or isolate.
- Dealing with outdoor junction boxes that show signs of water damage.
- Upgrading wiring, installing new circuits, or adding boxes.
- Any job where you’re unsure how to safely test for power.
If in doubt, call an electrician—especially for mains-wired outdoor security lights.
How to troubleshoot under warranty and return policies
If your product is still under warranty:
- Keep proof of purchase and note the install date.
- Follow the manufacturer’s troubleshooting steps and get a case number if they diagnose a hardware fault.
- Confirm whether they require you to return the defective unit before shipping a replacement.
- For major retailers, check their return window in case a quick swap is easier than a warranty claim.
Summary: Fastest Fixes If Your Lights Are Still Flicking On and Off
Top 3 adjustments that solve most false-trigger issues
If your smart motion sensor lights keep turning on and off, these three changes fix most cases:
- Lower motion sensitivity slightly and increase the auto-off timer.
- Re-aim or remount the sensor away from streets, windows, vents, and reflective surfaces.
- Clean up smart home automations so only one or two clear routines control each light.
How to decide between further tweaking vs replacing the sensor
Continue tweaking settings if:
- Changes clearly affect behavior (better or worse).
- The hardware is relatively new and fully supported.
Consider replacement or a professional check if:
- The sensor triggers randomly even when blocked.
- There are obvious wiring, moisture, or damage issues.
- You’ve reset, re-aimed, and reconfigured with no real improvement.
With a systematic approach—starting from basic checks and moving through sensitivity, placement, automations, and finally hardware—you can usually stop constant flicking and get your smart motion lights back to quietly doing their job.
FAQ
Why do my motion sensor lights turn on by themselves at night?
Most often, something in the sensor’s field of view is moving or changing temperature—cars, animals, tree branches, or shifting shadows. Lowering sensitivity, narrowing the detection zone, and re-aiming the sensor away from streets and foliage usually resolves this.
Can motion sensor lights wear out from turning on and off too much?
Yes. Frequent power cycling can shorten the life of LED drivers and electronics, especially in cheaper fixtures. Fixing false triggers reduces wear and tear and extends the life of both bulbs and sensors.
How do I stop pets from triggering my indoor motion lights?
Enable pet mode or person-only detection if your device supports it. Otherwise, mount sensors higher, angle them up slightly, and avoid pointing at areas where pets run or jump. You can also mask the lower part of the sensor lens with opaque tape.
Is it better to use a smart bulb or a motion sensor fixture?
For simple setups, a dedicated motion sensor fixture is usually more reliable. Smart bulbs paired with separate motion sensors or automations offer more flexibility but require more careful configuration to avoid conflicts.
Do I need a smart hub for reliable motion lighting?
No, many Wi‑Fi motion lights and fixtures work fine on their own. However, a hub (SmartThings, Home Assistant, Hubitat, etc.) can give you more control over automations, better logging, and the ability to separate motion, light levels, and schedules for more reliable behavior.