Golf simulator rooms have become increasingly popular among golf enthusiasts, allowing players to practice and enjoy the game year-round from the comfort of their homes. Here’s a comprehensive guide for golf simulator room ideas, including different room options, popular sizes, dimensions, and budget considerations.
Golf Room Design
Take the stress out of the golf simulator room design.
If you don't have countless research hours to throw at your project, let us do that heavy lifting for you. The Custom Golf Simulator Design will take your home or commercial project from an idea to a ready-to-build plan.Golf Simulator Room Ideas -Popular Locations
Golf simulators can be set up in various spaces within your home or property. These are the most popular options:
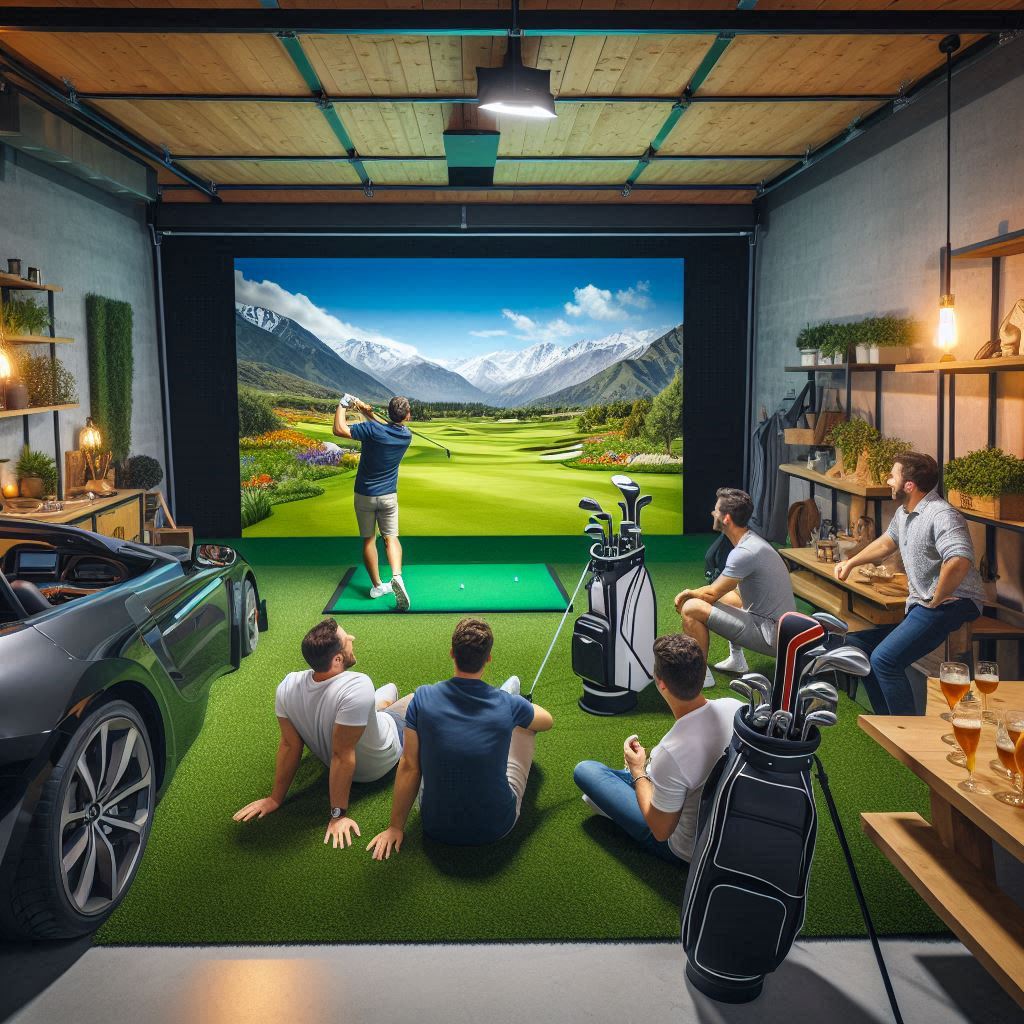
Garage Golf Simulator Room
A common choice due to its ample space and typically high ceilings.
Basement Golf Simulator Room
Ideal for temperature control and minimal disruption to the rest of the house.
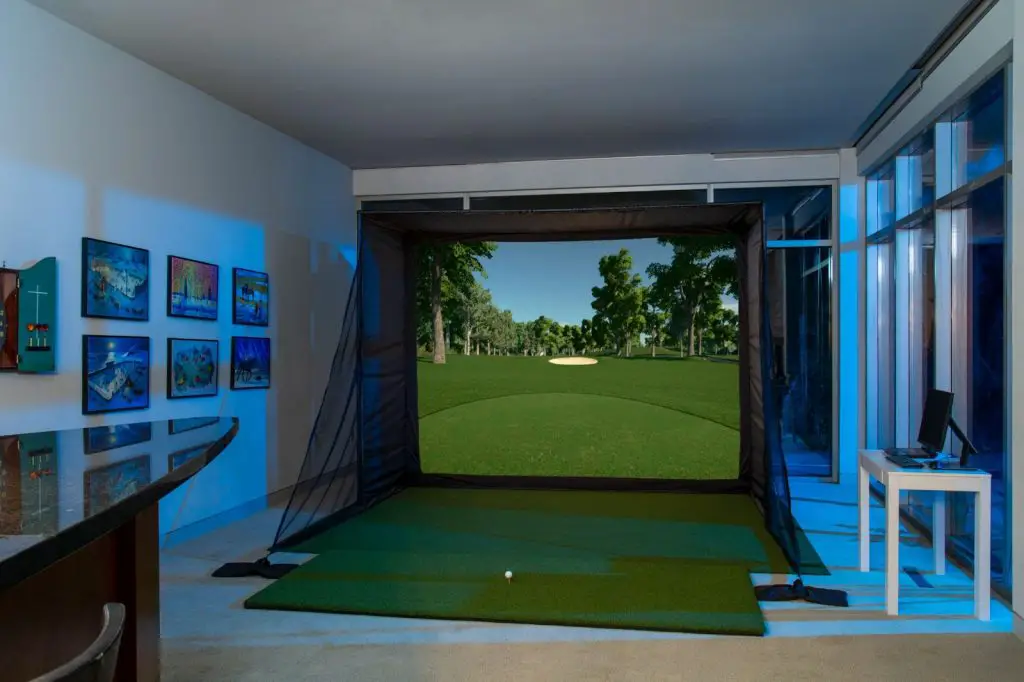
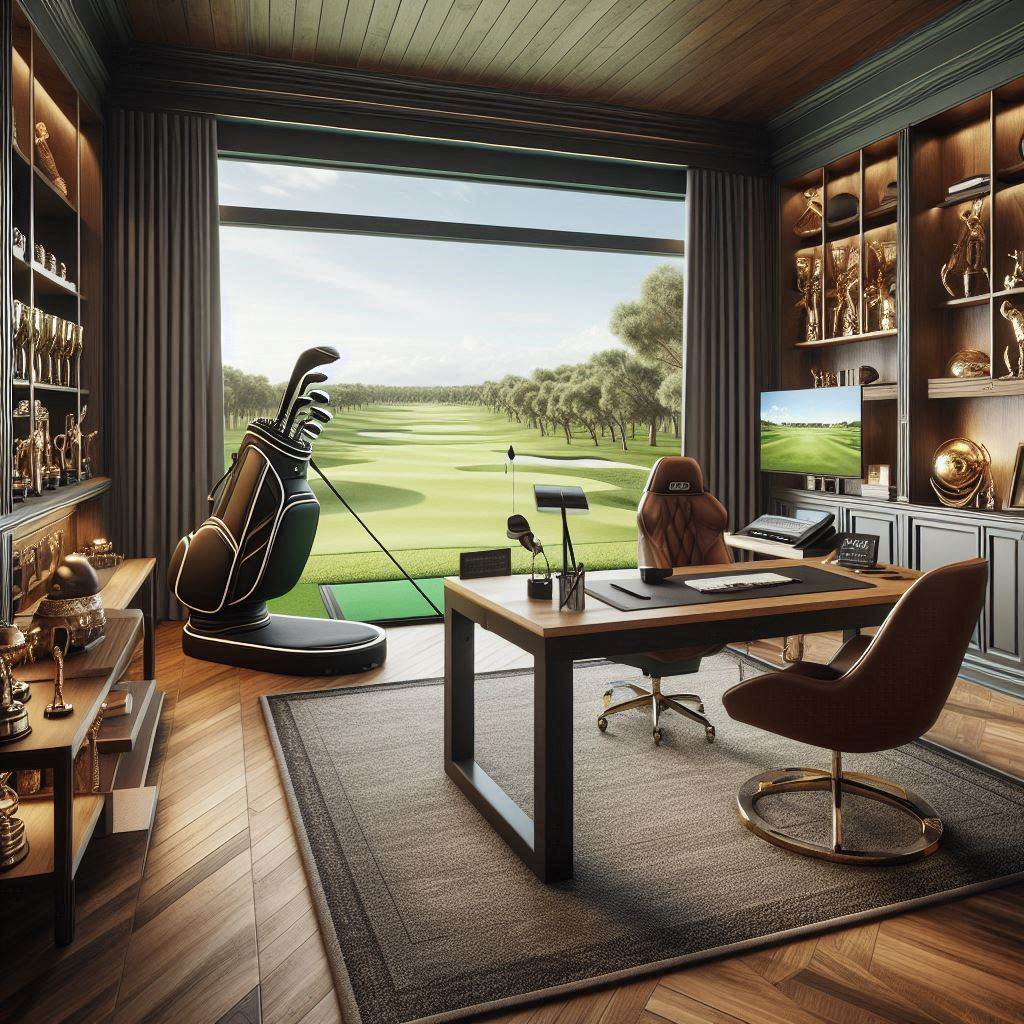
Home Office Golf Simulator Room
Can be converted if space allows, but may require careful planning.
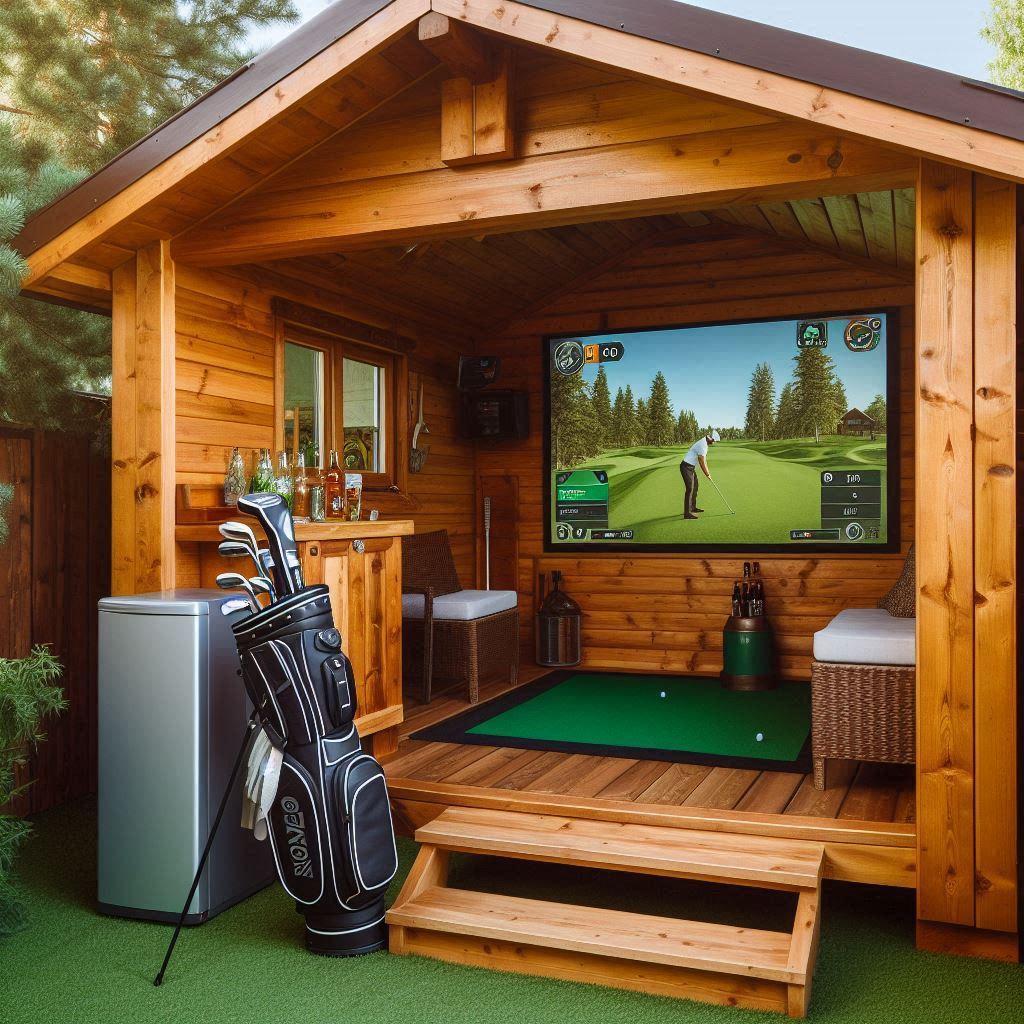
Shed Golf Simulator Room
A dedicated outdoor space that can be customized for golf simulation.
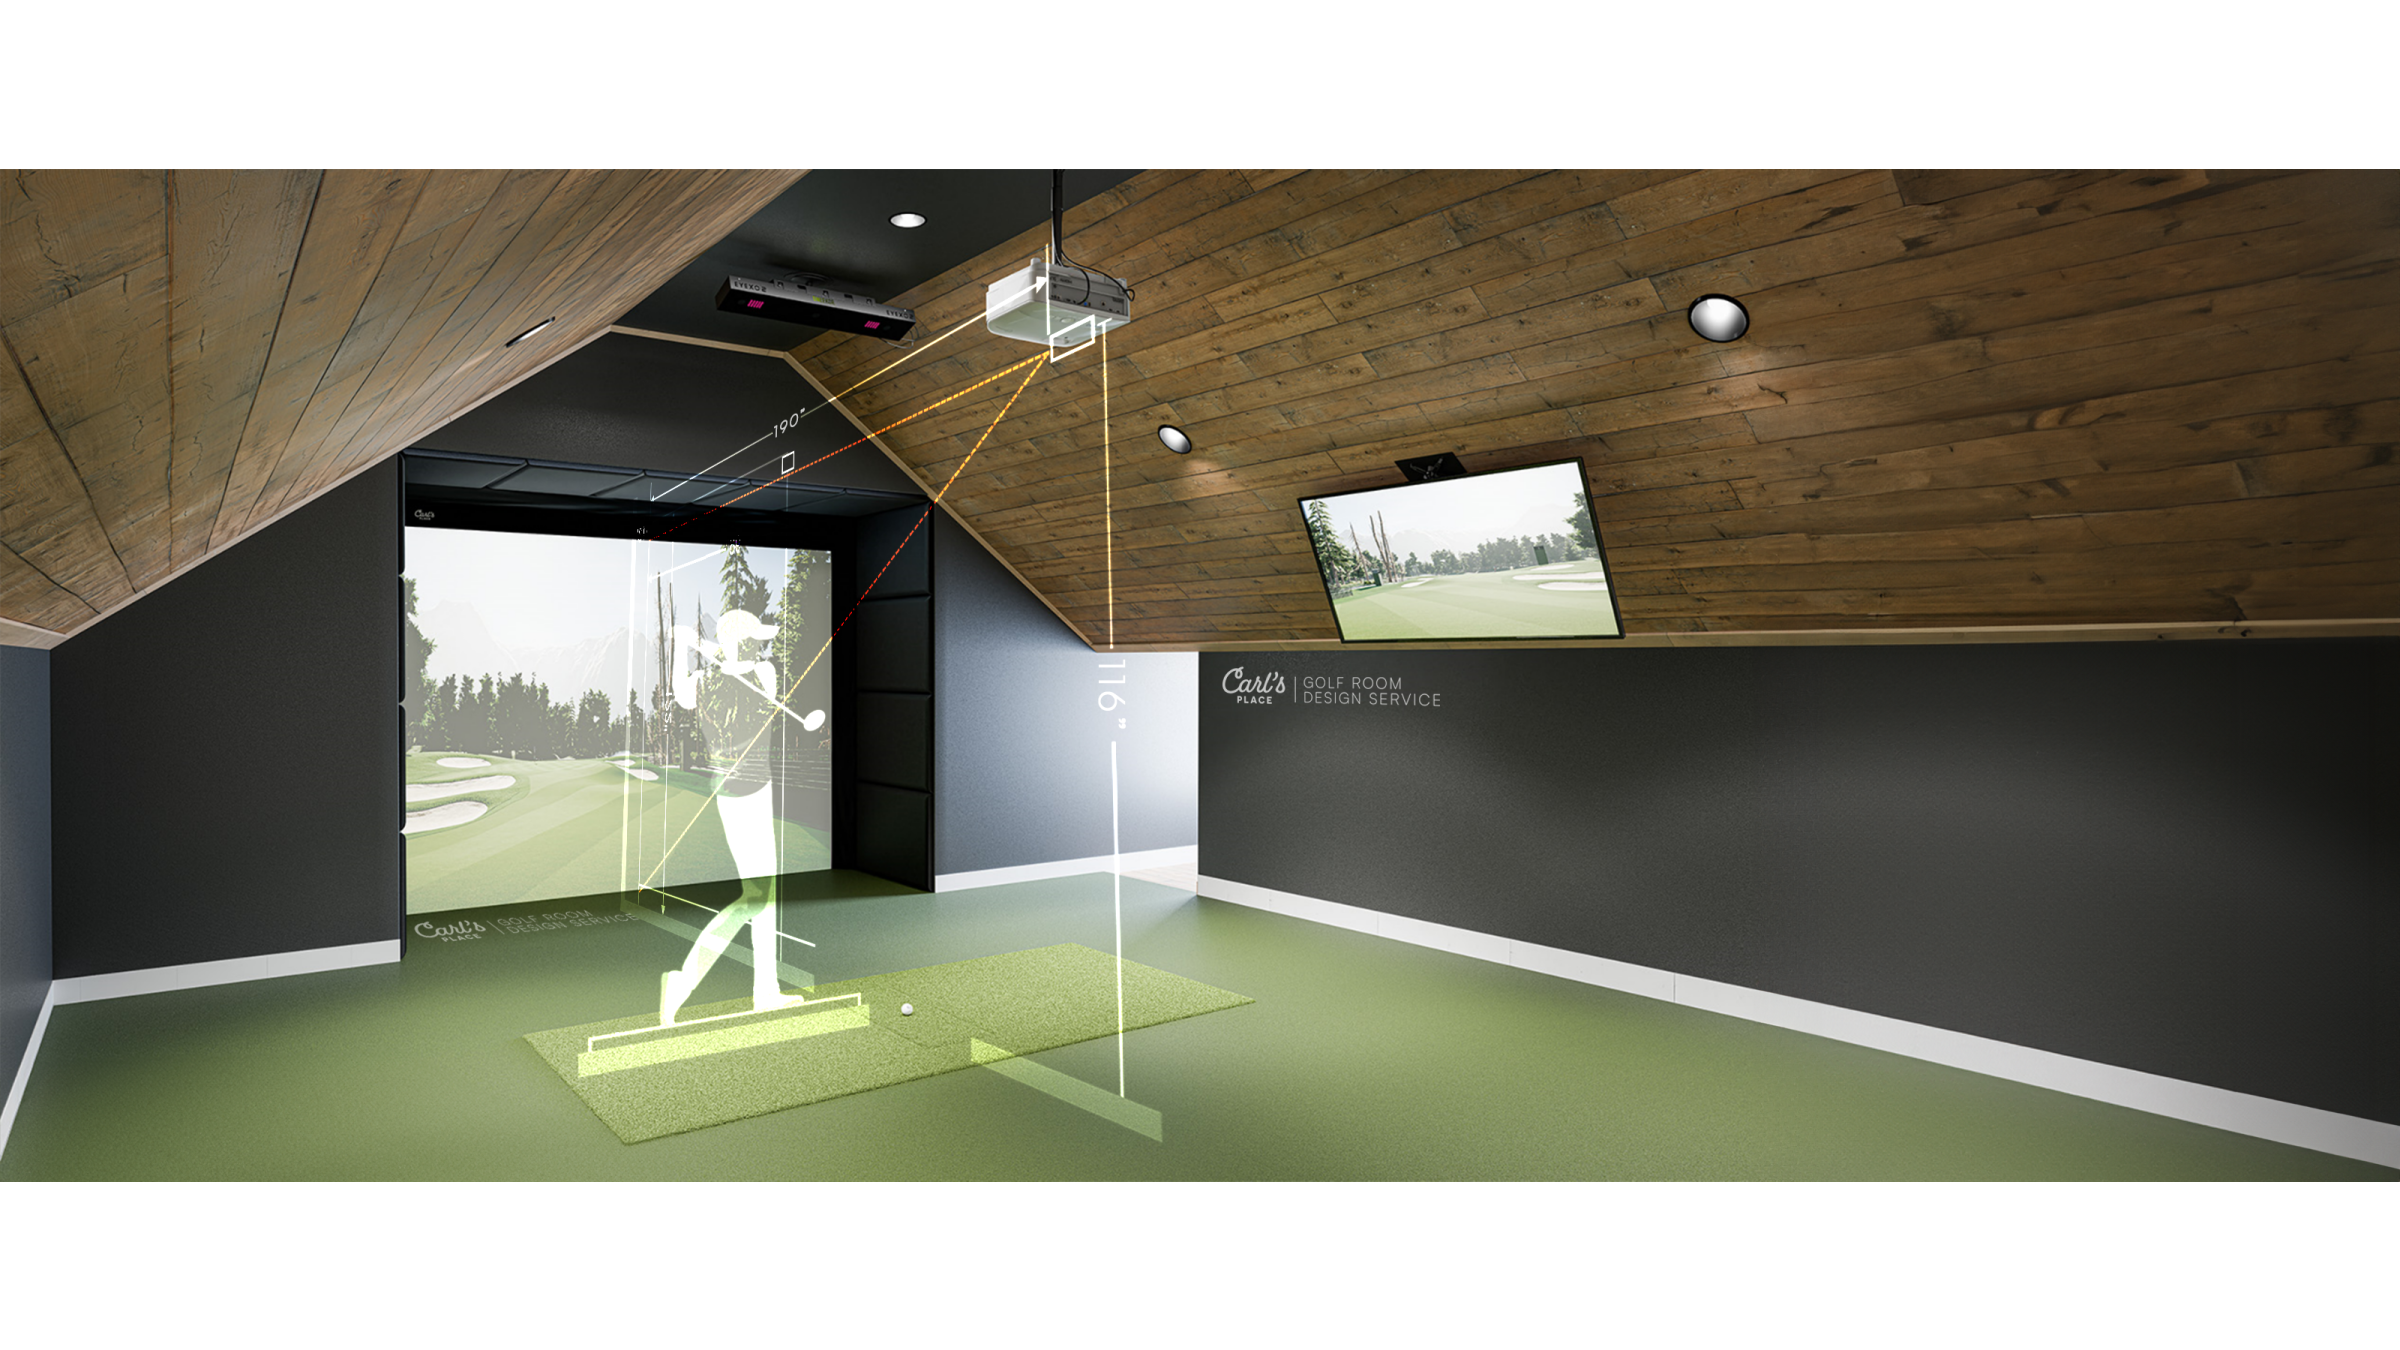
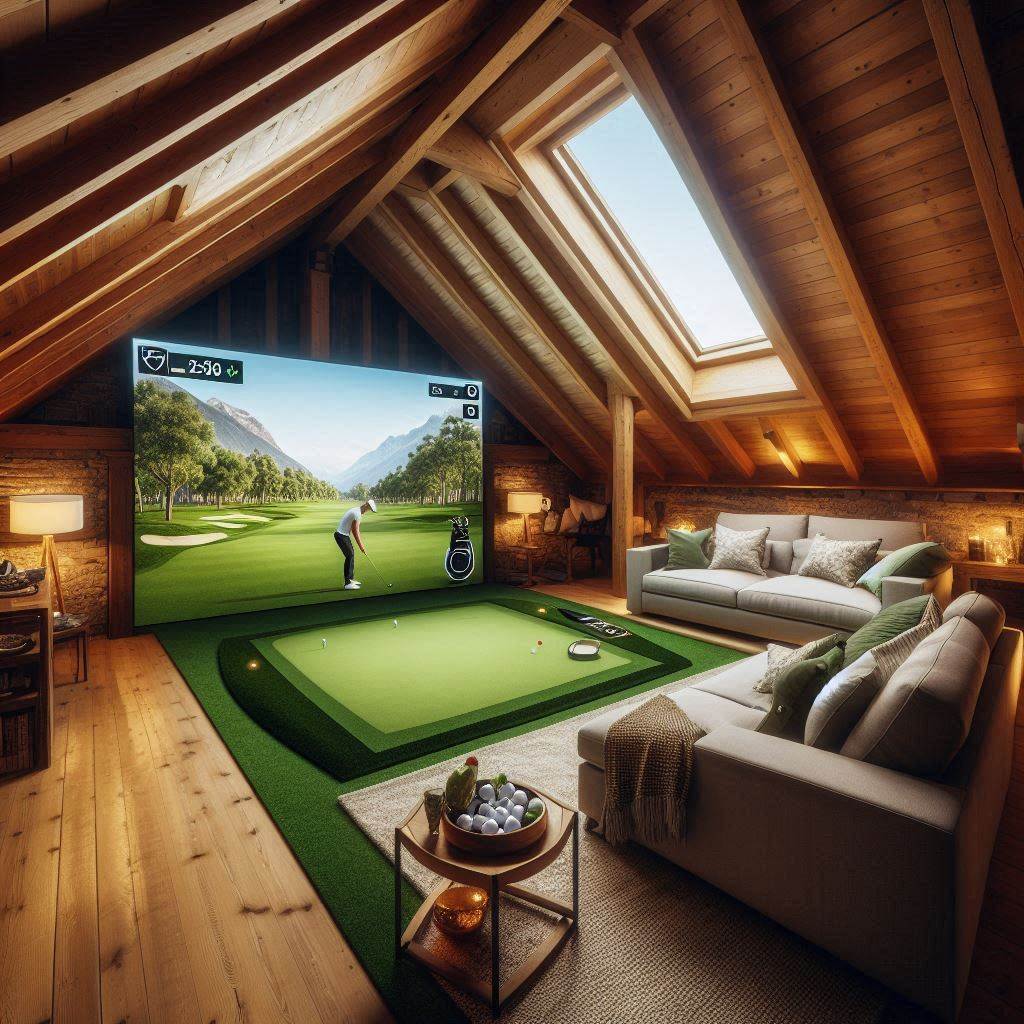
Attic Golf Simulator Room
An often-overlooked option that can provide adequate space and privacy.
For those willing to invest in a purpose-built space an home addition is also an option.
Popular Sizes and Dimensions
The size of your golf simulator room is crucial for a comfortable and safe experience. Here are some guidelines:
Minimum Room Size: 10’W x 10’L x 8.5’H
Ideal Room Size: 11’W x 11’L x 9.5’H
Comfortable Room Size: 15’W x 20’L x 10’H
Keep in mind that these dimensions can vary based on individual needs and available space. Factors to consider include:
- Ceiling Height: A minimum of 8.5′ is recommended, but 9.5′ or higher is ideal to accommodate full swings with all clubs.
- Room Width: At least 10′ wide, but 12′-15′ is preferable for a more spacious feel.
- Room Length: A minimum of 12′, but 16′-20′ allows for better ball flight and safer play.
- Player Height: Taller players may require more ceiling height and overall space.
- Net/Screen Distance: Allow 1′-2′ between the net and the wall to prevent damage.
Budget Considerations For golf sim room ideas
Here are the basics you need for your golf simulator room:
- Enclosure: This includes the frame, impact screen, and side barriers.
- Launch monitor: A device that tracks your ball and club data.
- Projector: To display the virtual golf course on the impact screen.
- Hitting mat: A durable surface to hit from that simulates real turf.
- Computer or gaming console: To run the golf simulation software.
- Golf simulation software: Programs that provide virtual courses and analysis.
- Lighting: Proper illumination for the room.
- Side netting: To catch any stray balls.
And of course golf clubs and balls (:
Golf simulator setups can range from budget-friendly to high-end installations. Here’s a breakdown of potential costs:
Low Budget ($3,000 – $5,000):
- Basic net and mat setup
- Entry-level launch monitor
- Use existing TV or computer monitor
Possible Setup
- Net: The Net Return Home Series Golf Net
- Launch Monitor: Rapsodo Mobile Launch Monitor
- Mat: DURA-PRO Residential Golf Mat
- Display: Use existing TV or computer monitor
Mid-Range ($1,000 – $5,000):
- Quality enclosure or screen
- Mid-tier launch monitor (e.g., Rapsodo MLM2PRO)
- Projector for larger display
- Improved hitting mat
Possible Setup
- Enclosure: Carl’s Place DIY Golf Simulator Enclosure Kit
- Launch Monitor: SkyTrak+ Launch Monitor
- Projector: BenQ LW500ST Short Throw Projector
- Mat: Fiberbuilt 7′ x 4′ Studio Golf Mat
- Impact Screen: Carl’s Place Premium Golf Impact Screen
High-End ($10,000 – $20,000+):
- Premium enclosure and impact screen
- High-quality projector
- Top-tier launch monitor and software
- Professional-grade hitting mat
- Additional features like surround sound or custom lighting
Possible Setup
- Complete Package: AllSportSystems SkyTrak+ Golf Simulator Package (Starting at $7,499)
This package typically includes:
- SkyTrak+ Launch Monitor
- Gaming PC
- Projector
- Impact Screen
- Enclosure
- Premium Golf Mat
- Software
- Additional Upgrades:
- Uneekor QED Launch Monitor ($7,000) for even more precise measurements
- TrueGolf E6 Connect Software ($2,500 for a lifetime license)
- Upgraded projector like the Optoma EH412ST ($999)
Remember that prices can vary, and there are often sales or bundle deals available. It’s also possible to mix and match components from different price ranges to create a custom setup that fits your specific needs and budget. For a DIY approach, you can potentially save money by building your own enclosure or frame and use your own monitor as suggested in some of the budget-friendly ideas.
Tips for Creating Your Golf Simulator Room
- Measure Carefully: Ensure you have enough space for full swings and ball flight.
- Consider Lighting: Proper lighting is essential for both gameplay and camera-based launch monitors.
- Soundproofing: If noise is a concern, consider adding soundproofing materials to walls and ceilings.
- Ventilation: Ensure good air circulation, especially in enclosed spaces like basements or attics.
- Storage: Include storage solutions for clubs, balls, and other equipment.
- Seating Area: Add comfortable seating for spectators or between rounds.
- Multi-purpose Design: Consider making the space usable for other activities when not golfing.
- DIY Options: Save money by building your own enclosure or frame using materials like PVC pipes.
- Technology Integration: Choose compatible launch monitors, software, and display options for your needs and budget.
- Safety First: Ensure there’s enough clearance around the hitting area and use appropriate safety netting.
Creating a golf simulator room can be an exciting project . Start by considering your potential space, budget, and needs, you can design a setup that provides years of entertainment and practice opportunities. While it might be tempting to go for max savings, usually it’s better to invest a bit more upfront and have a setup that will last years to come. Best of luck building your golf room!
FAQ
How far from the wall should you place your golf simulator?
When setting up a golf simulator, the ideal distance from the wall depends on a few factors, including the type of simulator, the size of the screen, and the space required for your swing. A general guideline is to place the hitting area (where you stand) 8-12 feet (2.4-3.6 meters) away from the screen or impact wall. Here are some additional considerations:
Back Wall (behind the screen): It is recommended to have at least 12-16 inches (30-40 cm) of space between the screen and the back wall to allow the screen to absorb the impact of the ball without hitting the wall.
Ceiling Height: Ensure the ceiling height is at least 9-10 feet (2.7-3 meters) to allow for a full swing, especially for taller players.
Side Walls: Make sure you have at least 6-8 feet (1.8-2.4 meters) of space on each side for safety.
What’s the minimum shed size you need to place a golf simulator?
The minimum room size for a golf simulator would be approximately:
9-10 feet in ceiling height
10 feet in width
12 feet in depth
The minimum room size required to comfortably set up a golf simulator generally depends on three key dimensions: width, depth, and ceiling height. Here are the minimum recommendations:
Ceiling Height: At least 9-10 feet (2.7-3 meters) of ceiling height is ideal to accommodate a full swing, especially for taller players. Some golfers can manage with slightly lower ceilings, but it may restrict the swing, particularly with drivers.
Room Width: At least 10 feet (3 meters) in width is recommended to allow for safe swinging and accommodate both left- and right-handed golfers. A little more width is ideal if possible.
Room Depth: A minimum depth of 12 feet (3.6 meters) is recommended. This provides enough room to safely hit the ball into the screen and leave enough space between the hitting area and the screen or impact net.