Already have motorized blinds, but no way to control them with Alexa, Google Home, or Siri? You’re not alone. Many homes have older “dumb” blind motors that work only with a handheld remote or wall switch.
The good news: in many cases you can add voice control and smart automation without replacing the motors. With the right bridge or retrofit controller, your existing blinds can join the rest of your smart home.
This guide walks you through how to identify what you have, choose the right smart bridge or controller, and connect everything to Alexa, Google Home, or Siri. We’ll look at real products, wiring options, and practical examples so you can upgrade with confidence.
Can You Control Existing Motorized Blinds with Alexa, Google Home, or Siri?
How smart assistants talk to dumb (non-smart) blind motors
Alexa, Google Assistant, and Siri don’t talk directly to blind motors. Instead, they communicate with a hub or controller that understands both:
- Your voice assistant (via Wi‑Fi, Zigbee, Z‑Wave, Matter, or HomeKit)
- Your existing blind motors (via RF radio, direct wiring, or a retrofit motor module)
That hub or controller acts like a translator. When you say “Alexa, open the living room blinds,” Alexa sends a command to the hub, and the hub sends the correct signal to your blind motor.
When you can reuse your existing motor and when you can’t
You can usually reuse your existing motor if:
- The blinds currently move reliably using their existing switch or remote.
- The motor is a standard tubular or curtain motor (Somfy, Dooya, etc.), not a completely sealed proprietary system.
- You can access the motor wiring or use an RF remote that a bridge can learn.
You may need to replace the motor (or use a separate retrofit kit) if:
- The motor is failing, noisy, or inconsistent.
- It uses a proprietary digital protocol with no compatible bridge available.
- The blinds are manual (chain or cord only), and there’s no internal motor at all.
In many homes, at least one of these retrofit paths works: RF‑to‑Wi‑Fi bridge, inline shutter controller, or clamp‑on battery retrofit motor.
Basic requirements before you start (power, access, remote, Wi‑Fi)
Before shopping for hardware, check these basics:
- Power: Know if your blinds are battery‑powered, low‑voltage (12–24 V), or mains (110–240 V).
- Access: Can you reach the motor head, junction box, or existing wall switch where wiring runs?
- Remote: If your blinds use a handheld RF remote, keep it—bridges often need it to learn the signals.
- Wi‑Fi: A stable 2.4 GHz network is usually required for Wi‑Fi bridges and controllers.
Step 1 – Identify the Type of Motorized Blinds You Have
Battery, low-voltage, or mains powered: why it matters for retrofitting
Power type determines which controllers you can safely use:
- Battery-powered motors: Common for roller and Roman blinds. Retrofits are usually external clamp‑on controllers that pull the chain (Aqara Roller Shade Driver E1, SwitchBot Blind Tilt, Soma Smart Shades) or plug‑in rechargeable motor kits.
- Low-voltage (12–24 V) motors: Often used in custom shades. You’ll look for low‑voltage shutter relays or specialized controllers that sit between the power supply and the motor.
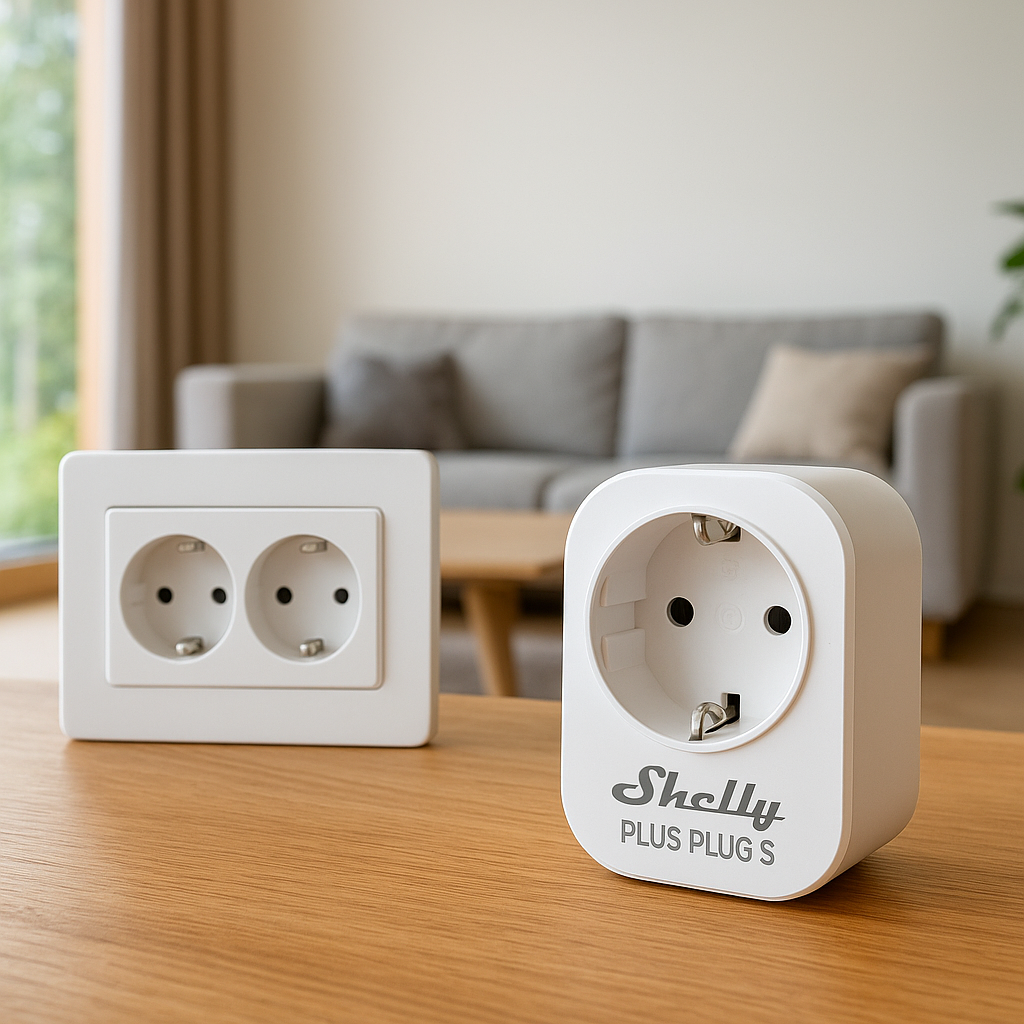
- Mains (110–240 V) tubular motors: Frequently used in larger rollers or shutters. These work well with in‑wall or inline smart shutter relays (e.g., Shelly 2PM, Sonoff Dual R3, Fibaro Roller Shutter).
Using the wrong controller for your voltage can permanently damage the motor or be unsafe, so confirm this before buying anything.
Common brands and radio protocols (Somfy, Dooya, Broadlink, Zigbee, Z‑Wave, RF)
Many older blinds use simple RF radio signals instead of Wi‑Fi or Zigbee. Examples:
- Somfy RTS tubular motors using 433.42 MHz RF.
- Dooya and other generic tubular motors using 433 MHz RF remotes.
- Wall switches that send RF signals instead of hard‑wired control.
RF‑based systems can often be controlled by an RF bridge such as Bond Bridge, BroadLink RM4 Pro, or similar. These devices learn your remote’s RF commands and expose them to Alexa/Google.
Newer motors might use:
- Zigbee (works with Echo hubs, SmartThings, Aqara hubs)
- Z‑Wave (works with Z‑Wave hubs like Aeotec Smart Home Hub)
- Wi‑Fi (Tuya/Smart Life, Shelly, etc.)
If you recognize a brand like Somfy, you can often find whether it supports a smart bridge by checking product documentation or resources like the Somfy overview on Wikipedia.
How to find model numbers and frequency labels on your existing motors or remotes
Look for:
- Motor head label: Usually on the side of the roller tube or behind a cover. It should list brand, model, voltage, and sometimes RF frequency (e.g., 433 MHz).
- Remote back cover: Remove the battery cover and check for labels like “433 MHz” or “RTS.”
- Wall switch housing: Smart RF wall switches sometimes have labels indicating protocol or brand (e.g., Somfy, Dooya).
Take clear photos of labels so you can search for compatibility and manuals later.
Signs your blinds may already be compatible with a smart bridge
Your blinds might already support a bridge if:
- The documentation mentions a specific “gateway,” “bridge,” or “hub.”
- You see familiar logos like Zigbee, Z‑Wave, HomeKit, or Wi‑Fi on the box or motor.
- The remote mentions RTS, IO‑Homecontrol, or another standard radio protocol.
If so, you may simply need to add the official bridge (e.g., Somfy TaHoma, IKEA DIRIGERA) and link it to your voice assistant.
Step 2 – Choose the Right Smart Bridge or Retrofit Controller
RF-to-Wi‑Fi bridges for blinds with existing RF remotes
If your blinds use a simple RF remote, an RF bridge is often the easiest solution. Devices like Bond Bridge and BroadLink RM4 Pro can learn the up/stop/down commands from your remote and then expose them as smart devices.
Pros:
- No wiring changes.
- Works with many existing remotes and fans or fireplaces as well.
- Easy to share control with family through the app.
Cons:
- One‑way communication—no exact position feedback.
- Relies on RF range and clear signal paths.
Zigbee and Z‑Wave blind controllers that work with Alexa and Google Home
If you already have a Zigbee or Z‑Wave hub (like SmartThings, Hubitat, or an Echo with Zigbee), you can use shutter modules that are Zigbee or Z‑Wave based. Examples include Fibaro Roller Shutter (Z‑Wave) or certain Zigbee curtain modules from Aqara or Sunricher.
These sit in the wiring path to your motor and provide accurate positioning and scene integration, but require access to the wiring.
Wi‑Fi retrofit blind controllers that sit in-line with the motor wiring
Wi‑Fi shutter relays (Shelly 2PM, Sonoff Dual R3, Moes Wi‑Fi shutter module) connect directly to your home Wi‑Fi and typically use apps like Shelly Cloud or eWeLink. Many support Alexa/Google Home directly or via cloud skills.
They are ideal if you don’t want a separate hub, but you must be comfortable working with mains wiring—or hire an electrician.
Apple HomeKit and Matter options for Siri and Home app control
For Siri control, look for:
- HomeKit-native devices such as Eve MotionBlinds or Aqara Roller Shade Driver E1 (via Aqara hub).
- Matter‑compatible bridges that expose blinds to Apple Home, Alexa, and Google Home at once.
- Home hubs like Apple TV, HomePod, or some newer multiprotocol hubs that support Matter over Thread and Wi‑Fi.
This approach is best if you’re primarily an Apple user and want tight integration with the Home app.
Key buying criteria: voltage support, app quality, integration, and safety
When comparing options, consider:
- Voltage and motor type (must match exactly).
- Voice assistant support (Alexa, Google, Siri/HomeKit, Matter).
- App quality and reliability (reviews, update history, local vs cloud control).
- Safety certifications for mains devices (CE, UL, etc.).
- Local control options in case the internet is down (wall switch, manual buttons).
Option 1 – Use an RF Bridge to Control Motorized Blinds with Alexa
How RF bridges “learn” your existing blind remote signals
RF bridges have a learning mode where they listen for signals from your existing remote. When you press “Up” on the remote, the bridge records that unique RF pattern. It does the same for “Down” and “Stop.”
Later, when Alexa or Google Home tells the bridge to open the blinds, the bridge simply transmits the recorded “Up” signal as if it were the remote.
Pairing your blind remote with an RF bridge step by step
Typical process (details vary by brand):
- Power on the RF bridge and connect it to your Wi‑Fi using its app.
- In the app, add a new device (e.g., curtain or shade).
- Select “Learn from remote” or similar.
- When prompted, hold the bridge near the remote and press the “Up” button.
- Repeat for “Down” and “Stop.”
- Test control from the app to confirm the bridge is working.
Connecting the RF bridge to Alexa for voice control and routines
Once your blinds work in the RF bridge app, link it to Alexa:
- Open the Alexa app > More > Skills & Games.
- Search for the RF bridge’s skill (e.g., Bond, BroadLink).
- Enable the skill and log into your bridge account.
- Tap “Discover devices” to import the blinds into Alexa.
You can then add blinds to groups (e.g., “Living Room”) or routines. Amazon’s help page on creating Alexa routines is a good reference if you’re new to automations.
Limitations of RF bridges (no position feedback, one-way control)
RF bridges are convenient, but they have trade‑offs:
- No exact position feedback—Alexa can’t know if the blinds are 30% open.
- If someone uses the original remote, the bridge won’t know and can’t sync position.
- Some remotes use rolling codes that RF bridges can’t clone.
If you want precise percentage control and status, an inline controller (Option 2) is usually better.
Option 2 – Install an In-Wall or Inline Smart Shutter Controller
Where inline controllers are installed in the wiring path
Inline shutter controllers sit electrically between your power source and the blind motor. Common install points:
- Behind an existing wall switch.
- Inside a junction box near the window.
- In a ceiling or soffit where the motor cable is accessible.
The controller has terminals for line, neutral, and motor up/down wires. It then controls the motor by switching power to the direction wires.
Safety checks before touching mains wiring (and when to hire an electrician)
Working with mains voltage can be dangerous. Before you start:
- Turn off power at the breaker and verify it’s off with a tester.
- Confirm you have line, neutral, and earth conductors available.
- Read the controller’s wiring diagram thoroughly.
If you’re not confident or local electrical code requires it, hire a licensed electrician. This is especially important in rental properties or multi‑unit buildings where insurance and code compliance matter.
Wiring a smart shutter relay to an existing tubular motor
Typical wiring pattern (simplified):
- Line and neutral from mains to the controller’s input terminals.
- Line outputs from the controller to the motor’s “Up” and “Down” wires.
- Neutral from mains to the motor’s neutral.
- Optional: connect existing wall switch inputs if the module supports them.
Once wired, the controller can move the motor in either direction by powering the corresponding output. Follow the manufacturer’s diagram precisely—wire colors may differ by country and motor brand.
Calibrating up/down limits and setting intermediate positions
Most smart shutter relays need calibration so they know how long the blinds take to move from fully closed to fully open:
- Use the app or device button to run a full open cycle.
- Run a full close cycle.
- The controller measures the time and uses it to calculate percentages.
After calibration, you can set intermediate positions (e.g., 30% open) and create scenes like “Movie time” that partially close the blinds.
Adding the controller to your smart home platform for Alexa/Google/Siri control
Depending on the device, you might:
- Add it to a Wi‑Fi app (Shelly, eWeLink) and link that account to Alexa/Google.
- Include it into a Zigbee or Z‑Wave hub, then expose it to Alexa/Google/Siri from there.
- Pair it directly with HomeKit if it’s a HomeKit-certified device.
Once added, name each blind clearly (e.g., “Kitchen Window Left”) to make voice commands natural.
Option 3 – Retrofit Battery-Powered Controllers for Chain- or Cord-Driven Blinds
When you can leave the existing motor and when to swap to a retrofit kit
If your blinds are already motorized internally, clamp‑on kits usually aren’t necessary. But for manual blinds with bead chains or cords, or if your existing motor is incompatible and not worth replacing, retrofit kits are a good choice.
Use a retrofit kit when:
- You have chain‑driven roller blinds without a motor.
- You can’t easily run power to the window.
- You’re renting and need a reversible solution.
Clamp-on smart blind controllers for bead-chain roller blinds
Devices like Aqara Roller Shade Driver E1, Soma Smart Shades, and other chain‑driven retrofit motors clamp onto the window frame and grab the existing bead chain. The internal motor pulls the chain to raise or lower the blind.
Installation is usually simple:
- Mount the unit next to the chain using adhesive or screws.
- Feed the chain through the device’s wheel.
- Set open/close limits in the app.
Battery vs solar-powered options and runtime expectations
Most retrofit kits have built‑in rechargeable batteries. Some offer add‑on solar panels:
- Battery only: Expect several weeks to a few months per charge, depending on daily cycles and blind weight.
- Battery + solar: In a bright window, the solar panel can keep the battery topped up, reducing manual charging.
Check whether the charging port is accessible after installation and consider how often you’ll move the blinds each day.
Connecting these kits to Alexa, Google Home, and sometimes Siri
Many retrofit kits use Zigbee, Bluetooth, or Wi‑Fi:
- Zigbee/Bluetooth kits usually require a brand hub (e.g., Aqara hub) that then connects to Alexa/Google/Siri.
- Wi‑Fi kits may connect directly to Alexa/Google via cloud skills.
- HomeKit support is available on some models or via a HomeBridge/Home Assistant integration for advanced users.
How to Control Motorized Blinds with Alexa
Adding your new blind controller or hub to the Alexa app
Once your blinds work in their own app or hub, bring them into Alexa:
- Install the manufacturer’s Alexa skill.
- Log in with the same account you used for the blind controller.
- Tap “Discover devices” or let Alexa auto‑discover.
- Confirm that each blind appears as a “Blind,” “Shade,” or “Curtain” device.
Naming and grouping blinds for natural voice commands
Use simple, location‑based names:
- “Living Room Blinds”
- “Kitchen Window”
- “Bedroom Blackout Shade”
Place them into Alexa groups matching your rooms (Living Room, Bedroom). That way, “Alexa, close the blinds” spoken to an Echo in the living room affects only that room’s blinds.
Example Alexa voice commands for blinds and scenes
Try commands like:
- “Alexa, open the living room blinds.”
- “Alexa, close the bedroom blinds.”
- “Alexa, set the office blinds to 40 percent.” (requires calibrated position control)
- “Alexa, turn on Movie Time.” (a scene that dims lights and closes blinds)
Creating Alexa Routines for sunrise/sunset and away mode
Routines let you fully automate blinds:
- Open blinds at sunrise on weekdays.
- Close all blinds at sunset every day.
- Randomly move blinds during vacations to simulate occupancy.
Use the Alexa app’s Routine builder to choose triggers like time, sunrise/sunset, or voice phrases and then add blind actions.
How to Control Motorized Blinds with Google Home
Linking your blind controller app with Google Assistant
Most blind controllers appear in Google Home via linked services:
- Open Google Home > tap your profile > Assistant settings.
- Go to Home control or Devices.
- Add your blind controller service (e.g., Bond, BroadLink, Shelly).
- Log in and allow access to your devices.
Voice command examples for Google Home speakers and displays
Try commands like:
- “Hey Google, open the kitchen blinds.”
- “Hey Google, close all the blinds.”
- “Hey Google, set the dining room blinds to 25 percent.”
On smart displays, you can also tap to control blinds or include them in quick home controls.
Setting schedules and automations in Google Home
Use Google Home’s routines to automate:
- Morning routine: open bedroom blinds when you say “Good morning.”
- Bedtime routine: close all blinds and turn off lights.
- Workday routine: close south‑facing blinds at midday to reduce glare.
How to Control Motorized Blinds with Siri and Apple Home
Using HomeKit-native blind controllers vs third-party workarounds
The smoothest Siri experience comes from HomeKit-certified devices or bridges. These appear directly in the Apple Home app and support secure local communication.
If your blinds aren’t HomeKit‑native, you can:
- Use a bridge that supports both HomeKit and your blinds (e.g., some Eve or Aqara hubs).
- For advanced users, employ HomeBridge or Home Assistant to expose non‑HomeKit devices into Apple Home.
Adding blinds to the Apple Home app and assigning rooms
For HomeKit devices or bridges:
- Open the Home app and tap + > Add Accessory.
- Scan the HomeKit code on the device or its manual.
- Assign a room (Living Room, Bedroom, etc.).
- Rename each blind to something easy to say.
Example Siri phrases and Home automations (time, presence, light level)
Useful Siri commands include:
- “Hey Siri, open the living room shades.”
- “Hey Siri, close all blinds downstairs.”
- “Hey Siri, set the office shades to 30 percent.”
In the Home app, create automations based on:
- Time of day (open in the morning, close at night).
- Presence (close blinds when the last person leaves home).
- Accessory state (close blinds if a light sensor indicates strong sun).
Smart Automations: Go Beyond Simple Voice Commands
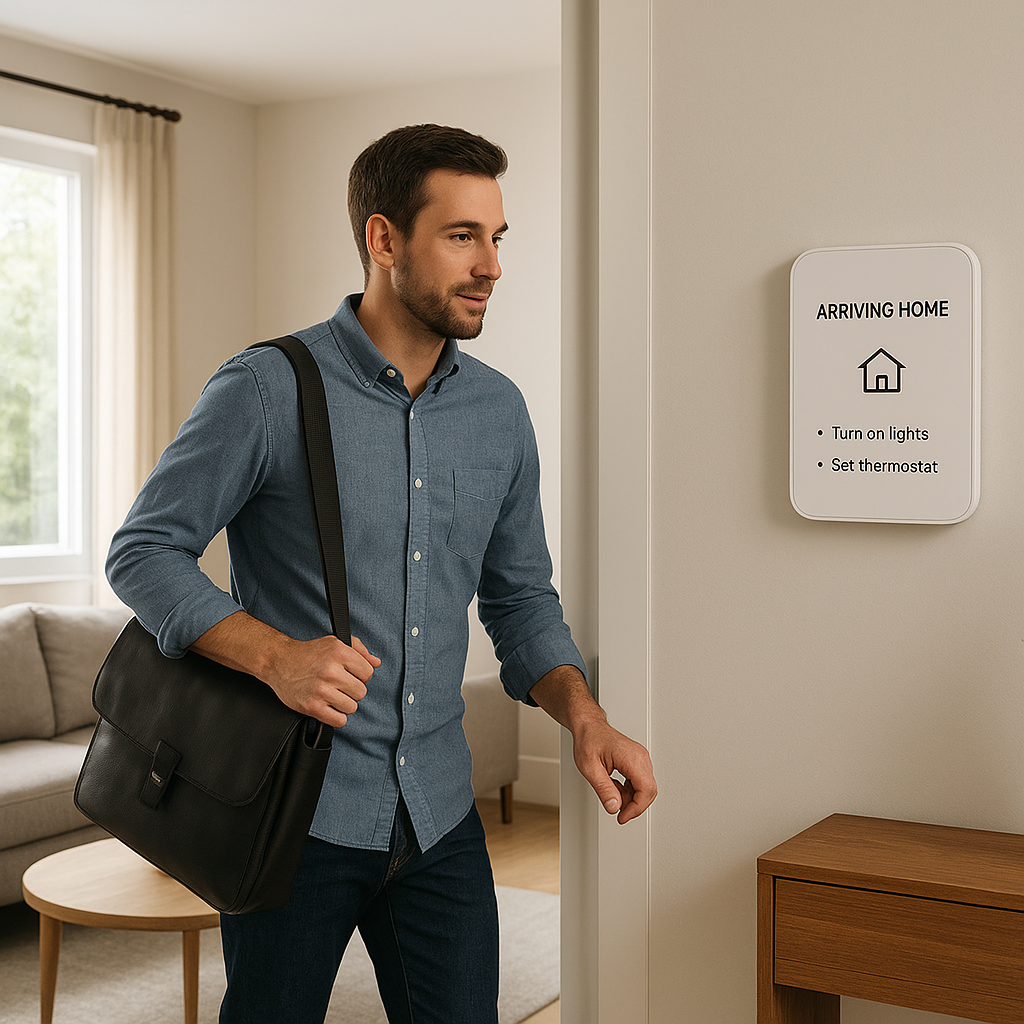
Automating blinds based on time, sunrise/sunset, and weekdays
Scheduling blinds removes daily manual steps:
- Weekday wake‑up: open blinds at 7:00 a.m. Monday–Friday.
- Weekend slow start: open blinds later on Saturday/Sunday.
- Sunrise/sunset tracking: always close blinds at sunset, regardless of season.
Using temperature and light sensors to reduce heat gain and glare
Pair blinds with sensors to improve comfort:
- Close west‑facing blinds when a temperature sensor exceeds 26°C in the afternoon.
- Lower blinds partway if a light sensor near your TV exceeds a brightness threshold.
Many hubs (SmartThings, Home Assistant, Apple Home) let you combine sensor data and blind actions for smarter behavior.
Security and privacy use cases (vacation mode, simulated occupancy)
Blinds play a role in home security too:
- Randomly open/close blinds while you’re away to make the home look occupied.
- Automatically close bedroom blinds at night for privacy.
- Open blinds in the morning in visible rooms to suggest someone is home.
Energy savings by coordinating blinds with smart thermostats
Coordinate blinds with a smart thermostat for efficiency:
- In summer, close blinds during the hottest hours to reduce cooling load.
- In winter, open south‑facing blinds on sunny days to gain free heat, then close them at night to add insulation.
Troubleshooting Common Issues When Adding Voice Control
Blinds moving the wrong way or stopping too soon
This usually means the controller’s direction or limits are misconfigured:
- Swap “Up” and “Down” motor outputs (if safe and per manual).
- Re‑run the calibration or limit‑setting procedure in the app.
- Verify mechanical end stops on the motor if it has physical limit screws.
Intermittent response or missed commands
If blinds sometimes ignore commands:
- Check Wi‑Fi strength where the controller or bridge is installed.
- Ensure the hub or bridge firmware is up to date.
- Verify that RF remotes are not interfering or sending conflicting commands.
Fixing Wi‑Fi, Zigbee, and RF range problems
For range and signal issues:
- Move the RF bridge to a more central location with fewer walls in between.
- Add Zigbee or Z‑Wave repeaters (e.g., smart plugs) to extend mesh coverage.
- Consider a Wi‑Fi mesh system if coverage is weak near certain windows.
What to do if your blinds use a proprietary or unknown protocol
If you can’t identify the motor type or protocol:
- Search the model number and brand online for documentation.
- Contact the installer or manufacturer to ask about smart bridge compatibility.
- As a last resort, bypass the existing control and use an inline motor controller, or replace the motor or system with a known, open option.
Cost Comparison: Retrofit vs Full Motor Replacement
Typical price ranges for bridges, inline controllers, and retrofit kits
Approximate costs (per window or system):
- RF bridge (controlling multiple blinds): $40–$100 total.
- Inline shutter controllers: $25–$70 per blind.
- Battery retrofit chain‑pull kits: $70–$200 per blind.
- Official manufacturer bridges (Somfy, etc.): $150–$300 per system.
When it’s worth replacing the motor entirely
Consider motor replacement if:
- The existing motor is unreliable or very noisy.
- It uses a closed or obsolete protocol with no bridge options.
- You’re doing a larger renovation and want long‑term standardized hardware.
A new smart‑ready motor adds cost upfront but may save headaches later.
Budget-friendly upgrade paths for multiple rooms or whole-home setups
For many blinds:
- Use one RF bridge to control several blinds sharing the same remote system.
- Mix approaches: inline controllers for main living areas, retrofit kits only where wiring is hard.
- Plan by room or floor, upgrading the most used or sun‑exposed blinds first.
Safety, Warranty, and Privacy Considerations
Avoiding damage to motors when changing controllers
To protect your motors:
- Match voltage and load ratings exactly.
- Never power both “Up” and “Down” coils simultaneously—use controllers designed for shutter motors.
- Observe duty cycle limits—don’t run the motor repeatedly without breaks.
Electrical code, professional installation, and insurance impacts
Modifying fixed wiring may have code and insurance implications:
- Check local regulations around low‑voltage vs mains work.
- Use UL/CE‑listed devices where required.
- Consider keeping documentation or photos of professional installation for insurance records.
Data privacy considerations when adding cloud-connected hubs
Most bridges and controllers rely on cloud services:
- Review privacy policies and what data is collected.
- Prefer vendors that support local control options where possible.
- Use strong, unique passwords and enable two‑factor authentication for accounts.
Quick Decision Guide: Which Path Is Right for Your Blinds?
Flowchart-style recommendations based on your existing setup
Use this quick guide:
- Do you have a working RF remote? Try an RF‑to‑Wi‑Fi bridge (Option 1).
- Can you access wiring and are the motors mains or low‑voltage? Consider inline shutter controllers (Option 2).
- Are blinds manual with bead chains? Use a clamp‑on battery retrofit kit (Option 3).
- All else fails / proprietary system? Plan for motor replacement or a new retrofit system.
A simple checklist before you buy anything
Confirm these points:
- Motor type and voltage identified.
- Protocol or remote type known (RF frequency, Zigbee, etc.).
- Wi‑Fi coverage tested at the window locations.
- Desired voice assistant support (Alexa, Google, Siri/Matter) chosen.
- Comfort level with wiring work assessed (DIY vs electrician).
Future-proofing with Matter and multiprotocol smart hubs
If you’re building a broader smart home, consider:
- Hubs that support Matter plus Zigbee/Z‑Wave (e.g., SmartThings, Home Assistant with a multiprotocol dongle).
- Devices that promise Matter support via firmware updates.
- Bridges that can expose blinds to multiple ecosystems (Alexa, Google, Apple) simultaneously.
This reduces lock‑in and makes it easier to switch voice assistants or apps later.
Conclusion
You don’t have to rip out your existing blind motors to gain voice control and smart automations. By identifying what you already have and choosing the right RF bridge, inline controller, or retrofit kit, you can control motorized blinds with Alexa, Google Home, or Siri using the blinds you already own.
Start with one room, prove the setup works reliably, then expand. With a bit of planning, your blinds can become a seamless part of your smart home—opening with your morning routine, closing automatically at sunset, and helping keep your home comfortable and secure.
FAQ
Can Alexa control any motorized blinds?
No. Alexa can only control blinds that are exposed through a compatible hub, bridge, or smart controller. If your motor can be controlled by an RF bridge, inline module, or retrofit kit that supports Alexa, you can usually integrate it.
Do I need a separate hub to control motorized blinds with Alexa?
Not always. Some Wi‑Fi shutter controllers and retrofit kits connect directly to Alexa. Others require a hub (Zigbee, Z‑Wave, or vendor‑specific). Check the product’s “Works with Alexa” details before buying.
Will adding a smart controller void my blind warranty?
It can, especially if it involves modifying wiring or bypassing the manufacturer’s control system. If your blinds are still under warranty, check the warranty terms or contact the installer before adding third‑party hardware.
Can I control my blinds when I’m away from home?
Yes. Most cloud‑connected systems let you control blinds remotely via the Alexa, Google Home, or Apple Home app, as long as your controller is online and you have internet access.
What’s the safest option if I’m not comfortable with electrical work?
Use RF bridges or battery‑powered clamp‑on retrofit kits that don’t require touching mains wiring. For inline mains controllers, hiring an electrician is the safest route.