Geofencing sounds perfect for smart homes: your phone crosses an invisible line and your house magically turns on the lights, adjusts the thermostat, and locks the doors. In reality, many people discover it’s unreliable, slow, or just annoying.
The good news is you can build rock-solid “Arrive Home” and “Leave Home” routines without relying on your phone’s location at all. Motion and contact sensors can give you fast, local, and privacy-friendly automations that work even when your signal or battery doesn’t.
This guide walks through how to automate arrival and leaving home routines without geofencing using motion and contact sensors. You’ll see planning tips, recommended hardware, example automations for Home Assistant, Alexa, Google Home, SmartThings, and Apple Home, plus ways to avoid false triggers and keep your home secure.
Why Geofencing Fails for Arrival and Leaving Home Routines
Common geofencing problems: battery drain, delays, and missed triggers
Geofencing depends on your phone’s GPS, Wi‑Fi, and cell signal. That’s a lot of moving parts. Common problems include:
- Battery drain: Constant location checks keep GPS and radios awake. Older phones or aggressive battery-saver modes struggle with this.
- Delays: Your routine might trigger several minutes after you arrive because your phone waits to update location or the cloud service is slow.
- Missed triggers: If your phone is in low-power mode, in a metal bag, or has poor signal, the geofence event may never fire.
- Inconsistent range: Some days it triggers a block away. Other days it only updates once you’re inside on Wi‑Fi.
Those issues are frustrating when you’re expecting a front porch light to turn on in the dark or your house to lock itself after you leave.
Privacy and reliability concerns with always-on location tracking
Continuous location tracking raises privacy questions. Many smart home platforms rely on cloud services for geofencing, which means your comings and goings are processed off your devices. Even if you trust the provider, some households simply prefer not to share precise location data.
There’s also a reliability angle: if your location is processed in the cloud, it depends on cellular data and the provider’s servers. No internet or a temporary outage means no geofence triggers. In contrast, sensor-based automations can run entirely on your local hub.
If you want to understand how geofencing works under the hood, the geofencing article on Wikipedia gives a good technical overview.
When geofencing works well vs. when it becomes a headache
Geofencing isn’t always bad. It can work well when:
- You live in a detached house with a clear boundary away from neighbors.
- You use modern phones with generous battery capacity.
- You only trigger non-critical actions like pre‑heating the house or turning on exterior lights.
It becomes a headache when:
- You live in dense apartments or condos where GPS is messy.
- You have multiple residents with mixed devices (Android + iOS) and different battery settings.
- You want precise, safety-related actions like unlocking doors or arming alarms.
This is where motion and contact sensors shine. They respond to what’s actually happening at your doors and hallways, not where your phone thinks it is.
How Motion and Contact Sensors Can Replace Geofencing
What motion sensors actually detect (and their limitations)
Most smart home motion sensors use passive infrared (PIR) technology. They detect changes in heat patterns, like a person moving through a room. Examples include Aqara P1, Philips Hue Motion Sensor, and Zooz Z‑Wave sensors.
Strengths:
- Fast detection within a defined area.
- Battery-powered and easy to place.
- Work locally with many hubs (Home Assistant, SmartThings, Hubitat, Apple Home via Thread/Matter).
Limitations:
- They don’t always detect very slow movement or people wrapped in thick coats/blankets.
- Pets can trigger them if the sensor points too low.
- They can’t tell who is moving—just that something moved.
For arrival/leaving routines, motion sensors are best in hallways, entryways, and frequently used paths.
What contact sensors detect and why they’re perfect for doors
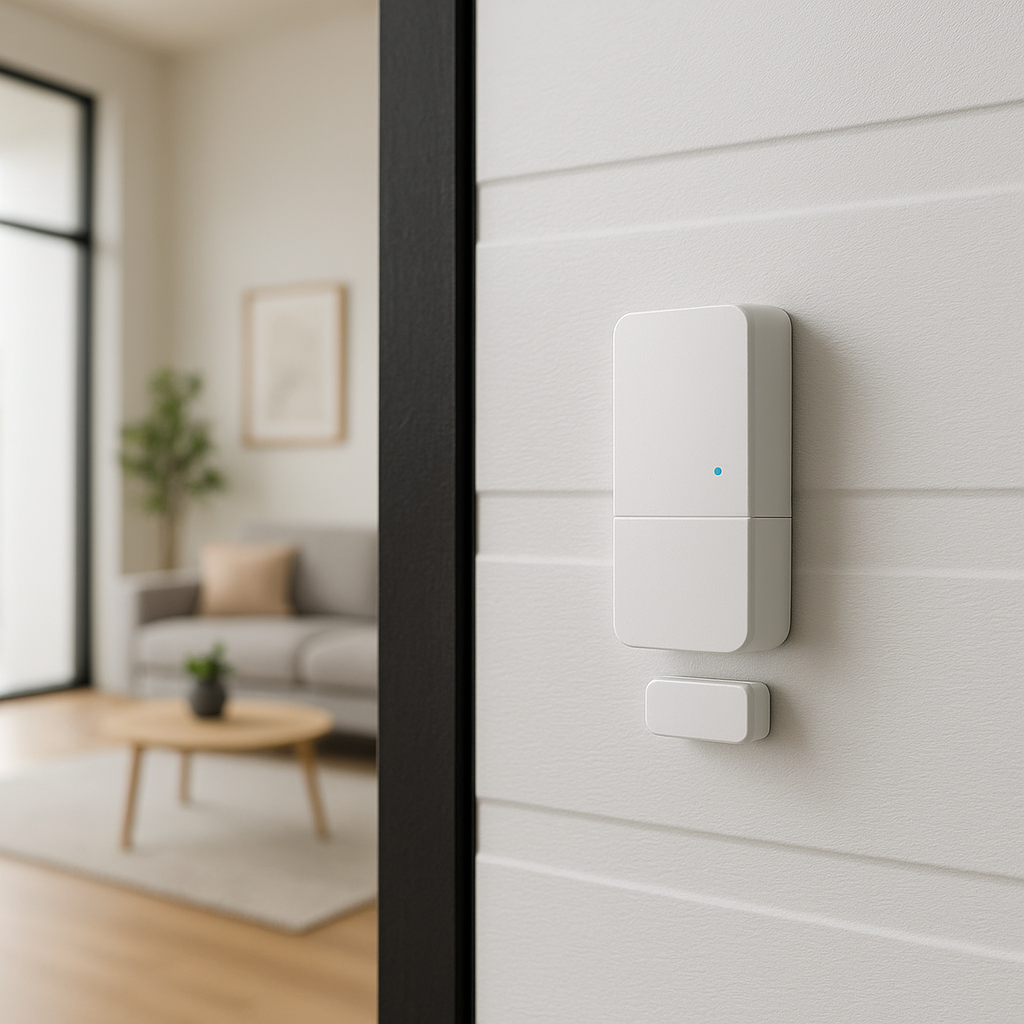
Contact sensors monitor whether something is open or closed. They use a magnet and a reed switch—when the magnet moves away, the circuit opens and the sensor reports a change. You’ll find them on devices like Aqara Door and Window Sensor, Eve Door & Window, and Ring Alarm contact sensors.
They’re ideal for:
- Front doors and back doors: Detecting each open/close event precisely.
- Garage doors: Confirming the big door is actually closed.
- Windows and balcony doors: Adjusting HVAC and security.
For arrival and leaving logic, contact sensors give a clean signal: the door opened, then closed. Combined with motion, this can strongly suggest someone just came in or went out.
Combining multiple sensors to infer presence reliably
To truly replace geofencing, you combine door and motion events into simple patterns, for example:
- Arrive home: Front door opens → hallway motion within 15–30 seconds → presence set to “Home”.
- Leave home: Front door closes → no motion in hallway or main rooms for 5–15 minutes → presence set to “Away”.
You can refine this with extra signals like interior room motion, garage door sensors, or Wi‑Fi presence, but the core idea is the same: use real-world events inside the house instead of a phone’s geofence.
Planning Your ‘Arrive Home’ and ‘Leave Home’ Logic
Defining clear entry and exit points (front door, garage, hallway)
Start by mapping how people actually enter and leave:
- Do you mostly use the front door or garage door?
- What’s the first space you walk into? Hallway, kitchen, living room?
- Is there a secondary entrance (back door, side gate) that matters?
For each main entry/exit path, plan at least:
- One contact sensor on the primary door.
- One motion sensor in the immediate interior space (hallway or entry area).
In larger homes, you might also monitor the path to common areas (e.g., motion in living room or kitchen) to confirm someone actually stayed inside rather than just dropping something at the door.
Using time windows, delays, and conditions to prevent false triggers
Smart arrival/leave routines rely on timing as much as sensors. A few tricks:
- Short windows for arrival: Only treat “door opened” as arrival if hallway motion follows within, say, 30–60 seconds.
- Delays for leaving: Don’t mark the house empty the moment the door closes. Wait 5–20 minutes with no motion to avoid false “away” when someone is still home.
- Conditions: For example, only run “Arrive Home” lights after sunset, or only lock doors automatically if they’re currently unlocked.
These timing rules are key to keeping automations from firing constantly when you’re just putting out the trash or retrieving a package.
Single-person vs. multi-person households (presence vs. last person leaving)
In a one-person home, presence is simple: if you’re gone, the house is empty. Motion + contact sensors can directly drive a single “Home/Away” status.
In multi-person homes, you need to think in terms of:
- Anyone home? Use sensors to say “the house is occupied” or “likely empty”.
- Last person leaving: Only trigger “Leave Home” actions when the system believes everyone has left (no motion for longer and doors closed).
- Per-person presence: Optionally mix in phones, smart watches, or car presence so the system knows who left, not just that someone left.
We’ll return to “last person leaving” logic later when we combine sensors with optional phone presence.
Recommended Sensors and Hubs for Reliable Routine Automation
Best motion sensors for fast detection and long battery life
Look for sensors that support Zigbee, Thread/Matter, or Z‑Wave for reliable local control and long battery life. Popular choices include:
- Aqara P1 Motion Sensor (Zigbee): Excellent battery life, adjustable detection timeout, works with Home Assistant, SmartThings, and others via compatible hubs.
- Philips Hue Motion Sensor: Great for lighting automations, strong Zigbee range through Hue Bridge, can be exposed to other platforms.
- Eve Motion (Thread/Matter): Good choice for Apple Home users and Matter-forward setups.
Any mainstream motion sensor works, but prioritize ones known for fast reporting and local integration with your chosen platform.
Best contact sensors for doors, windows, and garage doors
For doors and windows, compact sensors with strong battery life and good range are ideal:
- Aqara Door and Window Sensor: Affordable, Zigbee-based, widely used in DIY setups.
- Eve Door & Window (Thread): Strong option for Apple Home and Matter users.
- Zooz or Aeotec Z‑Wave door sensors: Great for Z‑Wave-centric homes and powerful local hubs.
For garage doors, consider a specific tilt sensor or a multi-function controller (like MyQ, Shelly Uni with a reed switch, or Z‑Wave tilt sensors) to know whether the big door is fully closed.
Choosing a hub or platform: Home Assistant, Alexa, Google Home, SmartThings, Apple Home
Most platforms can handle sensor-based routines, but with different strengths:
- Home Assistant: Extremely flexible, local-first, ideal for complex arrive/leave logic and hybrid presence detection. See the official Home Assistant automation documentation for deeper examples.
- Amazon Alexa: Easy to build routines using Echo devices and supported sensors (e.g., Ring, Aqara via hubs, Hue).
- Google Home: Supports basic routines and presence via Nest and compatible sensors, better for simpler setups.
- SmartThings: Strong device support, especially Zigbee and Z‑Wave sensors, with a decent automation engine.
- Apple Home (HomeKit): Great for privacy and local control, especially with Thread/Matter sensors and a Home Hub (Apple TV or HomePod).
For more advanced or hybrid presence logic, Home Assistant, Hubitat, or SmartThings Edge drivers offer the most flexibility. For simple routines, Alexa, Google Home, or Apple Home are plenty.
Designing an ‘Arrive Home’ Routine Without Geofencing
Trigger logic: door opens + hallway motion = someone just arrived
A robust arrival pattern looks like this:
- Front door contact sensor changes from closed → open → closed.
- Within 30–60 seconds, hallway motion sensor detects movement.
- Current house state was “Away” (or “No one home”).
When all three are true, the system sets presence to “Home” and runs your Arrive Home routine. This avoids triggering every time someone opens the door while you’re already home.
Example actions: lights, thermostat, smart plugs, and welcome scenes
Once the arrival is detected, you can:
- Turn on the entry and main room lights at comfortable brightness.
- Adjust the thermostat from eco mode to comfort mode.
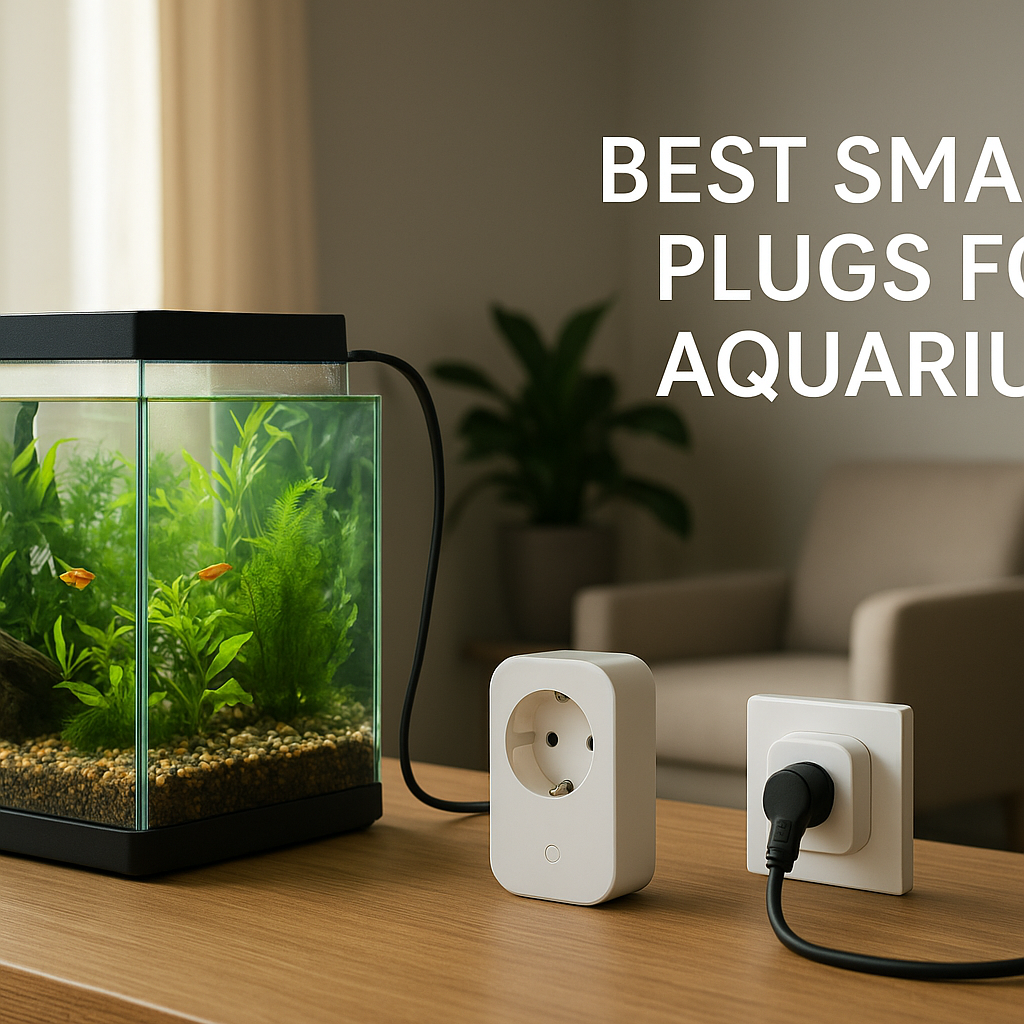
- Turn on key smart plugs (for a lamp, router in an office, or aquarium light).
- Disable home security alarms or set them to “Home” mode.
- Play a gentle “welcome home” scene on smart speakers or TV backlighting.
Keep Arrive Home actions modest and focused on comfort and visibility. Leave risky actions (unlocking doors) to more tightly controlled automations.
Adding conditions: time of day, brightness level, and security status
Conditions prevent pointless or unsafe automations. For example:
- Time of day: Only turn on lights between sunset and sunrise, or after a specific time.
- Brightness: Use outdoor light sensors or weather data to skip lights when it’s already bright.
- Security status: Only disarm or change alarm modes when it’s currently “Armed Away”, never when it’s already in “Home” or “Night”.
These conditions keep routines from triggering during a sunny afternoon or while cleaners are inside with a different mode active.
Sample automation flows for different platforms (Home Assistant, Alexa, Google Home, SmartThings)
Here’s how the same idea looks conceptually across platforms:
- Home Assistant: Use a single automation with triggers (door open/close, hallway motion), conditions (state == Away, sun below horizon), and actions (set input_boolean presence, call scenes, adjust thermostat).
- Alexa: Create a Routine triggered by the door sensor, with an “if motion detected in hallway within X minutes” condition (or a separate motion-triggered routine that checks house mode via a virtual switch).
- Google Home: Build a Scripted Routine that runs when a specific sensor changes, then checks home/away and time-of-day conditions before running actions.
- SmartThings: Use the Routine creator: IF door opens AND household location is Away AND hallway motion detected within given time → set location to Home + run scene.
The details differ, but the logic remains: sensor pattern + conditions → presence state → actions.
Designing a ‘Leave Home’ Routine Using Motion and Contact Sensors
Trigger logic: door closes + no motion for X minutes = everyone has left
Leaving is best modeled as a lack of activity after the last door closes. A common pattern:
- Front door contact sensor changes from open → closed.
- No motion detected in hallway, living room, and kitchen for 5–20 minutes.
- Current house state is “Home”.
Once this condition is met, the house can safely switch to “Away” and run your Leave Home routine. The delay allows for quick returns (grabbing the mail, taking out trash) without flipping into Away mode.
Example actions: turn off lights, lower thermostat, arm security, lock doors
Your Leave Home routine might:
- Turn off all interior lights or switch to minimal “vacancy” lighting.
- Set thermostat to eco/away temperature or schedule.
- Turn off non-essential smart plugs (irons, heaters, office gear).
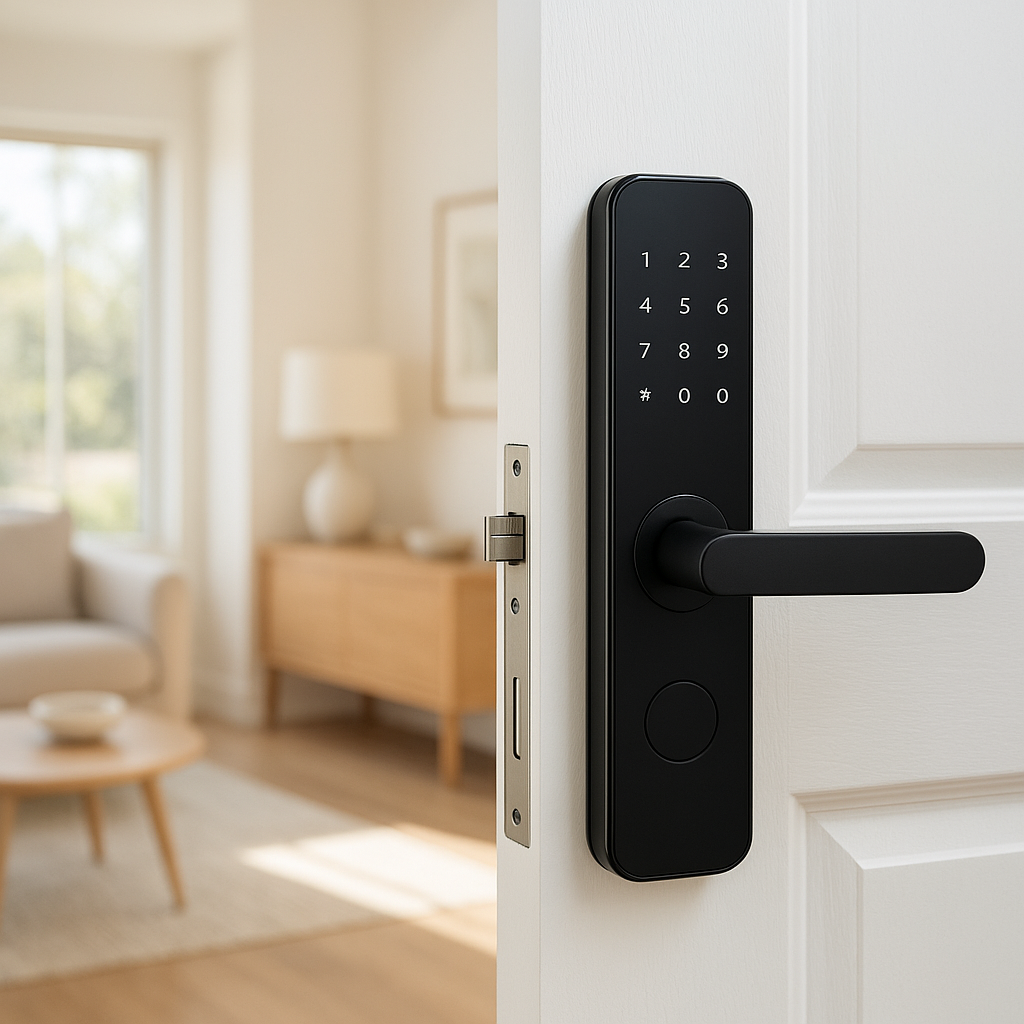
- Lock smart locks on all exterior doors that are currently closed.
- Arm your security system in “Away” mode and enable camera recording.
These automations save energy and increase security without you needing to run a checklist every time you walk out.
Avoiding accidental triggers when only going to the yard or garage
Short trips outside shouldn’t flip the whole house into Away mode. To avoid this:
- Use longer motion-free delays—for example, 15–20 minutes instead of 5.
- Exclude back door/yard patterns if you often go in and out quickly there.
- Add extra motion sensors in core rooms. If any of them see motion during the delay, reset the “away timer”.
- Ignore internal door opens (like to a garage) when deciding if the house is empty.
Think about your everyday habits and tune the logic to match them.
Using “last person leaving” logic with phones + sensors for extra safety
If you still want a bit of phone-based context, you can:
- Use Wi‑Fi presence (phone connected to home Wi‑Fi) or Bluetooth presence to track each household member.
- Only run the Leave Home routine when the house believes no residents are connected AND the door close + no motion pattern is true.
- Keep geofencing as a secondary signal—e.g., if everyone’s phones are far away, treat the house as confidently empty.
This hybrid approach is still safer and more private than pure geofencing, because the critical actions depend on physical sensors as well as presence signals.
Handling Multi-Resident Homes and Guests
Using room-by-room motion to confirm the house is really empty
In busy homes, someone may stay behind while others leave. To avoid shutting everything down on them:
- Track motion in key living areas (living room, kitchen, main hallway, home office).
- Use a longer global “no motion” window (20–30 minutes) before declaring the house empty.
- Reset the “away timer” whenever motion is detected in any major room.
This lets your home treat occasional hallway motion differently from real occupancy patterns throughout the house.
Optional presence signals: Wi‑Fi, Bluetooth, or smart watches
You can also layer in soft presence signals:
- Wi‑Fi presence: Many hubs can detect when a phone connects/disconnects from your router.
- Bluetooth beacons: Some systems watch for smart watches or phones nearby.
- Car presence: Garage sensors or car trackers to know if the main car is gone.
These don’t need to fully control your routines; they just provide extra confidence to your sensor logic, especially in large families.
Creating guest modes, dog walker modes, and cleaner access routines
Special modes prevent confusion when non-residents come and go:
- Guest Mode: Temporarily disable automatic Away routines or reduce their aggressiveness (leave some lights and HVAC running).
- Dog Walker Mode: Keep security disarmed for specific time windows while still logging door events.
- Cleaner Mode: Prevent locks from auto-locking behind cleaners and avoid arming alarms while they’re scheduled to be inside.
These modes are usually toggled via a scene, a smart button, a keypad, or a schedule in your hub.
Reducing False Alarms and Missed Triggers
Placing sensors to avoid pet motion and street activity
Placement is crucial for reliable automations:
- Aim hallway motion sensors above pet level, so cats and small dogs don’t constantly retrigger them.
- Avoid pointing sensors directly at windows where car headlights or outdoor movement can cause false motion.
- Use narrower-field sensors in tricky spaces rather than ultra-wide ones.
For doors, mount contact sensors securely and test them so small vibrations or loose frames don’t register as open/close events.
Tuning motion timeouts, cool-downs, and delays
Most motion sensors have a “cool-down” time (e.g., 30 seconds, 60 seconds) before they report motion again. Use this to your advantage:
- Shorter timeouts improve responsiveness but can be chatty.
- Longer timeouts smooth out detection and can reduce battery drain.
- Use delays in automations (e.g., wait 10 minutes after last motion) instead of instant triggers for leaving, to reduce false “Away” events.
Experiment for a week and tweak settings based on how often automations fire when they shouldn’t.
Using door + motion + time of day together as a “confidence score”
Instead of trusting a single sensor, think in terms of a simple “confidence score”:
- Low confidence: Only one sensor changed, or at an odd time (e.g., 3 a.m. front door open).
- Medium confidence: Door + motion, but house already occupied.
- High confidence: Door + interior motion + correct time-of-day + previous state was Away or Home as expected.
Use high-confidence patterns to drive big actions (locking doors, arming alarms) and low-confidence patterns just to send notifications or log events.
Privacy, Security, and Safety Considerations
Why sensor-based routines are more private than geofencing
Sensor-based routines don’t need to know where you are—only what’s happening at your home. Most sensor traffic stays inside your local network, especially with hubs like Home Assistant, Hubitat, or HomeKit.
You avoid continuous GPS tracking and reduce the amount of personal data stored by cloud providers. For many households, this is a much more comfortable balance between convenience and privacy.
Making sure automations don’t unlock doors at the wrong time
Be very conservative with smart lock automations. Some guidelines:
- Avoid fully automatic unlocking based solely on sensors, especially without a phone or key fob signal.
- Prefer auto-lock (locking doors when you leave) over auto-unlock.
- If you do use auto-unlock, require multiple signals (phone presence + door sensor + time-of-day) and consider a notification asking you to confirm.
The risk of a misfire that unlocks a door is usually higher than the benefit of never touching your keys.
Local vs. cloud processing and what still works when the internet is down
Another benefit of sensor-based routines is resilience. With a local hub:
- Motion and contact sensors still report events even if the internet is out.
- Arrive/leave automations can continue to run, turning lights on/off and adjusting HVAC as normal.
- Only cloud-dependent actions (like some voice assistants or cloud cameras) may be limited.
If reliability matters, choose devices and platforms that keep core automations local whenever possible.
Real-World Example Setups
Small apartment: 2 sensors for simple arrive/leave routines
For a one-bedroom apartment with a single entrance:
- Place a contact sensor on the front door.
- Place a motion sensor in the main hallway or living room.
- Arrive Home routine: door opens → motion within 30 seconds → it’s after sunset → turn on entry and living room lights, set thermostat to comfort.
- Leave Home routine: door closes → no motion for 10 minutes → turn off all lights, set thermostat to eco, turn off TV and media plugs.
This covers most of the benefit of geofencing with very little hardware.
Family home: multiple entry doors and garage detection
In a detached family home:
- Contact sensors on front door, garage entry door, and main back door.
- Motion sensors in foyer, main hallway, and living room.
- Garage tilt sensor to know if the big garage door is open or closed.
Arrive logic can treat both front and garage entry paths as valid, while Leave logic waits for no motion across multiple rooms and all exterior doors closed before locking up and arming security.
Advanced setup: combining sensors, Wi‑Fi presence, and smart alarm systems
For power users:
- Use Home Assistant or a similar hub to combine sensor data, Wi‑Fi presence, and alarm panel states.
- Create per-person presence entities (based on phones) plus an overall “home occupied” state from sensors.
- Only arm the alarm in Away mode when both the sensor-based “empty” state and the per-person presence state agree that nobody is home.
- Use virtual switches or modes for guests, cleaners, and pet sitters.
This style of setup is far more resilient than pure geofencing, yet still flexible and aware of who likely left or arrived.
Step-by-Step Setup Checklists
Hardware checklist: sensors, hubs, and placement plan
Before you start creating automations, gather and plan:
- 1–3 motion sensors for hallways and main living areas.
- Contact sensors for every main exterior door; optional for windows and garage.
- A hub or platform that supports your sensors (Home Assistant, SmartThings, Alexa, Google Home, Apple Home).
- A simple floor plan marking where each sensor will go and its detection range.
Install and pair each device, then verify they’re reporting correctly in your app before building routines.
Software checklist: automations, conditions, and test scenarios
Set up your logic step by step:
- Create a “Home/Away” mode or presence flag in your platform.
- Build an Arrive Home automation using door + motion + time-of-day conditions.
- Build a Leave Home automation using door close + no motion delay + mode checks.
- Configure scenes for “Arrived Home” and “Left Home” (lights, thermostat, locks, alarm).
Keep each automation simple at first; you can always layer complexity once the basics work reliably.
Testing, troubleshooting, and tweaking your routines over time
Plan a week or two of testing:
- Walk through your normal arrival and departure routines while watching sensor events in your app.
- Log when automations misfire or miss an event and adjust delays or sensor placement.
- Temporarily add notifications (e.g., “House switched to Away”) so you can see when modes change.
- Gradually add advanced conditions or extra rooms once core detection is solid.
Don’t rush. A bit of iteration up front leads to a very stable system long term.
When (and How) to Use Geofencing as a Backup Only
Using geofencing as a secondary signal instead of the main trigger
You can still use geofencing as a backup helper. For example:
- If your phone re-enters a broad geofence around home, pre-warm or pre-cool the house but don’t unlock doors.
- If all residents’ phones leave a large area, gently nudge the house towards Away mode (dim lights, adjust HVAC) without arming alarms yet.
In this pattern, sensors remain the primary trigger. Geofencing just gives the house a “heads up” about what might happen soon.
Setting conservative geofence actions that are safe if they misfire
Any action tied to geofencing should be safe if it triggers too early or too late. Good candidates include:
- Temperature adjustments by a few degrees.
- Pre‑lighting exterior or entry lights.
- Turning on/off non-critical smart plugs.
Avoid critical actions like disarming alarms, unlocking doors, or fully shutting down HVAC based on geofencing alone.
Fine-tuning a hybrid approach: location + sensors for maximum reliability
The most reliable setup often blends both approaches:
- Use motion and contact sensors to definitively mark Home vs. Away and drive security-related actions.
- Use geofencing for early comfort adjustments and to improve responsiveness for long commutes.
- Let Wi‑Fi presence and smart watches refine who is home, but never rely on a single signal for critical decisions.
This hybrid strategy delivers the convenience people expect from geofencing while keeping the robustness of sensor-based logic.
Conclusion: Building Reliable, Geofencing-Free Arrival and Leave Automations
Recap of the sensor-driven approach and key best practices
Automating arrival and leaving home routines without geofencing is very achievable using a few well-placed motion and contact sensors. By watching real doors and real movement instead of phone GPS, your smart home becomes faster, more reliable, and more private.
The key best practices are:
- Always combine door and motion events with timing windows.
- Use delays and conditions to avoid false “Away” or “Arrive” triggers.
- Be conservative with high-impact actions like locks and alarms.
- Iterate on sensor placement and timeouts based on how your household actually moves.
Future-proofing your setup with Matter and local automation
As Matter and Thread devices become more common, it will be even easier to run these routines locally across different brands and ecosystems. Choosing hubs and sensors that support local control today means your arrival and leaving logic will keep working even as cloud services and apps change.
Local-first automation platforms and Matter-compatible sensors also give you more flexibility to change platforms later without reinstalling everything.
Next steps and other routines to automate with motion and contact sensors
Once your Arrive Home and Leave Home routines are stable, you can reuse the same sensors for:
- Automatic hallway and bathroom lights that only run when needed.
- Security alerts when doors open unexpectedly at night.
- HVAC optimizations based on which rooms are actually used.
- Night lighting that gently turns on when someone gets up.
By starting with arrival and departure, you build a strong foundation for the rest of your smart home—and without depending on geofencing at all.
FAQ
Do I need a smart hub to automate arrival and leaving routines without geofencing?
You don’t always need a dedicated hub. Alexa, Google Home, SmartThings, and Apple Home can all act as hubs for certain sensors. However, a more capable hub (like Home Assistant, Hubitat, or SmartThings) gives you better local control, more sensor options, and more flexible logic.
How many sensors do I need to get started?
For a small apartment, you can start with just two sensors: one contact sensor on the main door and one motion sensor in the first room you enter. Larger homes benefit from extra motion sensors in main living areas and contact sensors on all frequently used exterior doors.
Will motion sensors constantly trigger because of my pets?
Not if you place them carefully. Aim sensors higher, avoid pointing them directly at the floor, and consider “pet-immune” models that ignore movement below a certain height. You can also fine-tune automations using timeouts and additional conditions so a single brief motion doesn’t change the home’s overall state.
Is this approach more secure than geofencing?
It’s generally safer because it doesn’t rely on your phone’s sometimes-unreliable location. Actions like locking doors or arming alarms are based on what’s physically happening at your home, not what the cloud thinks. You still need to design routines carefully, but sensor-based logic is less prone to the long delays and random misfires that geofencing can cause.
Can I still use geofencing if I like some of its features?
Yes. The most balanced approach is to let sensors handle critical actions (security, locks) and use geofencing just for comfort actions (pre-heating/cooling, gentle lighting). This way, even if geofencing misses or is delayed, your core routines still work reliably.