Whole-home energy monitors are useful, but a single number for your entire house doesn’t tell you where the electricity is going. Room-by-room energy monitoring lets you see which spaces and devices are quietly driving up your bill, so you can fix the problems without guessing or sacrificing comfort.
By combining smart plugs with circuit-level sensors at your electrical panel, you can build a clear picture of how each room uses power. This guide walks through the planning, hardware choices, setup steps, and automations that turn raw data into real savings.
Why Room-by-Room Energy Monitoring Matters
The problem with a single whole-house energy number
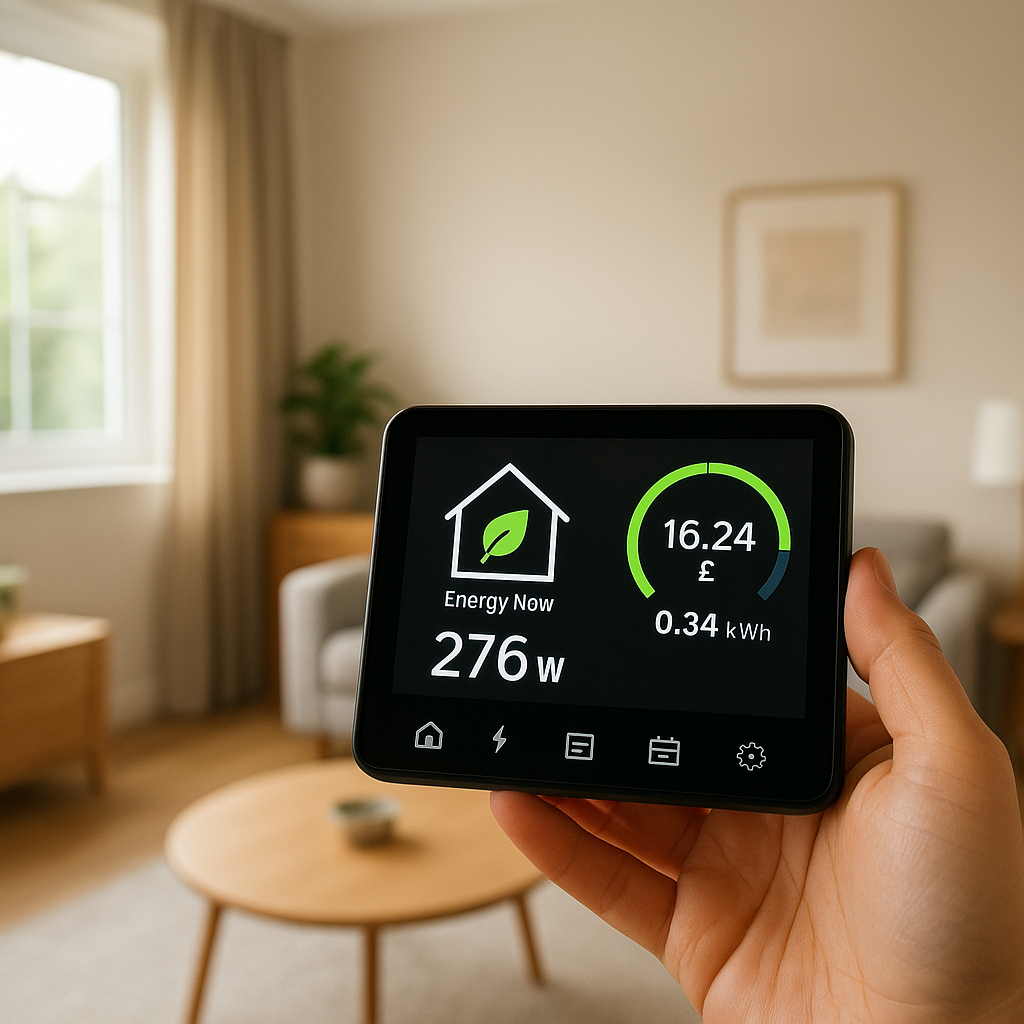
A whole-house monitor or your utility’s smart meter can tell you how many kilowatt-hours (kWh) you’re using overall, but it stops there. You see a spike at 7 p.m., but was it the oven, the dryer, the kids’ gaming PC, or all of the above?
This lack of detail leads to common problems:
- You know the bill is high but don’t know which habits to change.
- Small but constant “always-on” loads stay hidden.
- It’s hard to tell if upgrades (like a new fridge) actually helped.
Whole-home data is useful for trends, but it rarely answers the question, “What exactly is wasting power?”
Benefits of knowing exactly which rooms and devices waste power
Room-by-room monitoring breaks your usage into chunks you can actually act on. For example:
- See that the home office pulls 150 W 24/7 because the printer, router, and spare monitor are never off.
- Spot that the guest bedroom window AC runs hours every day even when no one is visiting.
- Confirm that the media room is the biggest evening draw due to a gaming console, AVR, and streaming box.
This level of detail helps you:
- Prioritize which rooms to upgrade or automate first.
- Catch malfunctioning devices that suddenly start drawing more power.
- Turn vague “use less” goals into specific, measurable changes.
How room-level data helps lower bills and improve comfort
Once you know how each room behaves, you can make targeted changes that save money without making your home less comfortable:
- Use schedules so heaters and AC units pre‑condition rooms before you arrive, then scale back automatically.
- Shift non-critical loads, like dehumidifiers or air purifiers, to cheaper off-peak hours if your utility offers time-of-use rates.
- Balance usage so you’re not over-cooling one room while another stays warm.
Instead of blanket rules like “turn everything off,” you can tailor automation and habits to how each room is actually used.
Smart Plugs vs Circuit-Level Sensors: What’s the Difference?
What smart plugs can monitor (and their limits)
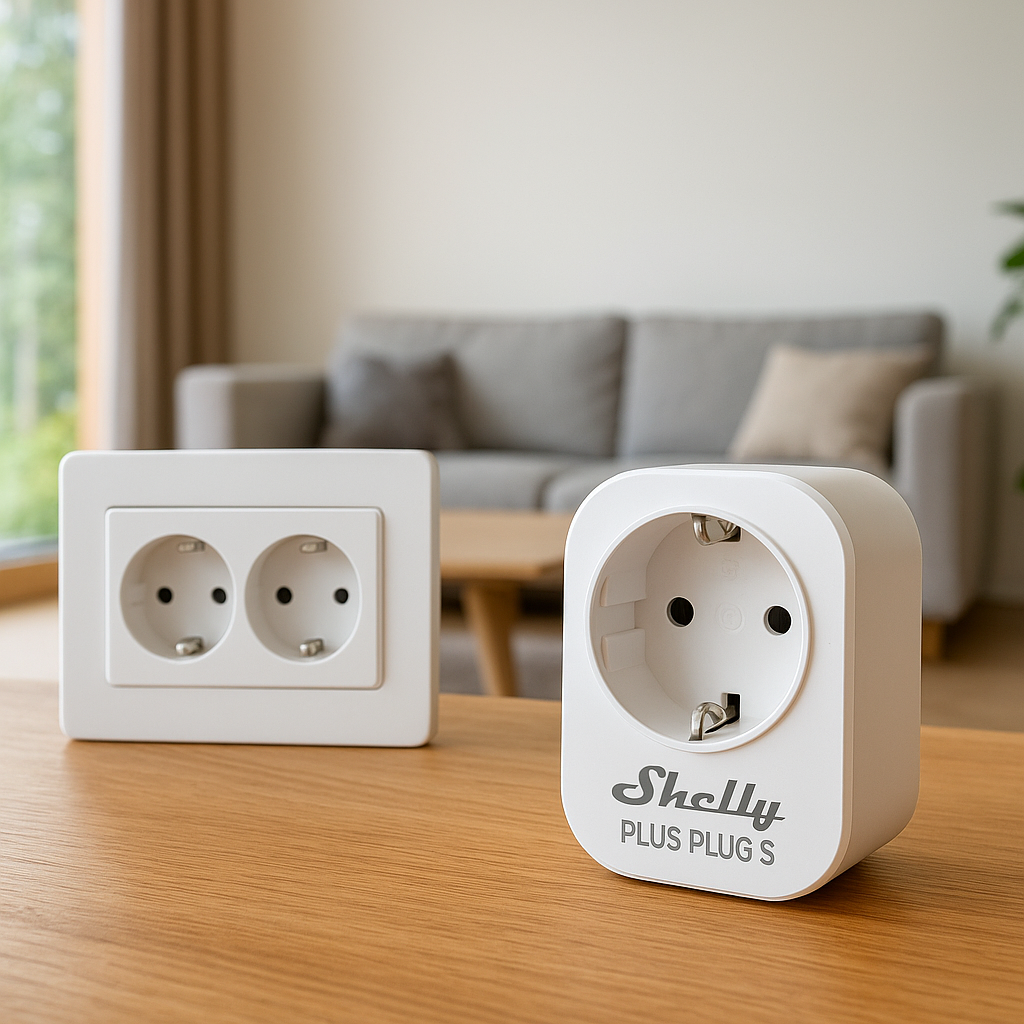
Energy-monitoring smart plugs are outlet adapters that measure the power used by whatever is plugged into them. Examples include TP-Link Kasa plugs, Meross smart plugs, and Eve Energy outlets.
They’re ideal for:
- Individual devices: lamps, TVs, game consoles, PCs, coffee makers.
- Small groups of devices via a power strip (router, modem, smart hub).
- Temporary monitoring to see how much a device uses before deciding what to do.
Limitations:
- Most are rated for 10–15 A (typically 1,800 W max on 120 V). High-draw appliances may exceed this.
- They only see devices plugged into that specific outlet, not the whole room.
- Too many Wi‑Fi plugs can clutter your network.
What circuit-level sensors can monitor at the breaker panel
Circuit-level sensors sit inside or near your electrical panel and measure the current on individual breakers using clamp-on current transformers (CTs). Systems like Emporia Vue, Shelly EM, or Sense Flex can watch multiple circuits at once.
They’re ideal for:
- High-load circuits: HVAC, electric water heater, oven, dryer, EV charger.
- Room circuits: a breaker that feeds all the outlets and lights in a bedroom or living room.
- Always-on loads you can’t easily plug into a smart plug (built-in lighting, hardwired pumps, etc.).
Because they’re installed at the panel, they don’t care what’s plugged in; they just see the total for that circuit.
When to use smart plugs, circuit sensors, or both together
Most homes benefit from a mix:
- Use smart plugs for flexible, device-level detail in living rooms, offices, bedrooms, and media areas.
- Use circuit sensors for big, dedicated loads and any circuit that powers a whole room or zone.
- Use both when you want a circuit’s total and also want to zoom in on specific devices within that room.
This layered approach gives you a clear room-by-room picture without needing a plug on every single outlet.
Planning Your Room-by-Room Energy Monitoring Strategy
Identifying high-consumption rooms and appliances
Start with a quick walkthrough and list the rooms most likely to use a lot of power:
- Kitchen: fridge, oven, microwave, dishwasher, countertop appliances.
- Laundry: washer, dryer, sometimes an extra freezer.
- HVAC areas: rooms with space heaters, window ACs, or mini-splits.
- Media rooms & offices: gaming PCs, large TVs, sound systems, network gear.
Write down the likely “big hitters” and note whether they plug into an outlet or are hardwired. This will guide where you use smart plugs versus circuit sensors.
Choosing which circuits to monitor first (HVAC, kitchen, laundry)
If you’re adding circuit-level sensors, prioritize:
- HVAC: central air handler, condenser, furnace blower, mini-splits, baseboard heaters.
- Water heating: electric water heater or recirculation pumps.
- Kitchen: range/oven, dishwasher, microwave, and any dedicated fridge/freezer circuits.
- Laundry: dryer (240 V in many regions) and washer circuit.
These often account for the majority of your bill. Once they’re covered, you can add room circuits (bedrooms, living room, office) if you have spare CT sensors.
Deciding on budget, wireless protocols, and app ecosystem
Before buying hardware, decide:
- Budget: A handful of smart plugs and a small circuit monitor (like a 4–8 CT system) can often cover the most important loads without a huge spend.
- Wireless protocol: Wi‑Fi plugs are easy to set up but can crowd your router; Zigbee or Thread plugs (e.g., from Aqara or Eve) work better when you have many devices and a hub.
- App ecosystem: Will you live in one manufacturer’s app (e.g., Kasa + Emporia), or integrate everything into a hub like Home Assistant or Hubitat? A unified platform makes room-level dashboards and automations much easier.
Choosing the Right Smart Plugs for Device-Level Monitoring
Key features to look for (energy metering, max load, Wi-Fi vs Zigbee)
Not all smart plugs measure energy. When choosing plugs, check for:
- True energy metering: Look for kWh tracking over time, not just instantaneous watts.
- Max load rating: Ensure the plug’s amp rating meets or exceeds the device’s draw. For most 120 V plugs, aim for 15 A (1,800 W) to be safe.
- Connectivity: Wi‑Fi plugs (like TP-Link Kasa HS110) connect directly to your router, while Zigbee or Thread plugs (e.g., Aqara Smart Plug, Eve Energy with Thread) use a hub or border router.
- Integration: Check compatibility with your ecosystem: Alexa, Google Home, Apple Home, or platforms like Home Assistant.
Safe use of smart plugs with heaters, AC units, and other big loads
High-wattage devices need extra care:
- Confirm the device’s wattage on its label and stay below 80% of the plug’s rated load for safety.
- Avoid using standard smart plugs on large space heaters or window ACs unless the manufacturer explicitly supports that load.
- Never daisy-chain power strips, extension cords, and smart plugs on high-draw devices.
- If you’re unsure, monitor the circuit at the panel instead of putting a plug directly on the device.
For large loads, a dedicated smart outlet module or circuit-level sensor is usually safer and more reliable.
Recommended placement: living room, office, bedrooms, and media centers
You don’t need a plug on every outlet. Focus on “clusters” of electronics:
- Living room: TV, streaming box, game console, soundbar/AVR on one smart plug-controlled power strip.
- Home office: PC, monitor, speakers, printer, and docking station grouped on one or two smart strips with metering.
- Bedrooms: Space heaters, window ACs, electric blankets, and dehumidifiers.
- Networking closet: Router, modem, switches—these are small loads but often always-on.
This arrangement gives strong insights into how each room behaves without overwhelming you with too many devices to manage.
Setting Up Circuit-Level Energy Sensors at the Electrical Panel
Safety first: when to DIY and when to hire an electrician
Working inside an electrical panel can be dangerous. Even with the main breaker off, some parts remain live. Many circuit-monitoring kits are designed for DIYers, but that doesn’t mean they’re right for everyone.
Hire a licensed electrician if:
- You’re not comfortable working around high-voltage wiring.
- Your panel is old, crowded, or uses unfamiliar breaker types.
- Local codes require a professional for panel work.
If you do DIY, follow the manufacturer’s instructions closely and shut off power at the main breaker before installing CT clamps and any necessary power connections.
How clamp-on current sensors work on individual circuits
Clamp-on CT sensors are hinged rings that close around a single conductor (usually the hot wire from a breaker). They measure the magnetic field created by current flow, then the monitor translates that into watts and kWh.
Key points:
- Each CT usually monitors one circuit; some systems support pairing CTs for 240 V circuits.
- They don’t interrupt the circuit—no cutting wires—just clamp around them.
- Accuracy improves when each CT is placed around the correct wire (hot, not the bundle) and configured correctly in the app.
Mapping circuits to specific rooms and major appliances
Once installed, you need to figure out which breaker powers what. A simple process:
- Turn off one breaker at a time and note which lights/outlets go dead.
- Label each breaker in plain language: “Kitchen outlets north wall,” “Living room + hallway lights,” etc.
- Within the energy monitor app, assign each CT to a breaker and then to a room or device (e.g., “Dryer – Laundry,” “Bedroom 2 outlets”).
This mapping step is crucial for accurate room-by-room views later.
Step-by-Step: Building a Room-by-Room Monitoring Layout
Creating a room-by-room and circuit-by-circuit inventory
Before you start pairing devices, build a simple inventory:
- List each room and the major devices you want to track.
- Next to each device, note if it will be covered by a smart plug or a panel sensor.
- List each monitored circuit and which rooms or loads it powers.
A shared spreadsheet or note in your phone helps keep everything organized as you install and name devices.
Assigning each plug and circuit to a room in your app
Most apps (Kasa, Emporia, Home Assistant, etc.) support rooms or zones. As you add each smart plug or circuit sensor:
- Place it in the correct room from the start.
- Double-check that a device isn’t accidentally assigned to the wrong floor or zone.
- Use the app’s grouping feature (if available) to create room totals.
Taking a few extra seconds at setup avoids messy dashboards and confusing totals later.
Naming conventions that keep your data easy to understand
Good names make your dashboards readable and automations easier to build. Some tips:
- Use a consistent pattern: Room – Device (e.g., “Living Room – TV & Console,” “Office – PC & Monitor”).
- For circuits, use Panel – Circuit – Room (e.g., “Main Panel – Breaker 14 – Kitchen Counter Outlets”).
- Avoid duplicate names like just “Lamp” or “Outlet.” Your future self will thank you.
Integrating Smart Plugs and Circuit Sensors in One App
Platforms that unify data (Home Assistant, Hubitat, manufacturer apps)
If your smart plugs and circuit sensors are from the same brand, the manufacturer app may give you simple room views. For mixed brands or more customization, platforms like Home Assistant, Hubitat, or Homey can unify everything.
Home Assistant’s Energy dashboard, for example, lets you combine circuit-level data with individual devices and solar production in one view. You can learn more in the official Home Assistant Energy documentation.
Setting up dashboards for each room and for the whole home
Once your data is unified, create dashboards that match how you actually think about your home:
- Whole-home view: Total consumption, solar (if any), and major categories like HVAC, water heating, and “everything else.”
- Room views: Each room with its smart plugs and related circuits grouped together.
- Time-based charts: Daily, weekly, and monthly usage for quick spotting of trends.
These views make it obvious which rooms to focus on next.
Syncing device names and rooms across multiple apps
If you use both manufacturer apps and a central hub, try to keep naming aligned:
- Rename devices in the manufacturer app first, then sync or rediscover in your hub.
- Use the same room names everywhere (e.g., “Office” instead of “Study” in one app and “Den” in another).
- Periodically review your devices list and delete old or duplicate entries.
Consistent naming prevents confusion when you build automations or compare data later.
Using Automations to Cut Waste in Each Room
Auto-shutoff rules for idle TVs, game consoles, and office gear
Energy monitoring isn’t just about graphs—it’s about action. Some practical automations:
- Media center idle cutoff: If the living room AV rack draws less than 40 W for 30 minutes after bedtime, turn off the smart plug.
- Office shutdown: At 8 p.m., turn off the office plug group unless power usage suggests someone is still working.
- Standby killer: If a console sits in standby all night, cut power at 1 a.m. and restore it in the morning.
Schedules and presence-based rules for lights and heaters
For rooms that aren’t used all the time, combine schedules, occupancy, and energy data:
- Turn off bedroom heaters if no motion is detected for 30 minutes and it’s not nighttime.
- In guest rooms, keep devices off by default and only enable outlets when a guest is scheduled.
- Set lights and decorative devices (like LED strips) to shut off automatically after a set time.
Linking energy monitoring with smart thermostats and sensors
Room-level data pairs nicely with smart thermostats and sensors:
- Use temperature and occupancy sensors to decide when to heat or cool specific rooms.
- Compare HVAC circuit usage against room temperatures to see which rooms are hard to condition.
- Adjust thermostat schedules if energy data shows the system running much longer than expected.
This helps you maintain comfort while trimming unnecessary runtime.
Interpreting Your Energy Data and Finding Quick Wins
Daily and weekly patterns: spotting vampire loads and always-on devices
Once your system has been running for a week or two, review daily and weekly graphs:
- Look for flat “always-on” baselines in each room—network gear, cable boxes, and some TVs can draw 10–30 W each 24/7.
- Identify spikes at odd hours that don’t match your routine.
- Check whether nighttime usage is higher than it needs to be, especially in offices and media rooms.
Even small vampire loads add up over a month, especially across multiple rooms.
Comparing rooms to find outliers and hidden energy hogs
Compare similar rooms side by side:
- Why does one bedroom use twice as much power as another?
- Is the office’s baseline much higher than the living room’s, even when no one is working?
- Does the garage or basement quietly consume more than expected due to dehumidifiers or freezers?
Outliers usually point to a specific device or habit that’s easy to fix once you’ve spotted it.
Simple tweaks that usually save the most (schedules, power strips, habits)
Many savings come from simple changes:
- Use switched smart power strips for TVs, consoles, and office gear to eliminate idle consumption overnight.
- Shorten schedules for decorative lighting or fans.
- Move non-critical loads (like some charging or dehumidifying) to off-peak hours where rates are lower.
- Set reminders or automations to shut down equipment at the end of the workday.
Advanced Tips: Alerts, Targets, and Seasonal Adjustments
Setting energy budgets per room and per circuit
Once you understand your baseline, set soft budgets:
- Give each room a monthly kWh target based on past usage.
- Track high-impact circuits (HVAC, water heater, dryer) against personal goals.
- Review halfway through the month to see if you’re on track.
Budgets turn vague goals (“we should use less”) into something you can measure and improve over time.
Creating alerts for unusual spikes or always-on appliances
Alerts help catch issues early:
- Notify you if a room’s power use jumps by more than a set percentage compared to its normal baseline.
- Alert if a device that should cycle (like a well pump or dehumidifier) runs continuously for hours.
- Warn if an outlet draws more than its safe limit, which can indicate a failing device.
Some systems, such as Sense, specialize in detecting unusual patterns; their overview of device detection in how Sense works is useful background even if you use a different monitor.
Adjusting monitoring and automations for summer vs winter use
Seasonal shifts matter:
- In summer, watch AC circuits, fans, and dehumidifiers more closely.
- In winter, focus on space heaters, electric blankets, and heat pumps.
- Adjust schedules and budgets to reflect shorter days (more lighting) or longer cooling seasons.
Revisit your automations each season so they still match how you’re using your home.
Troubleshooting Common Room-Level Monitoring Issues
Inaccurate readings and calibration tips
If numbers don’t look right:
- Compare a known device’s rated wattage to the app’s reading to see if they match roughly.
- Ensure CT clamps are fully closed and installed on the correct wires.
- Update firmware for smart plugs and monitoring hubs.
- Reconfigure voltage settings if the monitor allows it and you’re in a region with a different nominal voltage.
Wi-Fi and Zigbee range problems in distant rooms
Smart plugs at the edges of your home may drop offline:
- Add a Wi‑Fi access point or mesh node to improve coverage.
- Use Zigbee or Thread plugs to build a stronger mesh network, especially in larger homes.
- Avoid placing plugs inside metal cabinets or behind thick masonry where signals struggle.
What to do when circuits cover multiple rooms
Older homes often have breakers that power parts of several rooms. In that case:
- Use the circuit sensor for overall tracking but rely on smart plugs to separate key devices by room.
- Annotate the circuit in your app as “Mixed – Living/Dining/Entry” so you remember it’s shared.
- Over time, your data plus a few on/off tests can help you approximate how much of that circuit belongs to each room.
Privacy, Security, and Data Storage Considerations
How detailed energy data can reveal occupancy patterns
Room-level monitoring can inadvertently reveal when you’re home, when you sleep, or when certain rooms are used. A detailed energy signature can show:
- Regular work hours in a home office.
- Bedtime routines from bedroom lights and TVs.
- Vacations or long absences.
This is powerful data, so treat it like any other sensitive information.
Choosing local vs cloud-based monitoring solutions
Some systems process and store data locally (e.g., Home Assistant with local devices), while others rely heavily on cloud services. Consider:
- Local: More control and privacy, but you manage backups and hardware.
- Cloud: Easier remote access and vendor features, but data lives on someone else’s servers.
- Hybrid: Local processing with optional cloud backup or remote access.
Review privacy policies and data retention practices before committing to a platform.
Best practices for securing your smart energy devices
To keep your monitoring system secure:
- Use strong, unique passwords and enable two-factor authentication where available.
- Keep firmware and apps up to date to patch security issues.
- Consider placing IoT devices on a separate Wi‑Fi network or VLAN if your router supports it.
- Regularly review which accounts and integrations have access to your data.
Example Room-by-Room Setup Scenarios
One-bedroom apartment: maximum insight with minimal hardware
For a small apartment, you can often get great coverage with:
- 3–5 smart plugs: media center, office nook, bedroom heater or AC, and networking gear.
- Optional 2–4 circuit sensors: main kitchen/living outlets and the AC or electric heater circuit.
This setup reveals how much power your combined living space and bedroom use without overcomplicating things.
Three-bedroom family home: balancing cost and coverage
In a larger home, focus on high-impact areas first:
- Panel monitor with CTs on HVAC, water heater, dryer, and main kitchen circuits.
- Smart plugs in the living room, home office, kids’ gaming area, and any space heaters.
- Optional plugs in the garage or basement for freezers, dehumidifiers, and power tools chargers.
This balances cost and coverage while still giving meaningful room-by-room insight.
Home office and media room: targeting high-load electronics
Electronics-heavy rooms are often the best targets for early optimization:
- In the office, group the PC, monitors, speakers, and dock on a smart power strip with metering and schedules.
- In the media room, place the AV stack on a metered plug and use automations to kill standby loads at night.
- Use monitoring data to decide which devices can be fully powered down and which should stay in standby for convenience.
Conclusion: Turning Room-Level Insights into Long-Term Savings
How to prioritize your next upgrades based on monitoring data
After a month or two of room-by-room monitoring, patterns emerge. Use them to guide upgrades:
- Replace the worst offenders first: that old fridge, a power-hungry plasma TV, or space heaters running all day.
- Improve insulation or sealing in rooms where heating or cooling runs constantly.
- Add more targeted automations in the rooms with the highest baselines.
Your data becomes a roadmap, helping you spend money where it makes the most difference.
Building a roadmap from basic tracking to full home automation
You don’t have to build a complex system overnight. A simple path looks like this:
- Start with a few smart plugs in key rooms.
- Add a circuit-level monitor for HVAC and major appliances.
- Integrate everything into a central app or hub.
- Layer in automations, alerts, and seasonal adjustments over time.
Step by step, you move from curiosity (“How much does that room use?”) to a responsive, efficient home where room-by-room energy monitoring quietly keeps your bills in check.
FAQ
Do I need both smart plugs and a circuit-level monitor to get useful data?
No, but they work well together. Smart plugs give fine-grained detail for individual devices, while circuit monitors cover big loads and whole rooms. If budget is tight, start with smart plugs in your highest-use rooms, then add circuit monitoring later.
Will room-by-room energy monitoring really lower my bill?
Monitoring alone doesn’t save money, but it reveals where to act. Most households can find meaningful savings by cutting always-on loads, tightening schedules, and upgrading a few inefficient devices once they see how each room uses power.
Is it safe to install circuit-level sensors myself?
Many systems are designed for DIY, but the electrical panel is not a beginner-friendly place. If you’re unsure or uncomfortable, hiring an electrician is the safest option and often doesn’t add much to the overall project cost.
How much data storage do I need for long-term monitoring?
Cloud-based systems usually handle storage for you, sometimes with limits on historical detail. Local systems depend on your own hardware; a small server or Raspberry Pi running a platform like Home Assistant can store years of data if configured correctly.
What’s the easiest way to start if I’m not very technical?
Begin with 2–3 energy-monitoring smart plugs from a reputable brand. Install the app, name each plug with its room and device, and watch the daily and weekly usage. Once you’re comfortable, you can decide whether circuit-level sensors or a hub are worth adding.