Electric baseboard and radiant heaters can be efficient and reliable, but the classic dial thermostats they’re usually paired with are not. If you’re used to the convenience of smart lighting and voice assistants, it’s natural to want the same control over your electric heat.
However, you can’t just swap in a Nest or Ecobee where a baseboard thermostat lives. Electric baseboard and in-floor radiant systems usually run on high-voltage power, and they need thermostats specifically designed for that job.
This guide breaks down what makes these systems different, how to stay safe with 120/240V wiring, and the best smart thermostats for electric baseboard heat in 2026. You’ll also find installation basics, smart automation ideas, and a quick decision guide to help you pick the right model for your home.
Why Electric Baseboard and Radiant Heating Need Special Smart Thermostats
Line-voltage vs low-voltage: What makes baseboard heat different
Most smart thermostats you see advertised (Nest, Ecobee, Honeywell T-series, etc.) are designed for low-voltage systems—typically 24V HVAC setups used with furnaces, heat pumps, and central air. These thermostats control equipment using small control signals, not the full power that runs the heater.
Electric baseboard and many electric radiant floor systems are different. They use line voltage: 120V or 240V power directly from your electrical panel. The thermostat isn’t just sending a signal; it’s actually switching the full power on and off to the heater.
- Low-voltage systems (24V): Central forced air, heat pumps, boilers controlled by a separate low-voltage circuit.
- Line-voltage systems (120/240V): Electric baseboard heaters, wall convectors, many radiant in-floor electric mats.
A thermostat designed for 24V cannot safely handle 120/240V power. You need a line-voltage smart thermostat that’s explicitly rated for electric baseboard or radiant heat.
Common compatibility mistakes homeowners make
There are a few recurring mistakes people make when trying to upgrade thermostats for baseboard heat:
- Assuming any “smart thermostat” will work: If your existing thermostat is bulky, has thick wires (usually 12–14 AWG), and is connected to 120/240V, it’s almost certainly line voltage. A Nest or Ecobee is not a plug-and-play replacement.
- Ignoring voltage and amperage ratings: Every thermostat has a maximum voltage and current it can switch. If your heater draws more power than the thermostat’s rating, you can overheat the thermostat or wiring.
- Overlooking multi-heater circuits: One thermostat may control multiple baseboard heaters in a room. The total wattage of all heaters on that circuit matters for compatibility.
- Misidentifying radiant systems: Some radiant floors are electric (line-voltage), others use hot water and a boiler (low-voltage). They require completely different thermostat types.
Safety and code considerations with 120/240V heating circuits
Line-voltage circuits can deliver serious shock or fire risk if handled incorrectly. Local electrical code usually treats thermostat replacement on 120/240V circuits as electrical work, not just a DIY gadget upgrade.
- 120/240V circuits are often on a dedicated breaker for each room or zone.
- Connections are typically made with wire nuts in electrical boxes. Poor connections can overheat.
- Some areas require a disconnect means or specific thermostat type (single-pole vs double-pole) for safety.
If you’re not comfortable identifying breakers, reading wiring diagrams, or using a voltage tester, plan to involve a licensed electrician. It protects you, your home, and your insurance coverage.
Key Features to Look for in a Smart Thermostat for Electric Baseboard Heat
Line-voltage compatibility and supported amperage
Start by confirming that a thermostat is explicitly rated for electric baseboard, convector, or radiant heaters. Then check:
- Voltage: 120V, 208V, and/or 240V support. Many heaters are 240V, but check your breaker and heater label.
- Max load (amperage/wattage): Common ratings are 16A at 240V (about 3,840W). Add up the wattage of all heaters on the circuit to make sure you’re under the limit.
- Number of poles: Some models come in both single-pole and double-pole versions; match this to your existing setup or to local code requirements.
Single-pole vs double-pole thermostats explained
Line-voltage thermostats are usually described as single-pole or double-pole:
- Single-pole: Interrupts one hot wire. Usually has an “off” that is more like a low setting, and one conductor is always energized. Often acceptable but may not fully disconnect power to the heater.
- Double-pole: Interrupts both hot wires on a 240V circuit. When turned off, power to the heater is completely cut. This is often considered safer and may be required by code in some regions.
When in doubt—or if you want a true “off” for maintenance or safety—look for a double-pole smart thermostat that matches your circuit.
Smart features that actually matter for baseboard and radiant heat
Some smart features are more helpful for electric baseboard than others:
- Room-by-room control (zoning): Baseboard systems are naturally zoned. Being able to control each room independently is a big comfort and savings win.
- Adaptive or “learning” preheat: Radiant and baseboard heaters take time to warm up. A thermostat that learns how fast your room heats can start earlier so it reaches temperature on schedule.
- Open-window detection: Some smart thermostats detect sudden temperature drops and automatically cut heat to avoid wasting power.
- Frost protection / minimum temperature: Useful for cabins or unused rooms you don’t want to freeze.
App quality, scheduling options, and remote access
The app makes or breaks day-to-day usability. Look for:
- Bulk scheduling: Copy a schedule from one room to others so you’re not re-creating it 10 times.
- Multiple schedules: Weekday/weekend, vacation mode, and quick overrides.
- Remote access: Adjust heat remotely when traveling or heading to a vacation property.
- Shared access: Let family members control heat without sharing your main account password.
Energy monitoring and ways to reduce electric heating costs
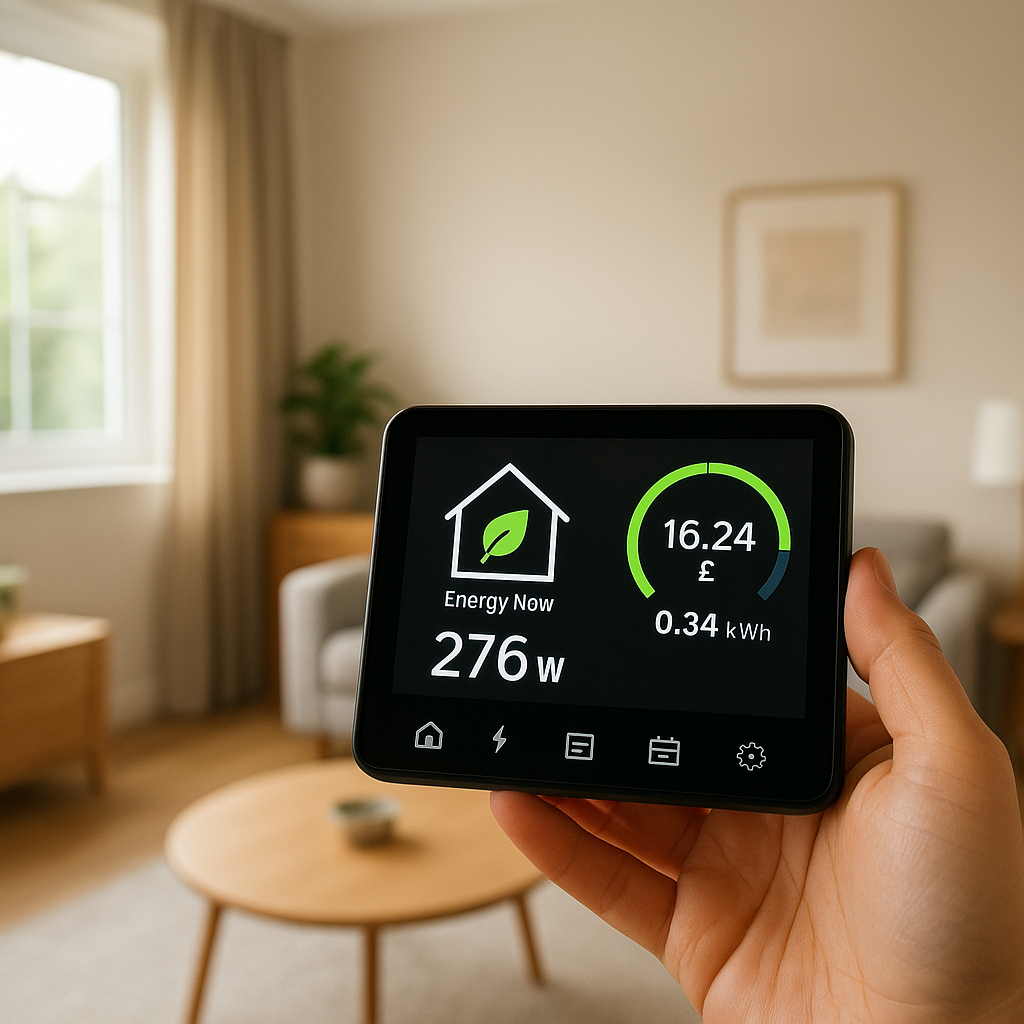
Electric resistance heat is usually one of the most expensive ways to heat a home. Smart thermostats that track runtime or energy usage can help you see where your power bill is going.
- Room-by-room energy estimates show which spaces are most expensive to heat.
- Usage history helps you see how schedule changes affect consumption.
- Some apps can estimate cost based on your electricity rate, which you can compare against your utility bill.
For background on how electric baseboard heaters work and why they draw so much power, you can read the overview on electric baseboard heaters.
Can You Use a Regular Smart Thermostat with Electric Baseboard Heat?
Why Nest, Ecobee, and other low-voltage thermostats don’t work directly
Popular smart thermostats like Google Nest and Ecobee are designed for 24V low-voltage systems. They expect thin thermostat wires and a separate transformer that powers both the thermostat and the HVAC controls.
Baseboard heaters, by contrast, bring full line voltage directly to the thermostat box. Connecting a low-voltage thermostat directly to those wires would destroy the thermostat and create a severe safety hazard.
Unless your electric heat is controlled through a dedicated low-voltage relay system (uncommon in typical baseboard setups), you cannot directly replace a baseboard thermostat with Nest/Ecobee/Honeywell low-voltage models.
Using relays and contactors: When it’s possible and when it isn’t worth it
Some advanced DIYers and electricians do use relays or contactors to bridge the gap between low-voltage thermostats and line-voltage heaters. The idea is:
- The smart thermostat controls a low-voltage relay coil.
- The relay’s high-voltage contacts switch the 120/240V power to the heaters.
This can work, but it adds cost, wiring complexity, and more failure points. It’s only worth exploring if:
- You already have low-voltage wiring to the thermostat location, and
- You’re working with an electrician comfortable designing and installing the control circuit.
For most homeowners, a purpose-built line-voltage smart thermostat is simpler, safer, cleaner, and usually cheaper once you factor in labor and extra hardware.
Warranty, insurance, and safety risks of DIY workarounds
Mixing components in ways they weren’t designed for can void warranties on both thermostats and heaters. If a fire or damage occurs and an insurance investigator finds an unapproved wiring modification, it might complicate claims.
Manufacturers of low-voltage thermostats generally specify that they are not for direct use with line-voltage heaters. If you choose to use relays or custom controls, work with a licensed electrician and follow manufacturer specs and local code.
Best Smart Thermostats for Electric Baseboard Heat (Top Line-Voltage Picks)
Mysa Smart Thermostat for Electric Baseboard Heaters: Best overall
Mysa is one of the most popular dedicated smart thermostats for 120/240V electric baseboard and in-wall heaters. It’s designed specifically for line-voltage systems, with a clean, minimalist touchscreen design.
- Compatibility: Works with most 120–240V baseboard and convector heaters up to typical circuit limits.
- Smart features: App control, schedules, vacation mode, geofencing, and open-window detection.
- Integrations: Supports Alexa, Google Assistant, Apple HomeKit, and some smart home platforms.
- Best for: Homeowners who want a polished experience, strong app, and wide ecosystem support.
Sinope Smart Thermostat (TH112 Series): Best for advanced automation
Sinopé (often branded as “Sinope Smart Thermostat for Electric Heating”) offers TH112 series models built for electric baseboard and radiant heaters. They’re especially popular in Canada and with users who like deeper control.
- Compatibility: 120/240V electric baseboard, convectors, and some radiant floor systems.
- Smart features: Detailed scheduling, energy reports, support for multiple communication protocols (Wi-Fi, Zigbee on some models).
- Integrations: Good fit for users building more advanced automations with platforms like SmartThings or compatible hubs.
- Best for: Power users who value detailed energy data and integration into a broader smart home system.
Stelpro Maestro Smart Thermostat: Best for multi-room control
The Stelpro Maestro ecosystem is designed for whole-home electric heating control. You can pair multiple Maestro thermostats with a central controller to coordinate schedules and energy use across many rooms.
- Compatibility: Electric baseboards and convectors (check model specs for exact limits).
- Smart features: Centralized app control, global schedules, vacation modes, and room-by-room zoning.
- Integrations: Varies by region and model, but aims at broader smart home compatibility.
- Best for: Homes with many electric-heated rooms where you want a single, unified control system.
Honeywell Home / Aube Line-Voltage Smart Options: Reliable mainstream choice
Honeywell Home (often under the Aube brand for line-voltage products) offers programmable and connected thermostats for electric baseboard heat. These may not be as feature-rich as Mysa or Sinopé, but they benefit from a large manufacturer’s support and distribution.
- Compatibility: 120/240V electric baseboard and convectors; check each model’s amperage rating.
- Smart features: Some models offer Wi-Fi connectivity, app control, and basic scheduling; others are programmable only.
- Best for: Homeowners who prefer a familiar brand from big-box stores and want reliable, straightforward control.
Best budget-friendly smart line-voltage thermostats
If you’re working within a tight budget, look for Wi-Fi-enabled line-voltage thermostats from lesser-known brands that still meet safety certifications (UL/CSA/ETL). Many offer:
- Basic app control and schedules.
- Compatibility with 120/240V baseboards up to 15–16A.
- Limited but functional integrations with Alexa or Google Assistant.
These models may lack advanced energy analytics or polished apps but can still provide remote control and smart scheduling without a premium price tag. Always verify ratings, certifications, and user reviews before choosing a bargain option.
Comparison Table: Line-Voltage Smart Thermostats at a Glance
Compatibility: Voltage, wattage, and heater types supported
At a high level, most modern smart line-voltage thermostats support:
- Voltage: 120/208/240V circuits (confirm on the spec sheet).
- Max load: Around 3,600–3,840W per thermostat at 240V (about 15–16A).
- Heater types: Wall-mounted baseboards, in-wall convectors, and many electric radiant floor mats.
Mysa and Sinopé tend to publish clear compatibility charts; Stelpro Maestro focuses on matching Stelpro heaters, while Honeywell/Aube models work with a wide range of generic baseboards.
Smart ecosystem support: Alexa, Google, HomeKit, SmartThings
Support varies by brand:
- Mysa: Strong multi-ecosystem support including Alexa, Google Assistant, and Apple HomeKit on many models.
- Sinopé: Wi-Fi and Zigbee options that can integrate with platforms like SmartThings and voice assistants (model-dependent).
- Stelpro Maestro: Designed to fit into a broader smart home using compatible hubs and services; check the specific hub requirements.
- Honeywell/Aube: Some Wi-Fi models work with popular assistants; programmable-only versions skip integrations.
App experience, scheduling flexibility, and learning features
In general:
- Mysa: Polished, consumer-friendly app with good scheduling and geofencing.
- Sinopé: More detailed controls and data, excellent for power users.
- Stelpro Maestro: Focus on managing multiple rooms and zones from one interface.
- Budget models: Basic apps that handle on/off, temperature, and simple schedules with fewer extras.
Unlike some low-voltage thermostats, most line-voltage smart models do not “learn” your schedule automatically, but they often include adaptive start features to meet your setpoint on time.
Price, warranty, and ideal user profile for each model
Prices are approximate and can change, but as a rough guide:
- Mysa: Mid-to-upper price range, usually with solid warranties; ideal for most homeowners wanting a nice balance of features and simplicity.
- Sinopé: Similar or slightly higher pricing depending on model; great for tech-savvy users integrating multiple devices.
- Stelpro Maestro: Higher total system cost if you outfit many rooms, but efficient for whole-home electric heating.
- Honeywell/Aube and budget models: Lower entry cost and simpler features; better for small spaces or secondary homes.
Installation Basics for Line-Voltage Smart Thermostats
How to confirm your system is electric baseboard or radiant heat
Before buying a thermostat, confirm what you have:
- Look at the heater: Long metal units along the base of walls or in-wall convectors; labels often show 120V or 240V and wattage.
- Check the thermostat: Typically large mechanical dials or simple digital units with thick wires behind them.
- Check the breaker panel: Dedicated 15–20A double-pole breakers labeled “heat” or “baseboard” often indicate 240V electric heat.
If labels are missing or unclear, an electrician or experienced technician can quickly identify the system type.
Safety first: When to hire an electrician vs DIY
Replacing a line-voltage thermostat involves working inside an electrical box with high-voltage wires. Consider hiring an electrician if:
- You’re not fully comfortable shutting off breakers and verifying power is off.
- Your wiring looks old, damaged, or confusing.
- You need to combine or split circuits to match thermostat load ratings.
Many manufacturers provide wiring diagrams for electricians and DIYers. The general principles are similar across brands; for an overview of thermostat behavior and control, see the explanations in the thermostat article on Wikipedia.
Step-by-step overview of a typical line-voltage smart thermostat install
Every model is different, but a typical installation looks like this:
- Turn off the correct breaker(s) feeding the heater circuit.
- Verify power is off with a non-contact voltage tester.
- Remove the old thermostat cover and note how many wires and which colors are used.
- Disconnect the old thermostat, keeping track of line (from panel) and load (to heater) wires.
- Connect wires to the new thermostat according to the manufacturer’s diagram (line to line, load to load, neutral/ground as required).
- Mount the new thermostat base and attach the faceplate.
- Restore power at the breaker and follow the app to complete Wi-Fi setup and scheduling.
Common installation mistakes and how to avoid them
A few pitfalls to watch for:
- Wrong breaker: Always test for voltage at the thermostat wires before touching them.
- Mixing line and load: Crossing these can cause the thermostat to behave unpredictably or fail.
- Overloading the thermostat: Connecting too many heaters to one thermostat, exceeding the rated amperage.
- Poor wire connections: Loose wire nuts or exposed copper can overheat or short.
Optimizing Comfort and Savings with Electric Baseboard Smart Thermostats
Zoning strategies for different rooms and usage patterns
One of the biggest advantages of electric baseboard heat is that it’s already naturally zoned. Smart thermostats let you fine-tune that zoning:
- Keep bedrooms cooler during the day and warmer at night.
- Lower heat in guest rooms or storage areas until needed.
- Warm up home offices only during working hours.
Over time, adjust setpoints based on comfort and energy reports to find your ideal balance.
Smart schedules for peak vs off-peak electric rates
If your utility uses time-of-use pricing, you can schedule more heating during off-peak hours and reduce usage during expensive periods:
- Preheat rooms slightly before peak pricing starts.
- Let temperatures drift down a degree or two during peak times if comfortable.
- Use vacation or away modes during long absences to avoid unnecessary runtime.
Using occupancy sensors, geofencing, and open-window detection
Many smart thermostat apps offer:
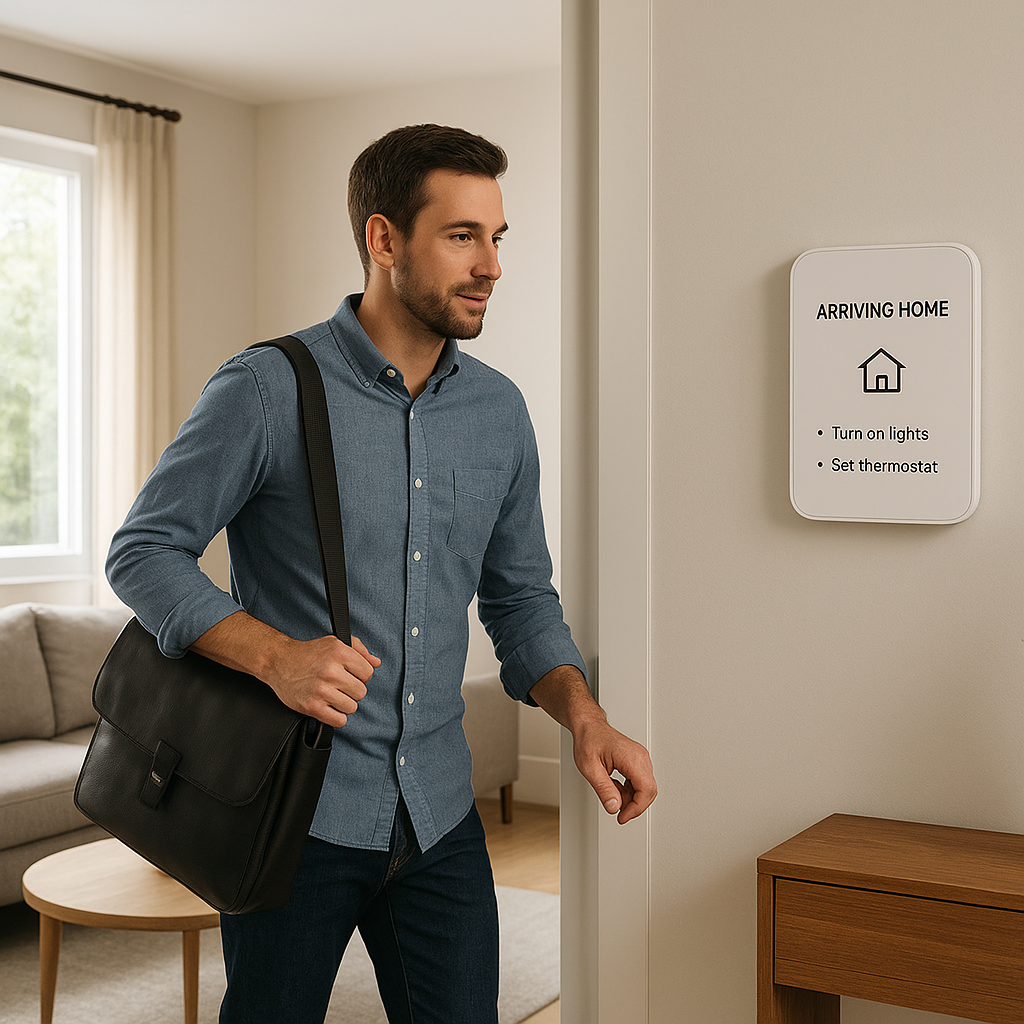
- Geofencing: Automatically lower heat when everyone leaves and preheat when you’re heading home.
- Occupancy or motion sensors: Focus heating on rooms that are actually being used.
- Open-window detection: Pause heating if a fast temperature drop suggests a window or door is open.
These features are particularly valuable for electric heat, where every unnecessary hour of runtime adds up.
Monitoring energy use and tracking savings over time
Use your thermostat’s energy reports as a feedback loop:
- Compare usage before and after schedule changes or weather shifts.
- Identify rooms that consume the most energy and consider additional insulation or air sealing.
- Export or log data monthly to track longer-term trends and improvements.
Smart Home Integration Ideas for Baseboard and Radiant Heating
Creating scenes with smart lighting, blinds, and thermostats
Once your line-voltage thermostats are online, you can tie them into broader smart home scenes:
- “Cozy evening” scene: Dim living room lights, close smart blinds, and raise the thermostat setpoint a couple of degrees.
- “Workday away” scene: Turn off unnecessary lights, lower thermostats across the home, and lock smart locks.
- “Movie night” scene: Adjust lights, blinds, and heat in one command for comfortable viewing.
Voice control with Alexa, Google Assistant, and Siri
With compatible models, you can use voice commands such as:
- “Alexa, set the bedroom to 19 degrees.”
- “Hey Google, turn down the living room heater.”
- “Hey Siri, set the office temperature to 21 degrees.”
Voice control is especially convenient when you’re already in bed or busy cooking and want to tweak comfort without reaching for your phone.
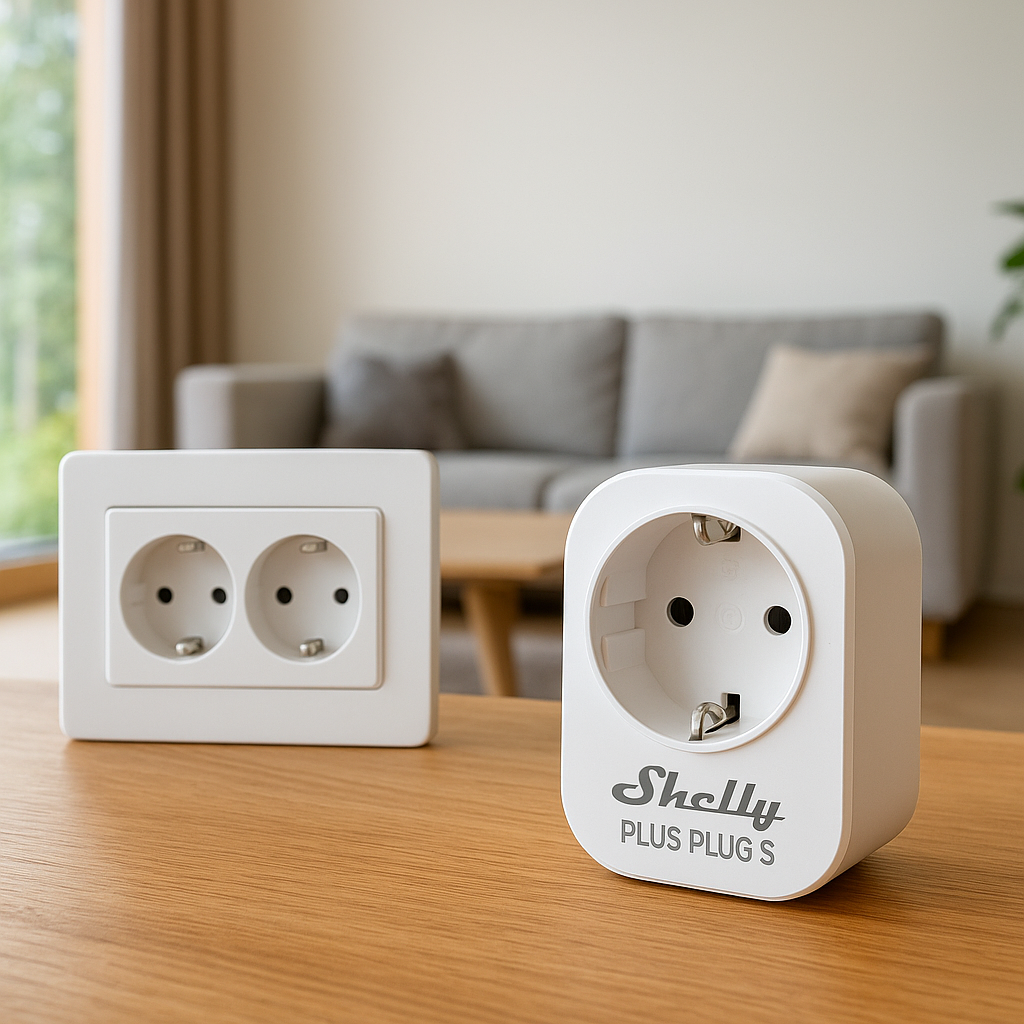
Linking thermostats with smart plugs and sensors for better control
Smart thermostats become even more powerful when combined with:
- Smart plugs: Control supplemental devices like portable heaters (within safe limits) to support rooms with cold spots.
- Door/window sensors: Trigger heat reductions if doors stay open too long.
- Temperature and humidity sensors: Provide more accurate room readings or control humidity for comfort.
Troubleshooting Common Issues with Line-Voltage Smart Thermostats
Thermostat not powering on or not connecting to Wi-Fi
If your new thermostat doesn’t turn on:
- Confirm the correct breaker is on and not tripped.
- Double-check wiring connections, especially line vs load.
- Verify that the thermostat model doesn’t require a neutral wire that isn’t present.
For Wi-Fi issues:
- Ensure your network frequency (2.4GHz vs 5GHz) matches the thermostat’s requirements.
- Move your router or add a mesh node if the signal is weak near the thermostat.
- Check for firmware updates via the app.
Temperature swings, overshooting, or rooms not heating evenly
If rooms feel too hot or too cold compared to the setting:
- Check that the thermostat is installed at a good reference height, away from direct sun or heaters.
- Enable any available adaptive or proportional control modes in the app.
- Confirm heaters and thermostats are correctly matched (voltage, wattage, and type).
- Consider adding a remote sensor if your system supports it and the thermostat is in a poorly representative location.
App glitches, firmware updates, and support options
As with any connected device, occasional app glitches can appear:
- Log out and back into the app or reinstall it.
- Power-cycle the thermostat by flipping the breaker off and on.
- Check the manufacturer’s support pages or forums for known issues.
- Apply firmware updates when prompted, ideally during a time you don’t urgently need heat.
When a Smart Thermostat Isn’t the Right Fit (and Alternatives)
Older wiring, aluminum conductors, or panel limitations
Some homes—especially older ones—may have wiring that isn’t ideal for a modern smart thermostat:
- Aluminum wiring: Requires special connectors and practices; always involve an electrician.
- Overloaded circuits: If adding or upgrading thermostats pushes circuits beyond capacity, you may need panel work.
- Damaged or cramped boxes: Not enough space for the thermostat body and safe wiring connections.
In these cases, a direct smart thermostat swap may not be the safest first move.
Using smart wall plugs, panel controllers, or smart relays instead
If a thermostat upgrade isn’t practical, there are alternatives:
- Smart plugs: For portable heaters within safe wattage limits—but use with caution and never exceed ratings.
- Smart panel controllers: Whole-home or multi-circuit controllers installed at the electrical panel, often controlled via app.
- Smart relays: Installed by electricians to control baseboard circuits remotely, sometimes paired with low-voltage thermostats or home automation hubs.
Planning for future upgrades: From baseboard heat to heat pump systems
If you’re planning long-term upgrades—like replacing electric baseboard with ductless mini-split heat pumps or a central heat pump system—it may make sense to:
- Use basic programmable thermostats on baseboards for now.
- Invest in low-voltage smart thermostats later when the new system is installed.
- Plan wiring and panel capacity upgrades with your electrician to support future equipment.
Final Verdict: Choosing the Best Smart Thermostat for Your Electric Baseboard Heat
Quick decision guide based on home size, budget, and ecosystem
Here’s a quick way to narrow your choice:
- Most homeowners: Mysa offers an excellent balance of compatibility, ease of use, and integrations.
- Automation enthusiasts: Sinopé TH112 series fits well into advanced smart home setups with detailed energy data.
- Whole-home electric systems: Stelpro Maestro is strong for many rooms controlled under one umbrella.
- Budget-conscious or brand-loyal: Honeywell/Aube and reputable budget Wi-Fi thermostats provide basic smarts without premium pricing.
Checklist before you buy: Compatibility, wiring, and features
Before ordering, confirm:
- Your heaters are electric baseboard/convectors or compatible radiant systems.
- The circuit voltage (120/240V) and total wattage are within the thermostat’s rating.
- You know whether you need single-pole or double-pole based on existing wiring and local code.
- The thermostat supports your preferred smart home platforms (Alexa, Google, HomeKit, etc.).
- You’re comfortable with installation steps—or have an electrician lined up.
Next steps to safely install and get the most from your new thermostat
Once you’ve chosen a model:
- Read the installation manual fully before starting.
- Shut off and verify power at the breaker, or schedule an electrician.
- Set up schedules and geofencing in the app right away instead of relying on manual adjustments.
- Monitor energy usage for the first few months and fine-tune temperatures to balance comfort and cost.
A well-chosen, properly installed line-voltage smart thermostat can make electric baseboard and radiant heating far more comfortable and predictable—without sacrificing safety.
FAQ
Do I need a smart thermostat in every room with baseboard heat?
Not necessarily. Many homes prioritize smart thermostats in the most-used rooms—like living areas, bedrooms, and home offices. Less-used spaces can stay on basic thermostats, but full coverage gives you the best control and energy insights.
Can one smart thermostat control multiple baseboard heaters?
Yes, as long as the total wattage of all heaters on the circuit stays below the thermostat’s rated load. Add up the wattage of each heater and compare it with the thermostat’s specs; if you’re unsure, ask an electrician.
Will a smart line-voltage thermostat lower my electric bill?
A thermostat doesn’t change the efficiency of the heater itself, but better scheduling, zoning, and temperature control typically reduce unnecessary runtime. Many homeowners see savings by lowering setpoints when asleep or away and warming only the rooms they actually use.
Do line-voltage smart thermostats work during internet outages?
Yes. The thermostat will still follow its last saved schedule and respond to manual adjustments. You just lose remote control and app-based changes until your internet connection returns.
Can I install a line-voltage smart thermostat in a bathroom with radiant floor heat?
Some models are specifically rated for electric radiant floors and may include a floor sensor. Always choose a thermostat explicitly approved for that use, follow local code for bathroom installations, and consider hiring an electrician for wet-area work.