RVs and camper vans blur the line between vehicle and home. You’re often far from neighbors, parking in unfamiliar areas, and relying on limited power and data. A smart security setup designed for a stationary house doesn’t always translate well to a home on wheels.
This guide walks through how to build the best smart security system for RV life: battery-powered cameras, sensors, hotspot-friendly gear, and off-grid power strategies. Whether you’re a weekend camper, a full-time RVer, or a van lifer who prefers stealth, you’ll learn how to protect your rig without draining your batteries or data plan.
Why RVs and Camper Vans Need a Dedicated Smart Security Setup
Unique security risks for RVs, camper vans, and boondocking
RVs and camper vans face a different risk profile from a typical house. You might be:
- Parking in remote areas with no nearby witnesses.
- Leaving your rig at trailheads or city lots for hours.
- Storing expensive gear like e-bikes, tools, and cameras in exterior compartments.
- Boondocking on public land where people can approach from any direction.
Unlike a house, your entire home can be towed or broken into quickly. Smart security for an RV needs to deter opportunistic theft, give you immediate alerts when something happens, and provide evidence if you need to file a police report or insurance claim.
Challenges with power, connectivity, and mounting gear in mobile homes
Traditional home security systems assume unlimited power and stable internet. RVs and camper vans don’t have that luxury:
- Power limits: You often run on batteries, solar, or a generator. Every device you add cuts into your available amp-hours.
- Connectivity gaps: You may rely on a mobile hotspot, campground Wi‑Fi, or have no connection at all.
- Mounting constraints: Thin walls, fiberglass, and rental contracts make drilling holes risky or off-limits.
That’s why the best smart security system for RV living leans heavily on battery power, low data usage, and non-permanent mounts.
What “best smart security system for RV” really means for different travelers
“Best” looks different depending on how you travel:
- Weekend campers: Need simple, low-maintenance gear that can sit unused for weeks and work immediately when it’s time to camp.
- Full-time RVers: Want 24/7 monitoring, multiple cameras, environmental sensors, and robust remote access.
- Van lifers and stealth campers: Prioritize discreet, low-profile devices that don’t draw attention or require visible wiring.
- Families and pet owners: Need reliable interior monitoring and alerts about temperature, smoke, and CO while away.
This guide focuses on flexible components so you can mix and match for your style of travel, rather than pushing a single all-in-one kit.
Key Features to Look For in an RV Smart Security System
Battery life, solar options, and low-power standby modes
Battery-powered cameras and sensors are ideal for RVs, but not all are equal. Look for:
- Long standby time: Cameras that last 2–6 months on a charge with motion-based recording (e.g., Arlo, eufy, Blink outdoor models).
- Swappable batteries: So you can keep a spare charged instead of taking cameras offline.
- Solar panels: Optional plug-in solar chargers that keep cameras topped up, especially for boondocking.
- Low-power modes: Options to reduce frame rate or only record on motion or specific schedules.
For sensors, battery life should be measured in years, not weeks. Check manufacturer specs and reviews from mobile users, not just homeowners.
Hotspot-friendly devices that work with limited or metered data
Many RVers run everything off a mobile hotspot or dedicated cellular router. Your security gear should:
- Support 2.4 GHz Wi‑Fi (most hotspots use this band).
- Offer data-saving options like lower resolution, shorter clips, and motion zones.
- Allow you to turn off unnecessary features like constant live streaming or continuous cloud backups.
Some cameras, such as Arlo Go and Reolink Go series, include built-in LTE so they don’t rely on your hotspot at all. These can be excellent options for rigs frequently parked beyond campground Wi‑Fi range.
Local storage vs cloud storage when you’re often off-grid
For RVs, local storage is essential. Cloud is a nice bonus, not the foundation.
- Local storage: Cameras with microSD cards or a local hub (e.g., eufy HomeBase, Reolink NVR) record even when there’s no signal.
- Cloud storage: Useful for backing up critical clips and accessing footage if the camera is stolen, but it uses data.
- Hybrid approach: Record everything locally, upload only motion events or “favorite” clips to the cloud.
Prioritize systems that still function fully offline and sync when your hotspot reconnects.
Weather resistance, vibration tolerance, and theft-resistant mounting
RV security gear faces weather, wind, and vibration on the highway. Check for:
- Outdoor rating: IP65 or better for exterior cameras and sensors.
- Temperature range: Make sure it can handle cold nights and hot dashboards.
- Secure mounts: Options to screw into brackets or lock camera bodies so they can’t be grabbed easily.
When mounting outside, consider the possibility of branches, road vibration, and movement of slide-outs. Gear marketed for “outdoor” or “construction” use usually handles vibration better than delicate indoor-only devices.
Best Battery-Powered Smart Security Cameras for RVs and Camper Vans
Compact outdoor cameras that run on rechargeable batteries
Compact battery-powered outdoor cameras are the backbone of most RV setups. Popular categories include:
- General-purpose outdoor cameras: Blink Outdoor, Arlo Essential, and eufyCam 2C are lightweight, weather-resistant, and last weeks or months on a charge.
- LTE-enabled cameras: Arlo Go 2 and Reolink Go PT use their own SIM card, ideal for remote boondocking without Wi‑Fi.
- Floodlight cameras: Battery-based floodlight cams (e.g., some Ring models) add bright light to deter intruders near doors or storage bays.
Mount one camera to cover the main door side, and another for the rear or bike rack. Aim for wide-angle coverage but avoid pointing directly at headlights or bright streetlights that can wash out night vision.
Interior cameras for monitoring pets, gear, and living space
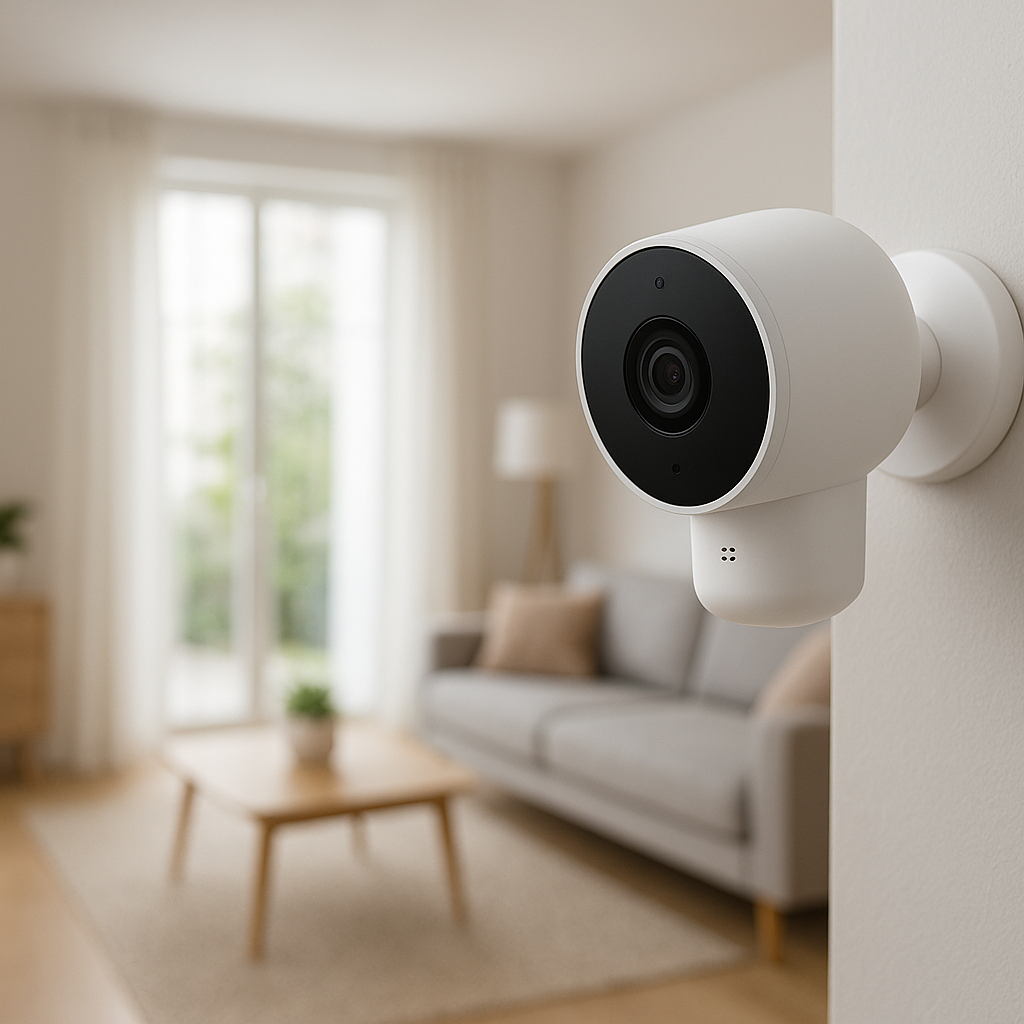
Interior cameras help you check on pets, confirm you closed the vents, and see what’s happening while you’re away. For inside an RV or van, look for:
- Compact form factor: Small enough to sit on a shelf or cabinet without blocking your view.
- Wide field of view: 120°+ to cover most of the living area from a single point.
- Low-light capability: Infrared night vision that isn’t overly reflective on glossy surfaces.
Plug-in cameras like Wyze Cam, Eufy Indoor Cam, or Ring Indoor Cam can run from your 120V system or a small inverter. If you prefer pure battery power, choose a battery camera you can bring inside at night and mount with a removable bracket.
Doorbell-style cameras for RV doors and van side doors
Video doorbells work well on RV doors and van sliding doors because they:
- Show you who’s outside before you open the door.
- Record visitors or maintenance staff when you’re away.
- Provide a familiar interface if you already use a similar doorbell at home.
Battery-powered doorbells such as Ring Video Doorbell (battery) or Eufy battery doorbells can be attached with an adhesive or a thin mounting plate. Make sure the viewing angle captures the doorway area and not just the ground below.
How to mount cameras without drilling or damaging RV surfaces
If you rent, lease, or simply dislike drilling, you still have options:
- Adhesive mounts: VHB-style outdoor tape, command strips, or manufacturer-provided adhesive brackets.
- Magnetic mounts: For metal surfaces like van bodies or RV frames under awnings.
- Clamp mounts: Attach to ladder rails, cargo racks, or awning arms.
- Inside window mounts: Suction cups or small tripods placed behind glass for forward or rear coverage.
Test any adhesive mount by pulling firmly before you hit the highway. Heat and vibration can weaken poor-quality tape, so choose products rated for automotive or outdoor use.
Smart Sensors That Make a Mobile Security System Complete
Entry sensors for doors, windows, and storage compartments
Entry sensors (contact sensors) are simple magnets that let you know if something opens. In an RV, use them on:
- Main entry door.
- Cab doors (for motorhomes or vans).
- Exterior storage bays holding tools, batteries, or bikes.
- Big windows that can be slid open.
Many smart alarm ecosystems (Ring Alarm, SimpliSafe, Aqara, etc.) include battery-powered contact sensors that can be mounted with adhesive, making them ideal for RV use.
Motion sensors and occupancy detection inside the RV
Interior motion sensors can trigger alarms or record clips while you’re away. Useful placements include:
- Near the main hallway or central aisle.
- In the garage area of a toy hauler.
- Near the front cab for Class C/Class A rigs.
Choose sensors with adjustable sensitivity or pet-friendly modes to avoid alerts every time your dog moves. Some systems also use radar-based presence detection, which can be less prone to false alarms from small movements.
Environmental sensors for smoke, CO, propane, and temperature
Environmental safety is just as critical as theft protection in an RV. Look for:
- Smoke and CO alarms: Preferably smart models that send alerts to your phone.
- Propane leak detectors: Many RVs include wired detectors, but smart add-ons can send remote alerts.
- Temperature and humidity sensors: Essential if you leave pets inside while you’re away.
These sensors can trigger automation, such as turning on fans, heaters, or sending you an urgent notification if the interior gets dangerously hot or cold.
Vibration and tilt sensors to detect towing or tampering
For towable RVs and trailers, tilt or vibration sensors can warn you if someone tries to move your rig:
- Attach a tilt sensor near the frame or hitch.
- Use vibration sensors on external storage or bike racks.
- Configure alerts for “unexpected movement” while the system is armed.
Some GPS trackers also include motion alerts when your RV or van changes position, providing an extra layer of theft protection.
Connectivity on the Road: Using Hotspots and Limited Wi‑Fi
Choosing cameras and hubs that work well with mobile hotspots
Not all security ecosystems are happy living behind a hotspot. To increase your odds of success:
- Check manufacturer support docs for hotspot or LTE router compatibility.
- Prefer systems that connect directly to Wi‑Fi (no hardwired Ethernet requirement).
- Use a travel router or 4G/5G router that can maintain a consistent SSID and password, even when you swap SIMs or Wi‑Fi sources.
A dedicated mobile router also lets you keep the same network name between campgrounds, which reduces the chance of devices dropping offline.
Data usage: how much bandwidth security cameras really need
Cameras can chew through data quickly if left at default settings. To reduce usage:
- Lower resolution (e.g., from 2K to 1080p or even 720p when on cellular).
- Limit clip length to 10–20 seconds.
- Turn off audio recording if not needed (it can increase file size).
- Use motion zones so passing traffic doesn’t trigger clips.
Manufacturers often publish approximate data use per camera resolution and bitrate. Review these estimates, similar to the bandwidth guidelines published for streaming video on resources like bitrate and video quality, to plan your data budget.
Offline recording strategies when you lose signal
Assume you’ll lose connectivity regularly. Your system should still record:
- Use cameras with microSD cards or a local hub/NVR.
- Enable “local-only” modes where the app connects directly on the LAN.
- Download important clips whenever you’re back on a stable connection.
This way, even if your hotspot dies or you’re deep in the woods, events are saved and viewable later.
Using campground or RV park Wi‑Fi safely and securely
Campground Wi‑Fi is often shared and unsecured. Avoid connecting cameras directly to these networks when possible. Instead:
- Use your own router to connect to campground Wi‑Fi and create a private network for your devices.
- Change default router passwords and disable remote admin from the WAN side.
- Consider running a VPN on your router or hotspot if you also work online from the RV.
This isolates your cameras and sensors from other guests on the same network and reduces the risk of unauthorized access.
Powering Your RV Security System Off-Grid
Battery-only setups vs tying into the RV’s 12V system
You can power your system in two main ways:
- Battery-only: Rely solely on each camera’s internal battery. This is simplest but means recharging each device periodically.
- 12V integration: Use USB or DC-DC converters to power a router and a few low-draw cameras from the RV’s house battery.
Battery-only is ideal for minimal setups or rentals. For full-time RVers, tying key components (router, hub, main cameras) into the 12V system offers more reliability.
Solar panels and power stations for multi-day boondocking
Solar is a natural fit for off-grid RV security. You can:
- Use rooftop or portable solar panels to keep your house batteries charged.
- Add small panel kits dedicated to cameras with compatible solar chargers.
- Run a separate portable power station for your router and cameras to isolate them from other loads.
This setup lets your security system stay online for days, even if you’re using lights, fans, and other loads heavily.
Managing power draw with smart schedules and motion-based recording
To keep power usage low:
- Set schedules to arm exterior cameras at night and disarm or reduce sensitivity during the day in crowded campgrounds.
- Use motion-based recording instead of continuous video.
- Lower brightness on IR LEDs if your camera allows it.
- Turn off status LEDs that don’t add security value.
These small tweaks can significantly extend battery life during long boondocking stretches.
Backup power planning so cameras stay online when you leave the RV
Think about what happens if shore power fails or someone unplugs your rig while you’re away:
- Ensure the router and key cameras can run for several hours on internal or backup batteries.
- Use alerts from your RV’s battery monitor or smart plug to warn you if shore power drops.
- Keep at least one camera entirely independent, powered by its own battery and solar panel.
This layered approach helps you avoid “dark spots” when you’re off exploring.
Recommended Smart Security Configurations for Different RV Lifestyles
Weekend warriors: simple, low-maintenance setups
If you mainly travel for weekends or holidays, prioritize simplicity:
- One exterior battery camera covering the door side.
- One interior camera for pets and general monitoring.
- A small set of contact sensors on the main door and one storage bay.
- All devices on a single app for easy arming and disarming.
This setup is quick to test at home before each trip and doesn’t require complex wiring or constant tweaking.
Full-time RVers: robust, always-on monitoring inside and out
For full-timers, build a more comprehensive system:
- Two to four exterior battery cams (front, rear, and sides where practical).
- At least one interior camera plus motion sensors.
- Entry sensors on all doors and critical storage bays.
- Environmental sensors for smoke, CO, propane, and temperature.
- A dedicated cellular router and local storage hub.
Choose gear that supports firmware updates and ongoing security patches to stay reliable over years of use.
Van lifers and stealth campers: discreet, low-visibility security gear
Stealth setups should avoid broadcasting that someone is living in the vehicle:
- Small, dark-colored exterior cameras mounted unobtrusively or behind tinted windows.
- Interior camera positioned so it’s hidden from casual view.
- No bright status LEDs or obvious doorbell chimes.
- Quiet notifications on your phone instead of loud sirens.
Consider multi-use gear (like a dash cam with parking mode) that doesn’t obviously look like a home security camera from the outside.
Families and pet owners: monitoring kids, pets, and valuables remotely
For families, comfort and safety are top priorities:
- Wide-angle interior camera covering the main living area.
- Temperature and humidity sensors with alerts for pet safety.
- Child-safe contact sensors on exit doors and large windows.
- Cloud access so grandparents or trusted friends can check in when invited.
Make sure everyone understands how to arm and disarm the system to avoid frustration and false alarms.
Installation Tips for Renters, Van Conversions, and Leased RVs
No-drill mounting options and removable adhesive solutions
To protect walls and keep your deposit:
- Use removable adhesive strips rated for outdoor use.
- Mount devices to removable boards or panels, then secure those with non-damaging fasteners.
- Use clip-on or clamp mounts on shelves, ladders, or rails.
Test removal in a hidden spot to be sure the adhesive won’t peel paint or delaminate surfaces.
Cable management in tight spaces and moving slide-outs
Cables can pinch or break when slide-outs move. To avoid problems:
- Route cables along fixed walls, not across slide seams.
- Use flat cable passthroughs or wireless options where slides move.
- Secure cables with adhesive clips so they don’t dangle or snag.
Label both ends of cables so you can quickly troubleshoot if a device goes offline.
Positioning cameras to avoid glare, reflections, and false alarms
RVs have glossy cabinets, big windows, and reflective surfaces. When placing cameras:
- Avoid aiming directly at windows; angle slightly to reduce reflections.
- Don’t point cameras at mirrors or shiny appliances.
- Adjust motion zones to exclude waving trees, flags, or busy roads.
Take time to test at night and during the day to fine-tune the view and motion sensitivity.
Smart Automation and Alerts for Peace of Mind on the Road
Setting up push notifications, sirens, and light automations
Smart alerts help you respond quickly, even when you’re away from camp:
- Enable push notifications for key events like door openings or motion at night.
- Link outdoor cameras to turn on awning or porch lights when motion is detected.
- Use built-in or separate sirens to scare off intruders when your rig is unattended.
Fine-tune alert settings so your phone doesn’t buzz every time the campground cat walks by.
Geofencing to arm and disarm when you leave or return to the RV
Some apps can use your phone’s location to automate arming:
- Arm the system when you drive a set distance away.
- Disarm or switch to “home” mode when you return.
- Use multi-user geofencing so the system stays armed until everyone has left.
This can be especially useful for families or groups where people come and go at different times.
Integrating with smart speakers and hubs you travel with
If you travel with a small smart speaker (Echo Dot, Google Nest Mini), you can:
- Arm or disarm via voice commands (with a PIN for security).
- Ask for camera views on compatible smart displays.
- Trigger routines, like turning on interior lights when motion is detected at night.
Just be sure to secure voice commands so that someone outside can’t shout through a window to disarm your system.
Security and Privacy Best Practices for Connected RV Devices
Securing your hotspot, router, and Wi‑Fi network
Your RV’s network is the backbone of your smart security. Protect it by:
- Using WPA2 or WPA3 Wi‑Fi security with a strong passphrase.
- Changing default router usernames and passwords.
- Disabling WPS and unnecessary remote management features.
Think of your hotspot or router as the front door to all of your devices.
Strong passwords, 2FA, and vendor account security
Most security cameras and hubs rely on cloud accounts. Secure them:
- Use unique, long passwords stored in a password manager.
- Enable two-factor authentication (2FA) on camera and router accounts.
- Review login alerts and device lists for anything suspicious.
If you’re new to 2FA, resources like the multi-factor authentication overview can help you understand how it protects your accounts.
Managing shared access for travel partners and guests
Many apps let you share access with others. Use this instead of sharing your main login:
- Give family members their own accounts with appropriate permissions.
- Remove access for guests once a trip ends.
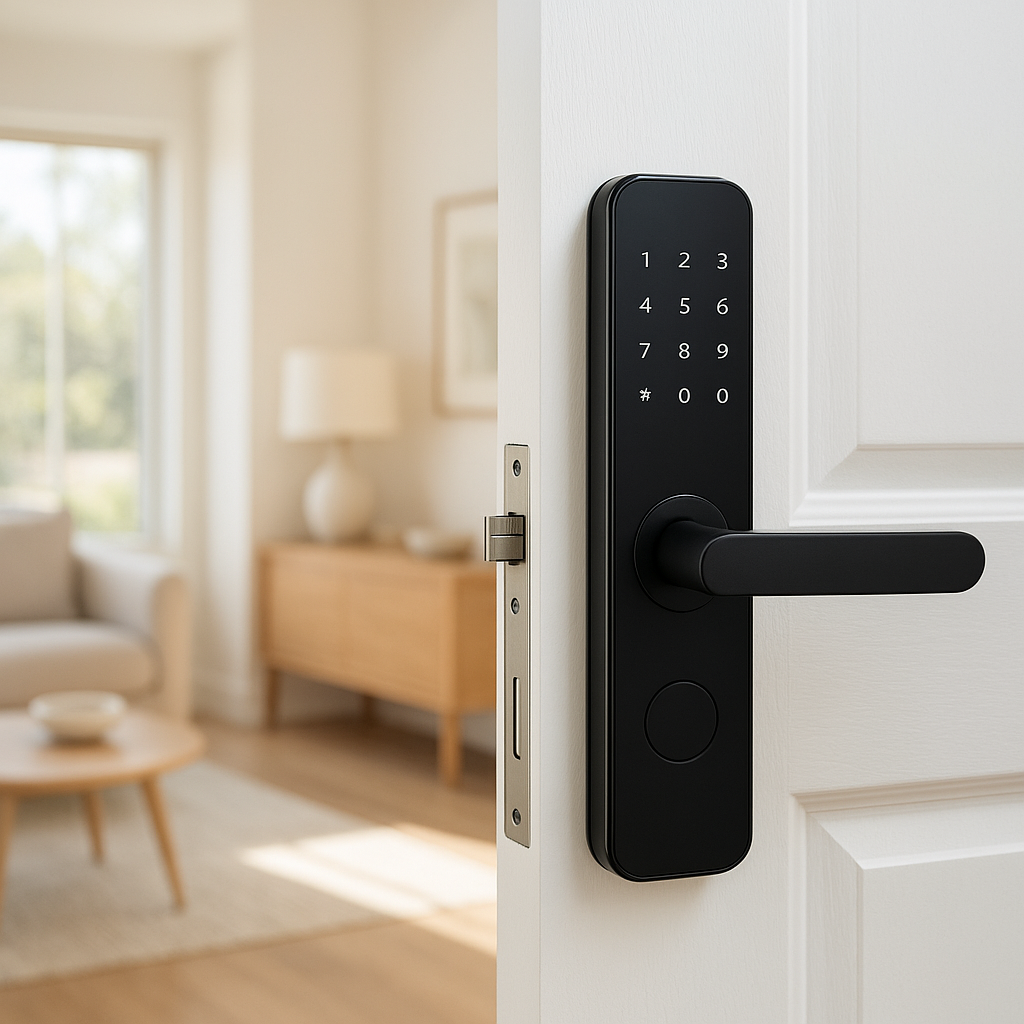
- Use temporary access codes for smart locks (if installed) rather than a single permanent code.
This keeps control in your hands while still letting others arm, disarm, or check cameras as needed.
Budget Breakdown: How Much a Smart RV Security System Really Costs
One-time equipment costs vs ongoing subscription fees
Costs fall into two buckets:
- Upfront: Cameras ($40–$250 each), sensors ($15–$40 each), a router or hotspot (varies), and optional hubs or NVRs.
- Ongoing: Cloud storage or monitoring subscriptions ($3–$30/month) plus your cellular data plan.
For many RVers, a mix of local storage and one or two modest cloud plans strikes a good balance between cost and convenience.
Prioritizing must-have devices when you’re starting small
If you’re on a tight budget, start with:
- One solid exterior battery camera for the main door.
- One interior camera, especially if you have pets.
- Contact sensors on the main entry door.
You can always add more sensors and cameras as you figure out where the real blind spots and pain points are.
Where it’s worth paying more (and where you can save)
Spend more on:
- Cameras with reliable connectivity, good night vision, and local storage.
- A stable router or hotspot that your whole system depends on.
- Environmental sensors for safety (smoke, CO, propane, temperature).
You can often save by:
- Using generic contact sensors compatible with your hub.
- Choosing one ecosystem to avoid buying overlapping hubs or bridges.
- Skipping high-end continuous cloud recording in favor of motion-only clips.
Final Checklist: Building the Best Smart Security System for Your RV
Quick step-by-step setup checklist before your next trip
Use this checklist as you build your system:
- List your main security concerns (theft, break-ins, pet safety, etc.).
- Choose a camera ecosystem that supports battery power and local storage.
- Pick a router or hotspot and set a secure Wi‑Fi network name and password.
- Install at least one exterior and one interior camera.
- Add entry, motion, and environmental sensors as needed.
- Configure alerts, schedules, and data-saving settings.
Testing your system at home before hitting the road
Before your first big trip:
- Set everything up in your driveway or a nearby campground.
- Walk around your rig to trigger motion and entry sensors.
- Test remote access over cellular data from a friend’s house or coffee shop.
- Check how much data and battery the system uses over a weekend.
Fixing issues at home is far easier than troubleshooting in a remote campsite.
Maintenance tips for batteries, firmware, and mounts
Keep your system reliable with light maintenance:
- Recharge or swap camera batteries on a regular schedule.
- Inspect adhesive and mounts for looseness after long drives.
- Apply firmware updates during good Wi‑Fi to patch security bugs.
- Review camera views occasionally to ensure nothing shifted.
A few minutes of upkeep every month goes a long way toward long-term reliability.
Conclusion
The best smart security system for RV living isn’t a single product; it’s a thoughtful mix of battery-powered cameras, sensors, and a reliable hotspot or router. By focusing on long battery life, local storage, data-efficient settings, and non-destructive mounting, you can protect your RV or camper van without making life more complicated.
Start small with one or two cameras and a few key sensors, test everything close to home, and then refine your setup as you travel. Over time, you’ll dial in a system that fits your rig, your routes, and your comfort level—so you can enjoy the road while your home on wheels quietly looks after itself.
FAQ
Do I really need Wi‑Fi or a hotspot for RV security cameras?
No, but it helps. Many battery cameras can record locally to a microSD card or hub without internet. However, you’ll need Wi‑Fi or cellular data to get live views, push notifications, and cloud backups while you’re away from the RV.
Will security cameras drain my RV batteries when boondocking?
Battery-powered cameras are designed to be efficient, especially in motion-only modes. One to three cameras typically use a small fraction of a decent RV battery bank, especially if you use smart schedules and solar charging. Always test power usage on a short trip before relying on a new setup off-grid.
Can I use the same security system for my house and RV?
Often yes. If you already use a popular ecosystem like Ring, Arlo, or eufy, you can add extra cameras and sensors in your RV under the same account. Just ensure devices are battery-friendly, support hotspot connections, and can be moved easily between locations.
Are video doorbells a good idea for RVs and camper vans?
Battery video doorbells work well on RVs and vans. They let you see and talk to visitors, record who approaches your door, and integrate with other cameras and sensors. Just use a removable mount if you’re in a rental or don’t want to drill.
How do I prevent false alarms from wind, traffic, or campground activity?
Use motion zones to focus on key areas like doors and storage bays, adjust sensitivity, and schedule different modes for day and night. Test your settings in a busy campground and fine-tune until alerts match what you actually care about.