Nothing kills your peace of mind like getting halfway to work and wondering, “Did I close the garage?” A smart garage door opener helps, but the most reliable way to know the true status of your door is with a dedicated smart garage door sensor.
This guide walks through the best smart garage door sensor options, how they work, and how to pick the right one for your garage, smart home platform, and budget. We’ll cover tilt, contact, and multi-sensor picks, plus installation tips and automation ideas so you never leave the door open again.
Why You Need a Smart Garage Door Sensor (Not Just a Smart Opener)
Common problems: forgetting to close the garage and false peace of mind
Many people upgrade to a smart opener expecting it to solve everything, only to find it still doesn’t give totally reliable status. A few common issues:
- Uncertainty when you leave: You manually closed the door, but you didn’t watch it all the way down. Did something block it? Did it auto-reverse?
- Kids and guests: Someone opens the garage later and forgets to close it. Your opener app may not alert you unless you dig into the activity log.
- Partial closures: Doors that stop halfway due to obstructions or misaligned sensors can look closed from the street but stay open enough for pests or even intruders.
- Old openers: Many older motors don’t support smart features at all, so you have no remote status or history.
Without a dedicated sensor, you’re relying on the motor’s internal logic (if it has any) or your memory. Neither is perfect.
How a dedicated sensor adds an extra layer of security and awareness
A smart garage door sensor is installed directly on the door, not inside the opener. It measures the door’s physical position, so its status is based on where the door actually is.
That gives you:
- Reliable status at a glance: Your smart home app simply shows “open” or “closed,” independent of what the opener thinks.
- Instant notifications: Get a push alert if the garage is left open for more than 5, 10, or 30 minutes.
- Better automations: Use real door position to trigger routines, like turning on lights or cameras when the door opens.
- Coverage for manual use: It works whether you open the door with the wall button, a remote, or the motor’s pull-cord.
Think of the sensor as a separate “set of eyes” watching the door itself, rather than trusting the opener’s internal assumptions.
Smart sensor vs. built-in status in your garage door opener
Some modern openers (especially myQ-enabled Chamberlain/LiftMaster units) already show door status in their apps. Why add a sensor?
- Accuracy: A physical sensor can confirm the door’s exact position, even if the opener miscounts cycles or is out of calibration.
- Independence: If your opener’s cloud service has an outage, a separate sensor connected to a local hub (like SmartThings or Home Assistant) can still report status.
- Deeper integrations: A standalone sensor is often easier to connect to multiple platforms, scene controllers, or custom automations.
- Older hardware support: If your opener is “dumb,” a sensor + smart relay can bring it into your smart home with full status and control.
For the most reliable setup, many homeowners pair a smart opener with its own sensor. If you’re budget-focused, starting with just a sensor is often the most cost-effective upgrade.
Types of Smart Garage Door Sensors Explained (Tilt, Contact, Multi-Sensor)
Tilt sensors: how they work and when they’re ideal
Tilt sensors use an internal accelerometer or a rolling ball switch to detect whether the device is vertical (door closed) or horizontal (door open).
You typically mount a tilt sensor near the top panel of the garage door. When the door opens, the sensor rotates and reports “open.”
Best use cases:
- Sectional overhead doors: The classic roll-up, panel-style garage door is perfect for tilt sensors.
- Simple retrofits: If you don’t want to mount magnets or run wires along the frame, a tilt sensor is usually the quickest install.
- Z-Wave or Zigbee hubs: Popular tilt options (like Ecolink’s Z-Wave tilt sensor) are designed for hub-based smart homes.
Things to watch: Tilt sensors need a stable mounting surface and fresh batteries. If the door vibrates excessively or flexes, you may see occasional misreads unless it’s mounted on a solid section.
Contact sensors for garage doors: pros, cons, and mounting tips
Contact sensors use a magnet and a main body that detect whether they are close together or separated. On a garage door, that usually means:
- One piece on the moving door
- The other on the fixed frame or rail
Pros:
- Very clear open/close state based on magnet alignment
- Less sensitive to vibration or small movements
- Lots of choices across Wi-Fi, Zigbee, Z-Wave, and Thread
Cons:
- Mounting can be trickier on doors with deep panels or uneven surfaces
- Alignment must be precise; misalignment can cause false “open” status
- On very heavy or bending doors, you may need shims or brackets
Mounting tips:
- Attach the larger body to the stable frame or wall when possible.
- Use the magnet on the moving portion of the door so all the electronics stay on a solid surface.
- Test the sensor alignment by slowly opening/closing the door and checking status before permanently mounting.
- If your door flexes, mount closer to a rigid edge or use a small metal bracket as a backing plate.
Multi-sensors (tilt + contact + motion): who actually needs them?
Some sensors combine multiple detection methods in one device. For example, a multipurpose sensor might include:
- Contact detection (door open/closed)
- Tilt/acceleration (door moving)
- Vibration (door slammed or tampered with)
- Temperature (helpful in uninsulated garages)
A good example is the SmartThings/Aeotec Multipurpose Sensor, often used on both doors and windows. For garages, it can detect not just open/close, but also intense vibration if someone is trying to force the door.
Who benefits most:
- Security-focused homes where you want tamper detection and motion history.
- Users running local hubs (SmartThings, Hubitat, Home Assistant) who like advanced automations.
- People monitoring temperature swings in the garage (for fridges, freezers, or 3D printers).
If you just need basic “open or closed,” a simple tilt or contact sensor is enough. Multi-sensors shine when you want detailed events and richer automations.
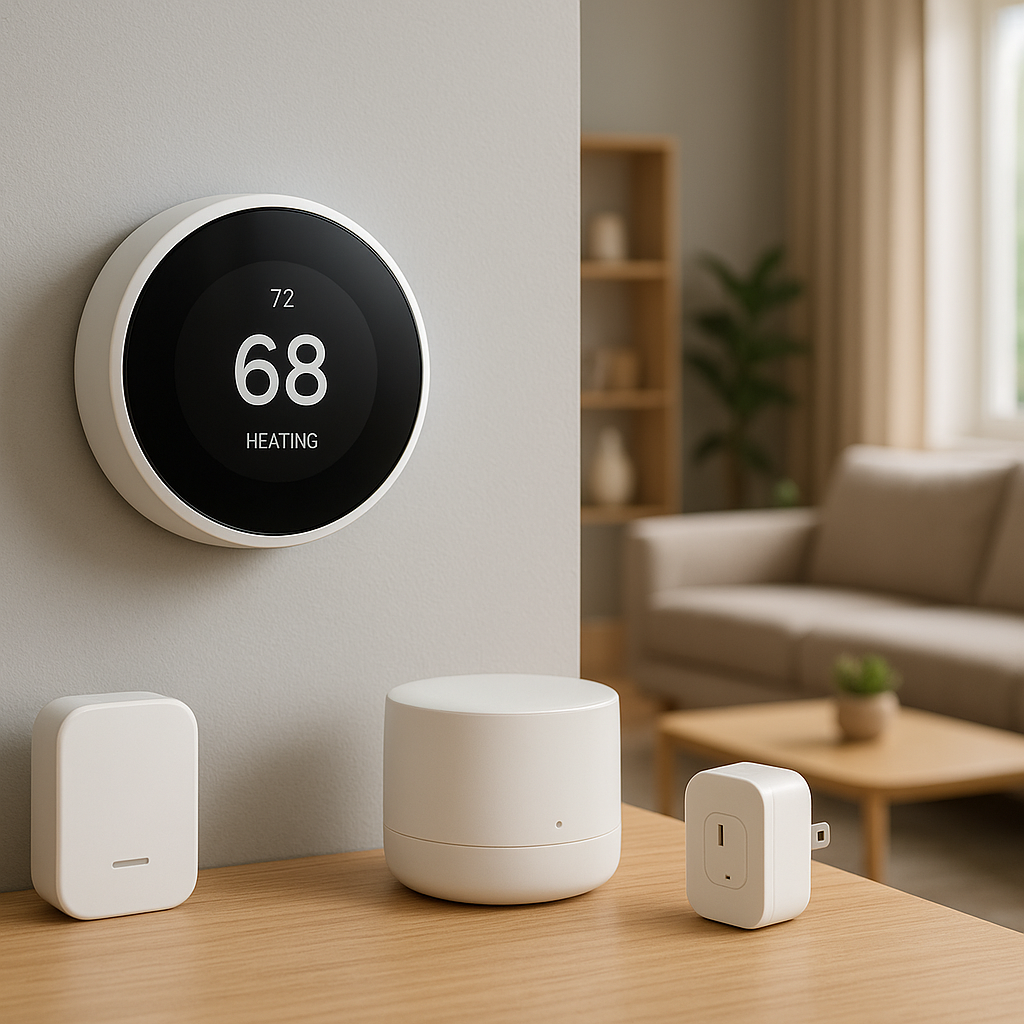
Wi-Fi, Zigbee, Z-Wave, Thread, and Bluetooth: connection types and what they mean
Smart garage door sensors connect to your home network in different ways:
- Wi-Fi: Connects directly to your router; uses a dedicated app or cloud. Easy for beginners but can drain batteries faster and put more load on Wi-Fi.
- Zigbee: Low-power mesh protocol used by hubs like SmartThings and some Echo devices. Great battery life and range when you have repeaters (plug-in devices) in the garage area.
- Z-Wave: Another low-power mesh protocol, popular with SmartThings, Hubitat, and Z-Wave USB sticks used by Home Assistant. Often very reliable for doors and security sensors.
- Thread: Newer low-power mesh network used by Matter-ready devices and platforms like Apple Home. Excellent for long-term future-proofing if you’re in the Apple ecosystem.
- Bluetooth: Typically used for short-range sensors. You may need a hub or bridge for remote access.
If you’re curious about how these low-power mesh networks work, the Zigbee overview on Wikipedia offers a good technical background.
Key Features to Look For in the Best Smart Garage Door Sensor
Real-time open/close status and push notifications
The core job of a smart garage door sensor is accurate, real-time status. Look for:
- Clear “open/closed” indicators in the app
- Configurable push notifications (e.g., “alert me if open for 15 minutes”)
- Optional email or SMS alerts if you prefer
- Activity history so you can see when and how often the garage is opened
For shared homes, status should be visible to all authorized users, not just the installer.
Range, wireless reliability, and compatibility with large garages
Garages are often at the edge of your home’s wireless coverage. Metal doors, cars, and concrete walls can all weaken signals.
To avoid dropouts:
- Choose Zigbee/Z-Wave sensors if you already have powered devices nearby that act as repeaters.
- For Wi-Fi, ensure your router or mesh node is relatively close to the garage.
- Consider long-range systems like YoLink (LoRa-based) if you have a detached garage or outbuilding.
Check the manufacturer’s stated range and look for user reviews mentioning large or detached garages to gauge real-world performance.
Power options: battery life, low-battery alerts, and wired choices
Most garage door sensors are battery-powered, which makes them easy to install. Key points:
- Battery type: Common options include CR123A, CR2450 coin cells, or AA/AAA.
- Battery life: Good sensors last 1–3 years depending on usage and temperature.
- Low-battery alerts: Ensure the app notifies you before the sensor dies.
- Wired options: Some professional-grade contact sensors can be hardwired to alarm panels or powered relay boards, but these require more work.
In very cold climates, lithium batteries usually outperform alkalines, so check what your sensor uses and stock a spare set.
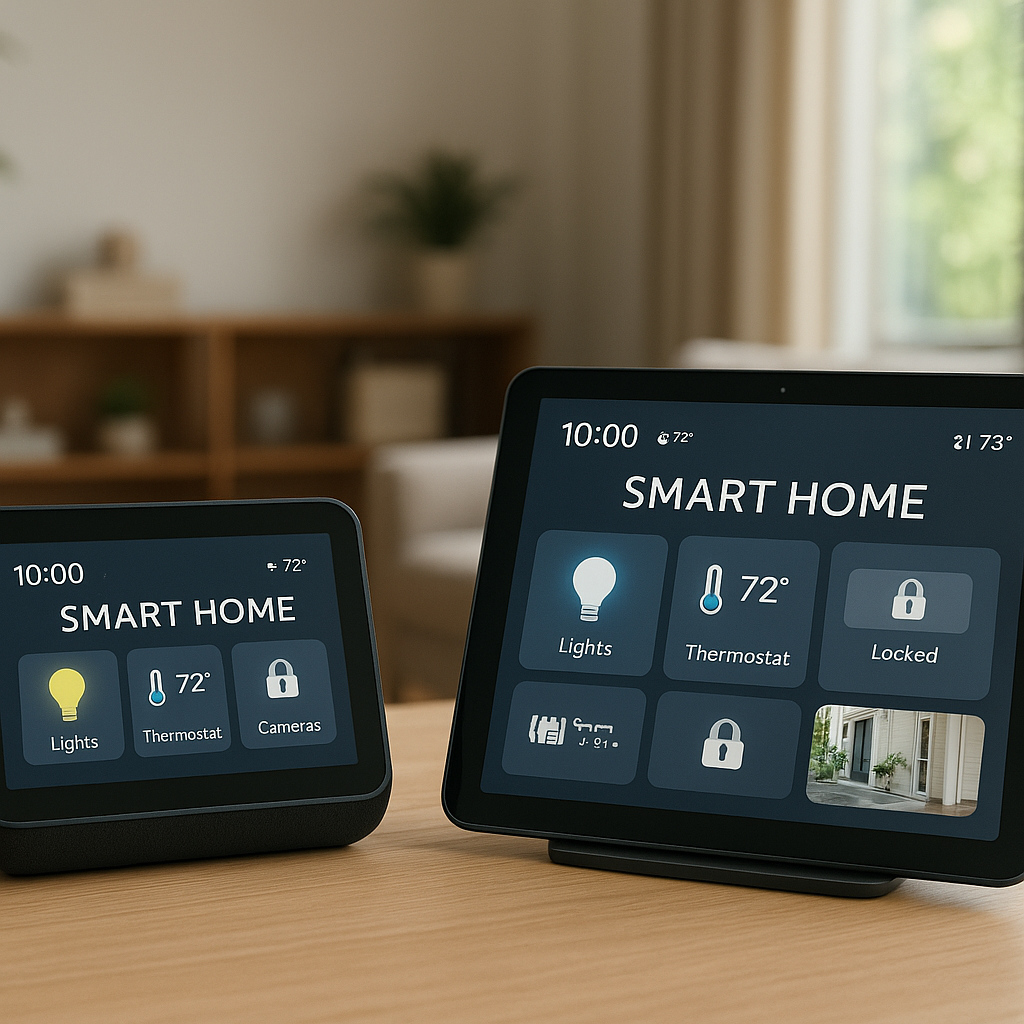
Smart home integrations: Alexa, Google Home, Apple Home, SmartThings, Home Assistant
Smart home integration determines how easily you can automate your garage with the rest of your devices.
- Alexa & Google Home: Look for direct skills or actions, or indirect support via a bridge (SmartThings, YoLink, etc.).
- Apple Home / HomeKit: Native HomeKit or Matter-over-Thread sensors (like Eve Door & Window) integrate most smoothly with iPhone and HomePod-based homes.
- SmartThings / Hubitat: Zigbee and Z-Wave sensors with well-supported device handlers are ideal for complex automations.
- Home Assistant: Offers broad support, especially for Zigbee/Z-Wave via USB sticks and integrations with brands like Aqara and YoLink.
Before buying, confirm that the specific model supports your platform, not just the brand family in general.
Weather resistance, temperature range, and durability for uninsulated garages
Garages can be hot in summer and freezing in winter. If your sensor is exposed to these extremes, check:
- Operating temperature: Look for sensors rated at least -10°C to 40°C (14°F to 104°F) or better.
- Humidity and dust protection: An IP rating (like IP54) is a good sign for harsher environments.
- Case durability: Solid plastic housings with secure screw or snap closures tend to last longer on moving doors.
If your garage is very exposed or uninsulated, avoid ultra-cheap, indoor-only sensors that don’t specify a temperature range.
Security and privacy considerations (data, accounts, and encryption)
Garage access is a major security concern. Pay attention to:
- Account security: Strong passwords and two-factor authentication for the app or hub.
- Encryption: Reputable brands encrypt data between the sensor, hub, and cloud.
- Local vs. cloud control: Hub-based setups (SmartThings, Home Assistant, Hubitat) can keep automations running locally even if the internet drops.
- Shared access controls: Make sure you can revoke access for guests or past tenants easily.
Read the privacy policy and avoid random no-name apps that request unnecessary permissions on your phone.
Best Smart Garage Door Sensors (Top Picks and Use Cases)
Best overall smart garage door sensor for most homes
YoLink Garage Door Sensor (with YoLink Hub)
YoLink uses a long-range LoRa-based radio, which is excellent for garages on the edge of Wi-Fi coverage or detached structures. The garage kit uses a contact-style sensor with a clever bracket that attaches to the door.
- Type: Contact-style, long-range wireless
- Best for: Most single or double garages, including detached garages
- Integrations: Alexa, Google, IFTTT, Home Assistant (via integration)
- Why it stands out: Very long range, strong reputation for reliability, easy open/close automations
Best tilt smart garage door sensor for simple retrofits
Ecolink Z-Wave Plus Garage Door Tilt Sensor
This classic Z-Wave tilt sensor mounts on the top panel of your door and works with many Z-Wave hubs.
- Type: Tilt sensor
- Best for: Homes with SmartThings, Hubitat, or Z-Wave-enabled Home Assistant setups
- Pros: Simple install, long battery life, widely supported
- Considerations: Requires a Z-Wave hub; not ideal if you don’t already own one
Best contact sensor for heavy or oversized garage doors
Zooz Z-Wave XS Door/Window Sensor (or similar slim Z-Wave contact sensors)
For heavy, flexing doors, a slim, robust contact sensor you can mount on a rigid edge works better than some fragile tilt sensors.
- Type: Contact sensor
- Best for: Oversized doors, taller RV garages, and doors with more flex
- Pros: Slim profile, reliable open/close detection, good Z-Wave range
- Considerations: Requires more careful alignment and may need shims or brackets
Best multi-sensor option for security-focused smart homes
Aeotec SmartThings Multipurpose Sensor
This sensor combines contact, vibration/tilt, and temperature in a single Zigbee device. It’s commonly used with SmartThings but can also work with other Zigbee hubs.
- Type: Multi-sensor (contact + tilt/vibration + temperature)
- Best for: Security-conscious homes that want tamper detection and detailed activity
- Pros: Tamper/vibration alerts, temperature monitoring, flexible mounting
- Considerations: Slightly higher price than single-purpose sensors
Best budget smart garage sensor for under $30
Sonoff DW2 Wi-Fi Door/Window Sensor (or similar Wi-Fi budget contacts)
For tight budgets, simple Wi-Fi contact sensors can do the job as long as your router reaches the garage.
- Type: Wi-Fi contact sensor
- Best for: Budget builds and renters who want app alerts but don’t own a hub
- Pros: Inexpensive, easy to set up, no hub required
- Considerations: Heavier reliance on cloud, shorter battery life than Zigbee/Z-Wave in some cases
Best sensor for Apple Home / HomeKit garages
Eve Door & Window (Thread/Border Router setups)
Eve’s contact sensor supports Thread and Apple Home, making it an excellent fit for iPhone users with a HomePod or Apple TV acting as a hub.
- Type: Contact sensor
- Best for: Apple-centric homes wanting local, privacy-focused control
- Pros: Deep Home app integration, Thread mesh for reliable coverage, strong privacy stance
- Considerations: Higher cost than many Wi-Fi or Zigbee sensors
Best sensor for SmartThings, Hubitat, or Home Assistant users
Aqara Door and Window Sensor (with compatible hub)
Aqara’s Zigbee contact sensors are affordable and widely used. With the right hub or integration, they work very well for smart-home enthusiasts.
- Type: Zigbee contact sensor
- Best for: DIY smart home users who want lots of sensors at a lower cost
- Pros: Inexpensive, small, good battery life
- Considerations: Often requires an Aqara hub or compatible Zigbee coordinator; check your platform’s support list
Comparison Table: Best Smart Garage Door Sensor Picks at a Glance
Side-by-side comparison of sensor type, connectivity, battery life, and integrations
Here’s a quick overview of the sensors mentioned:
| Model | Type | Connectivity | Typical Battery Life | Best For |
|---|---|---|---|---|
| YoLink Garage Door Sensor | Contact | Proprietary long-range (via YoLink Hub) | Up to 2+ years | Most homes, detached garages |
| Ecolink Z-Wave Tilt | Tilt | Z-Wave Plus | 1–2 years | Simple retrofits with Z-Wave hub |
| Zooz XS Door/Window | Contact | Z-Wave | 1–2 years | Heavy/oversized doors |
| Aeotec Multipurpose | Multi-sensor | Zigbee | ~1 year | Security-focused setups |
| Sonoff DW2 | Contact | Wi-Fi | 6–12 months | Budget builds, no hub |
| Eve Door & Window | Contact | Thread / Bluetooth, HomeKit | 1–2 years | Apple Home users |
| Aqara Door & Window | Contact | Zigbee | Up to 2 years | SmartThings/Hubitat/HA (with support) |
Quick recommendations by garage type (single, double, detached, apartment parking)
- Single attached garage: Any reliable tilt or contact sensor. Ecolink tilt or Aqara contact are easy starting points.
- Double garage (two doors): Use one sensor per door for accurate status. You can mix types (tilt on one, contact on the other) if needed.
- Detached garage or outbuilding: Long-range options like YoLink or mesh setups (Zigbee/Z-Wave with repeaters) work best.
- Apartment or condo parking (shared door): Check rules first. A contact sensor on your specific bay door is usually better than trying to monitor a shared building door.
Compatibility: Will These Sensors Work With Your Existing Garage Opener?
Using a sensor with Chamberlain, LiftMaster, Genie, and other major brands
Because most sensors mount on the door itself, they are brand-agnostic. Whether you own Chamberlain, LiftMaster, Genie, or a generic opener, the sensor only cares about whether the door is open or closed.
Where compatibility matters is in how you see and automate that sensor data:
- Chamberlain/LiftMaster myQ systems may offer their own status and add-on sensors.
- Other brands may have no smart features, so a third-party sensor + hub is your only smart layer.
If you want detailed technical background on openers themselves, the Garage door opener article on Wikipedia is a solid reference.
Using standalone sensors vs. manufacturer-specific smart garage kits
You have two broad paths:
- Standalone sensor only: Gives you status and notifications. You still operate the door with remotes or the wall button.
- Full smart garage kit: Combines a door controller (relay) with a sensor, letting you both monitor and operate the door from an app.
If you’re mostly worried about leaving the door open, a sensor alone is enough. If you want remote control, schedules, and deeper automations, consider pairing the sensor with a compatible smart controller.
Checking hub and platform compatibility before you buy
Before purchasing, verify three things:
- Your smart platform: Alexa-only? Apple Home? SmartThings? Home Assistant?
- Supported protocols: Does your hub support Zigbee, Z-Wave, or Thread? Or do you want Wi-Fi-only?
- Official support: Check the manufacturer’s compatibility list or community forums for your exact sensor model.
Spending a few minutes on compatibility up front can save a lot of frustration later.
Installation Guide: How to Install a Smart Garage Door Sensor Step-by-Step
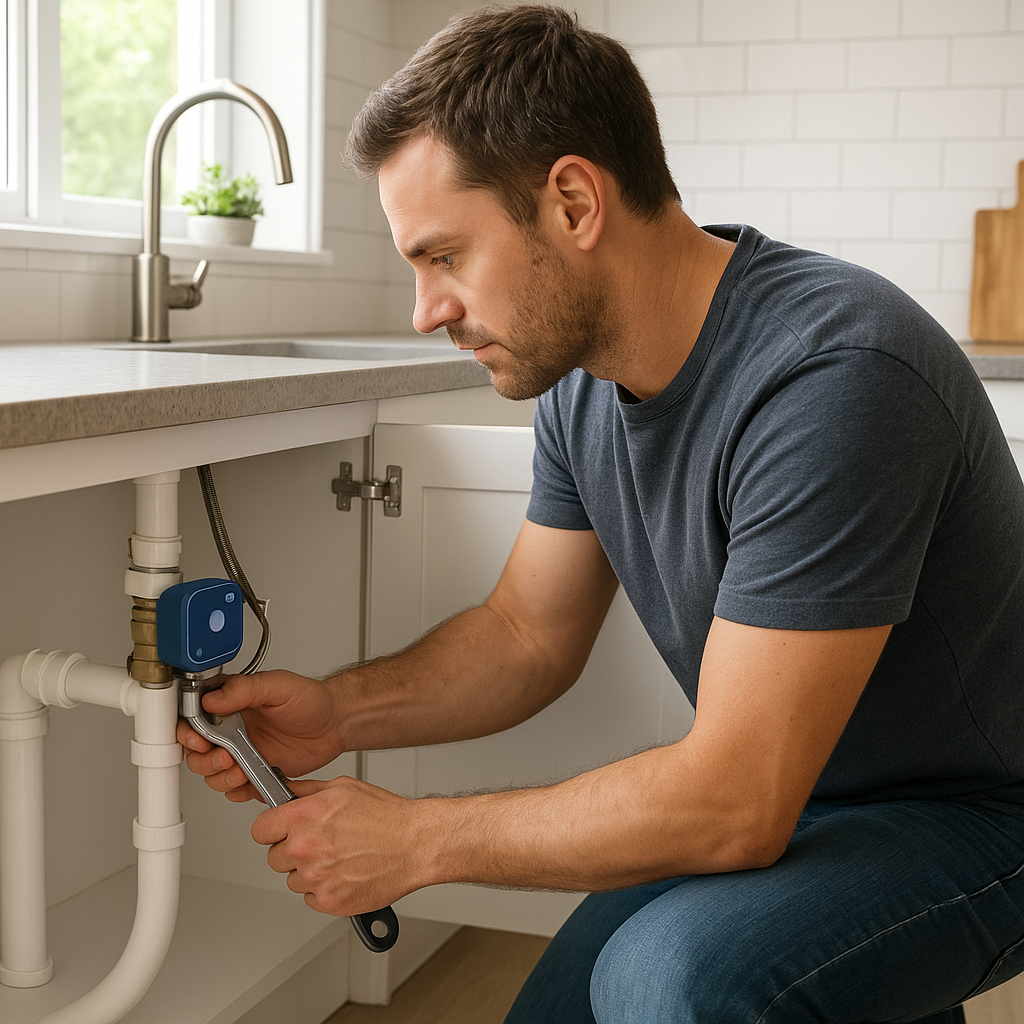
What you need before you start (tools, Wi-Fi, ladder, hub/app)
Gather:
- Your chosen sensor (and hub, if required)
- A phone or tablet with the relevant app installed
- A small screwdriver (if needed for battery or mounting)
- Cleaning wipes or alcohol pads for the mounting surface
- A ladder, if installing higher on the door
Make sure your Wi-Fi or hub signal reaches the garage by checking your phone’s connection first.
Where to mount tilt vs. contact sensors on the garage door
Tilt sensors:
- Mount on the top panel of the door, usually centered or slightly off-center.
- Ensure the sensor is vertical when the door is closed and horizontal when open.
- Avoid spots that bend or flex a lot as the door moves.
Contact sensors:
- Mount the main body on the fixed frame or wall, near the top or side of the door.
- Mount the magnet on the moving door section aligned with the main body.
- Keep gaps within the manufacturer’s recommended distance (often 5–20 mm).
- Test alignment by slowly closing the door and checking that the app shows “closed.”
Pairing the sensor with your smart home app or hub
The general pairing process looks like this:
- Open the manufacturer’s app or your hub app (SmartThings, Home, etc.).
- Choose “Add device” or similar and select the sensor brand/model.
- Put the sensor into pairing mode (usually by pressing a button or inserting the battery).
- Wait for the app to detect and name the sensor (e.g., “Garage Door Sensor”).
- Assign it to the correct room or zone (Garage).
Once paired, you should see real-time changes when you move the door manually.
Testing open/close detection and fixing common mounting mistakes
After installation:
- Open and close the door several times while watching the app.
- Confirm status changes within a couple of seconds.
- Check for intermediate positions (if left half-open, what does the sensor show?).
If status is inconsistent:
- Tilt sensor issues: Rotate or reposition slightly so the orientation change is more dramatic.
- Contact sensor issues: Add shims to bring the magnet closer or realign vertically/horizontally.
- Signal issues: Move your hub/router closer or add a repeater/outlet device near the garage.
Automation Ideas: Never Leave the Garage Door Open Again
Creating automatic close reminders after dark or when you leave home
Use your sensor’s status to remind you when something’s off:
- “If garage door is open after 10:00 p.m., send an alert every 15 minutes.”
- “If the door has been open for more than 30 minutes, send a notification.”
- “If all phones leave the home Wi-Fi (away mode) and the garage is open, send an urgent alert.”
If your setup also includes a smart opener, you can add an automatic close action, but always consider safety and local regulations before closing doors without a person nearby.
Geo-fencing: using your phone’s location to trigger checks and alerts
Most smart home platforms support geo-fencing based on your phone:
- Trigger a status check when you drive 500 meters away from home.
- Show a notification card like “Garage is closed” or “Garage is open” as you leave.
- For advanced users, run a voice assistant routine that verbally tells you the status as you depart.
Geo-fencing is particularly helpful if you often leave in a rush with kids or groceries.
Voice controls: asking Alexa, Google, or Siri if the garage is open
Once the sensor is integrated, you can use voice to check status:
- “Alexa, is the garage door open?”
- “Hey Google, is the garage closed?”
- “Hey Siri, what’s the status of the garage door?”
For safety, voice platforms usually require an extra PIN or confirmation for closing the door, but checking status is typically frictionless.
Integrating garage sensors with cameras, lights, and alarms
Combine your sensor with other devices for a more complete smart garage:
- Cameras: Automatically start recording when the garage opens or stays open too long.
- Lights: Turn on interior and exterior lights when the garage opens after sunset.
- Alarms: Trigger a chime or alarm if the garage opens during “away” or “vacation” mode.
- Energy saving: Turn off a space heater or dehumidifier when the garage door opens.
Troubleshooting Common Smart Garage Door Sensor Issues
Sensor showing the wrong status (open vs. closed)
If your app shows the wrong state:
- Double-check the mounting orientation (for tilt sensors) and alignment (for contacts).
- Re-calibrate if the app offers this option.
- Verify the door is actually moving as expected (no binding or incomplete closure).
- Remove and re-add the sensor if all else fails.
Fixing range and connectivity problems in large or detached garages
For weak signals:
- Add a Zigbee or Z-Wave repeater (smart plug or light) near the garage.
- Move your mesh Wi-Fi node or router closer to the garage.
- Switch to a long-range system (like YoLink) if standard Wi-Fi or Zigbee can’t reliably reach.
- Update firmware on both the sensor and hub, if possible.
Dealing with false alerts from wind, vibration, or door flex
False alerts can be frustrating, especially in windy regions:
- Relocate the sensor to a stiffer part of the door.
- Use a contact sensor instead of a tilt sensor on very flexible doors.
- Adjust sensitivity settings if the app allows (particularly for multi-sensors).
- Add a short delay in your automation (e.g., “door open for 30 seconds” instead of instant triggers).
What to do when the sensor stops reporting or drains batteries quickly
If your sensor goes offline or burns through batteries:
- Check for extreme temperatures; cold garages can slow or weaken batteries.
- Inspect for corrosion or moisture inside the battery compartment.
- Improve signal strength so the sensor doesn’t transmit repeatedly due to failures.
- Replace with fresh, name-brand batteries of the recommended type.
- If problems persist, consider a different model better rated for harsh environments.
Safety, Security, and Privacy Best Practices
Preventing unauthorized access to your garage through your smart system
Your garage is often a secondary entry to your home, so treat it like a front door:
- Use strong, unique passwords for your smart home accounts.
- Turn on two-factor authentication wherever available.
- Limit which third-party services can access your garage status or controls.
- Review access logs occasionally to spot unusual activity.
Setting up user accounts, roles, and notification rules for family members
Most platforms let you invite other users with varying levels of access:
- Give adults full control; consider “view-only” status for kids.
- Create shared notifications like “Garage left open after 9 p.m.” sent to all adults.
- Disable notifications for minor events so that critical alerts stand out.
Clear rules help everyone know who is responsible for closing the door and who gets alerts.
Securing your Wi-Fi and smart home accounts to protect your garage
Since most sensors ultimately connect through your network, secure the foundation:
- Use WPA2 or WPA3 Wi-Fi security with a strong passphrase.
- Keep your router and hubs updated with the latest firmware.
- Consider a guest network for visitors and IoT devices if your router supports it.
- Avoid sharing login details; use official “invite user” features instead.
Frequently Asked Questions About Smart Garage Door Sensors
Do I need a separate sensor if my smart opener already shows door status?
You don’t strictly need one, but a separate sensor adds redundancy and more integration options. It confirms the physical door position, can tie into broader smart home automations, and continues to work even if your opener’s cloud service goes down.
Can one sensor monitor a double garage door, or do I need two?
Use one sensor per moving door. If you have a double-width door driven by one opener and one door panel, a single sensor is fine. If you have two separate doors and motors, each needs its own sensor for accurate status.
How long do batteries usually last in a smart garage sensor?
Most battery-powered sensors last 1–3 years, depending on temperature, wireless protocol, and how often the door moves. Zigbee and Z-Wave sensors generally last longer than Wi-Fi sensors. Check your app periodically for battery level and keep one spare battery on hand.
Will a smart garage sensor still work during an internet outage?
The sensor itself will usually keep talking to your local hub, but remote access and cloud notifications may stop if the internet is down. With local-focused platforms (like Home Assistant or some SmartThings automations), local alerts, chimes, and routines can continue to work even without internet.
Final Verdict: Choosing the Best Smart Garage Door Sensor for Your Home
Quick decision guide by budget, platform, and garage type
To recap, here’s a quick way to choose:
- On a tight budget: A Wi-Fi contact sensor like Sonoff DW2 gets you app alerts for under $30.
- Apple Home users: Eve Door & Window (Thread) offers clean Home app integration and strong privacy.
- SmartThings/Hubitat/Home Assistant: Ecolink tilt or Aqara/Zooz contact sensors are great building blocks.
- Detached or difficult garages: YoLink’s long-range sensor and hub combo is hard to beat.
- Security-focused setups: A multi-sensor like Aeotec’s Multipurpose Sensor adds tamper and vibration alerts.
When to pair a sensor with a full smart garage door opener upgrade
A sensor alone is perfect if your opener is reliable and you just need awareness. Consider adding or upgrading to a full smart opener or controller when:
- Your current motor is very old or unreliable.
- You want remote open/close control and scheduling, not just status.
- You’re already investing in broader home automation and security.
Start with the best smart garage door sensor for your setup, get comfortable with alerts and automations, and then decide whether a full opener upgrade makes sense. Either way, you’ll stop wondering if you left the garage open and start checking its status with a quick tap or voice command.