Leaving a window cracked open while the heating or AC is running is one of those tiny habits that quietly adds up on your energy bill. Smart window sensors and simple automations can catch these moments for you, pause the HVAC, and nudge you with a quick alert before you waste money.
This guide walks you through how to set up window-open alerts with smart sensors, from choosing the right hardware to building automations that actually save energy. You don’t need to be a smart home expert; if you can use a smartphone app, you can get this working.
We’ll focus on practical setups you can use in an apartment or a house, using popular platforms like HomeKit, Alexa, Google Home, and SmartThings.
Why Window-Open Alerts Matter for Heating and AC Savings
How open windows silently waste heating and cooling
Heating and cooling systems are designed to condition a mostly closed space. When a window is left open, your furnace or AC keeps running to chase a temperature that’s constantly disturbed by outside air.
Typical waste scenarios:
- A bedroom window left open overnight while the heat is set to 70°F.
- A living room window cracked on a mild day while the AC is still scheduled to cool.
- A child’s room window open while a space heater is running.
Without sensors, your thermostat can’t tell the difference between a drafty open window and a cold day outside. It just keeps calling for heat or cooling. Window sensors give your system context so it can react instead of blindly running.
Typical energy savings you can expect from window-open alerts
The exact savings depend on your climate, insulation, and habits, but stopping heating or cooling during open-window periods can make a noticeable dent in energy use.
- If you regularly forget windows open for hours, cutting HVAC runtime during those periods can save several percent off your seasonal heating or cooling costs.
- In homes with radiators or powerful mini-splits, stopping them from blasting out an open window can reduce peak energy use and avoid comfort swings.
- For electric resistance heaters or portable AC units, every hour avoided is direct kWh saved.
Studies around smart thermostats show that smarter control and fewer “wasteful hours” can lead to double-digit percentage savings. Window-based automations are one more lever in that direction.
Comfort, safety, and maintenance benefits (humidity, drafts, mold prevention)
Window-open alerts don’t just help your bill; they also improve comfort and protect your home:
- Reduced drafts: You’ll get a notification before a forgotten window turns a room icy or overheated.
- Humidity control: In humid climates, an open window plus AC can create condensation on walls and ducts. Pausing cooling or getting a reminder to close windows helps prevent this.
- Mold prevention: Less condensation and fewer cold surfaces mean less chance of mold in corners and behind furniture.
- Safety: Alerts can double as a reminder that a ground-floor window is still open late at night or when you leave home.
What You Need to Set Up Window-Open Alerts with Smart Sensors
Types of sensors that can detect open windows (contact, tilt, multi-sensors)
You have three main sensor types to detect open windows:
- Contact sensors: Two parts (sensor and magnet) that detect when they separate. Examples: Aqara Door and Window Sensor, Eve Door & Window, Ring Contact Sensor. Ideal for most hinged or sliding windows.
- Tilt sensors: Detect changes in angle. Useful on awning or casement windows where contact sensors are hard to mount.
- Multi-sensors: Combine contact with motion, temperature, or humidity. These can be handy when you want energy-saving logic based on both window state and room temperature/humidity.
Required smart home hub or platform (HomeKit, Alexa, Google Home, SmartThings, etc.)
Most sensors talk to a hub or platform, which then sends alerts or controls your HVAC:
- Apple HomeKit / Apple Home: Works well with Thread and Bluetooth sensors like Eve Door & Window; automations are created in the Apple Home app.
- Amazon Alexa: Supports many Wi-Fi and Zigbee contact sensors via Echo devices with built-in hubs (like Echo 4th Gen) or manufacturer hubs.
- Google Home: Integrates with sensors exposed by brands like Aqara, Samsung SmartThings, and some Wi-Fi sensors.
- Samsung SmartThings: A flexible hub platform for Zigbee, Z-Wave, and Matter sensors, with powerful automation options.
You can also use manufacturer apps (Aqara, Tuya, etc.), but linking your sensors to a broader platform makes it easier to connect them to thermostats and other devices.
Compatible smart thermostats and HVAC controls
To actually save energy, your system needs to do more than send alerts—it should adjust heating or cooling. Common options:
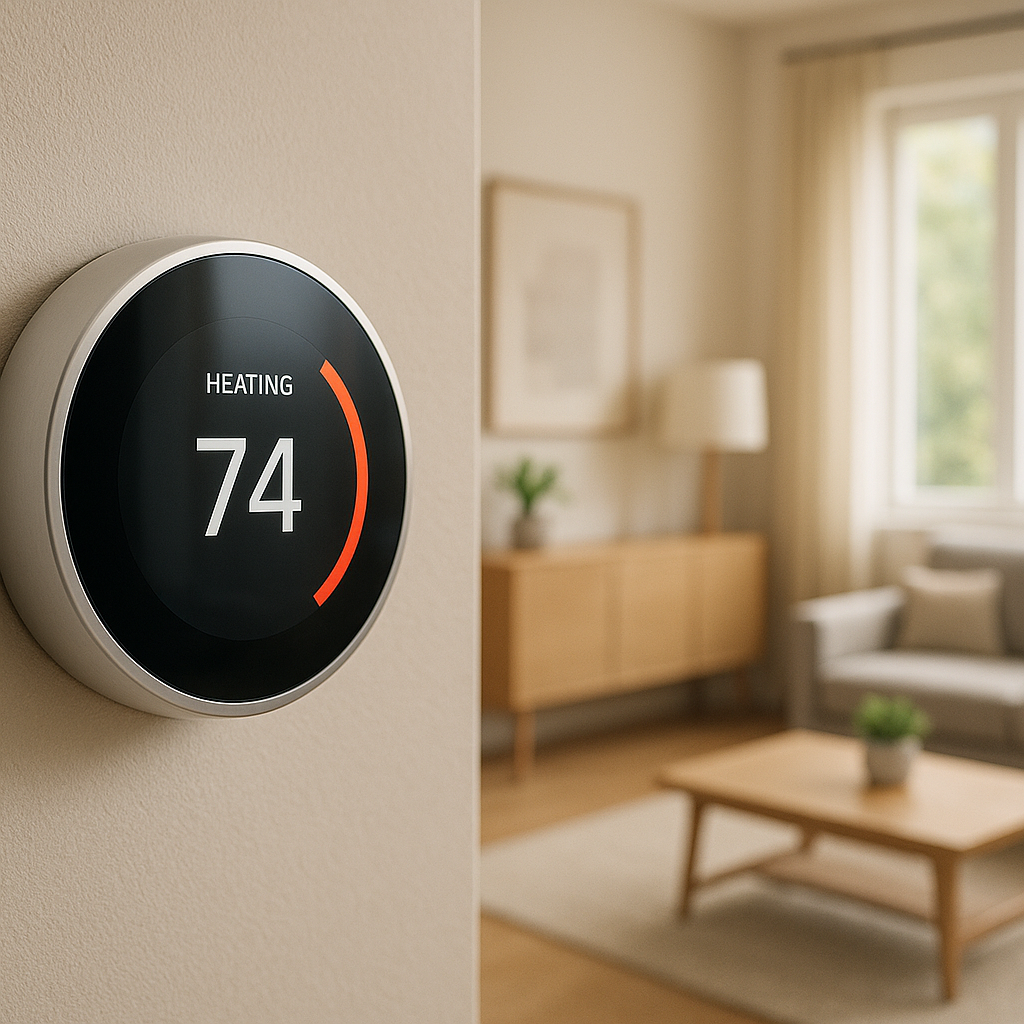
- Smart thermostats: Google Nest, Ecobee, Honeywell Home T9/T10, tado°. Many can be integrated with platforms like Alexa, Google Home, or HomeKit.
- Smart radiator valves: tado° Smart Radiator Thermostats, Aqara Radiator Thermostat, Eve Thermo for HomeKit-based systems.
- HVAC control modules: Devices like Ecobee Smart Thermostat or a SmartThings-compatible relay can directly control boilers or air handlers.
Optional devices: smart radiators, mini-split controllers, and smart plugs for space heaters
Even if your main thermostat isn’t very smart, you can still cut waste by controlling individual devices:
- Smart radiator valves: Shut off heat to a room when its window is open, without affecting the rest of the home.
- Mini-split controllers: Sensibo Air, Ambi Climate, or tado° Smart AC Control can power down a ductless heat pump when windows open.
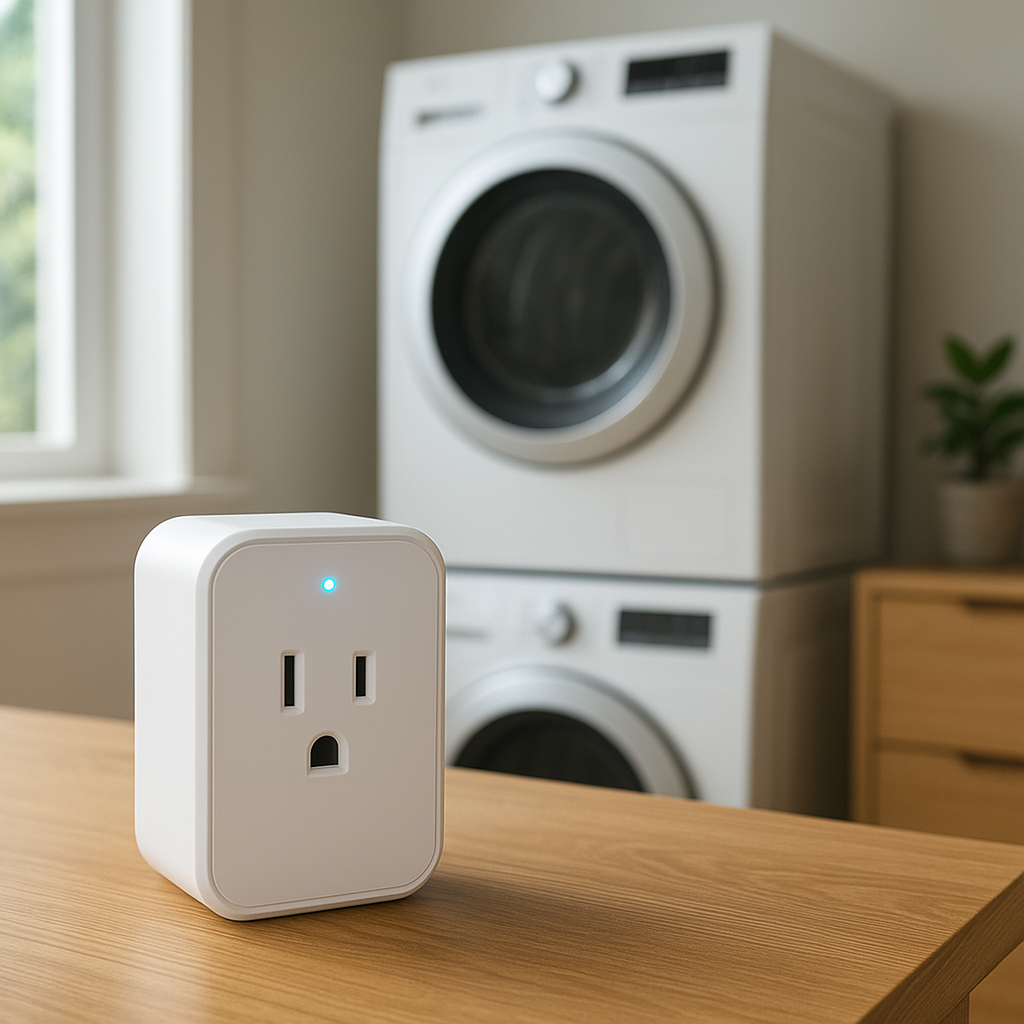
- Smart plugs: Use a plug rated for heaters to turn off space heaters when a window opens, then restore power when it closes.
Choosing the Right Smart Window Sensor for Your Home
Key features to look for (battery life, wireless range, size, reliability)
When comparing sensors, look beyond price:
- Battery life: Aim for at least 1–2 years on a single coin cell. Users often report multi-year life on low-power Zigbee and Thread sensors.
- Wireless range: Check reviews for real-world range, especially if you have thick walls or a large house.
- Size and shape: Slim sensors look better on window frames and are easier to align.
- Reliability: Look for solid app reviews mentioning consistent detection and few false offline events.
- Platform support: Confirm compatibility with your chosen platform (HomeKit, Alexa, Google, SmartThings, or Matter).
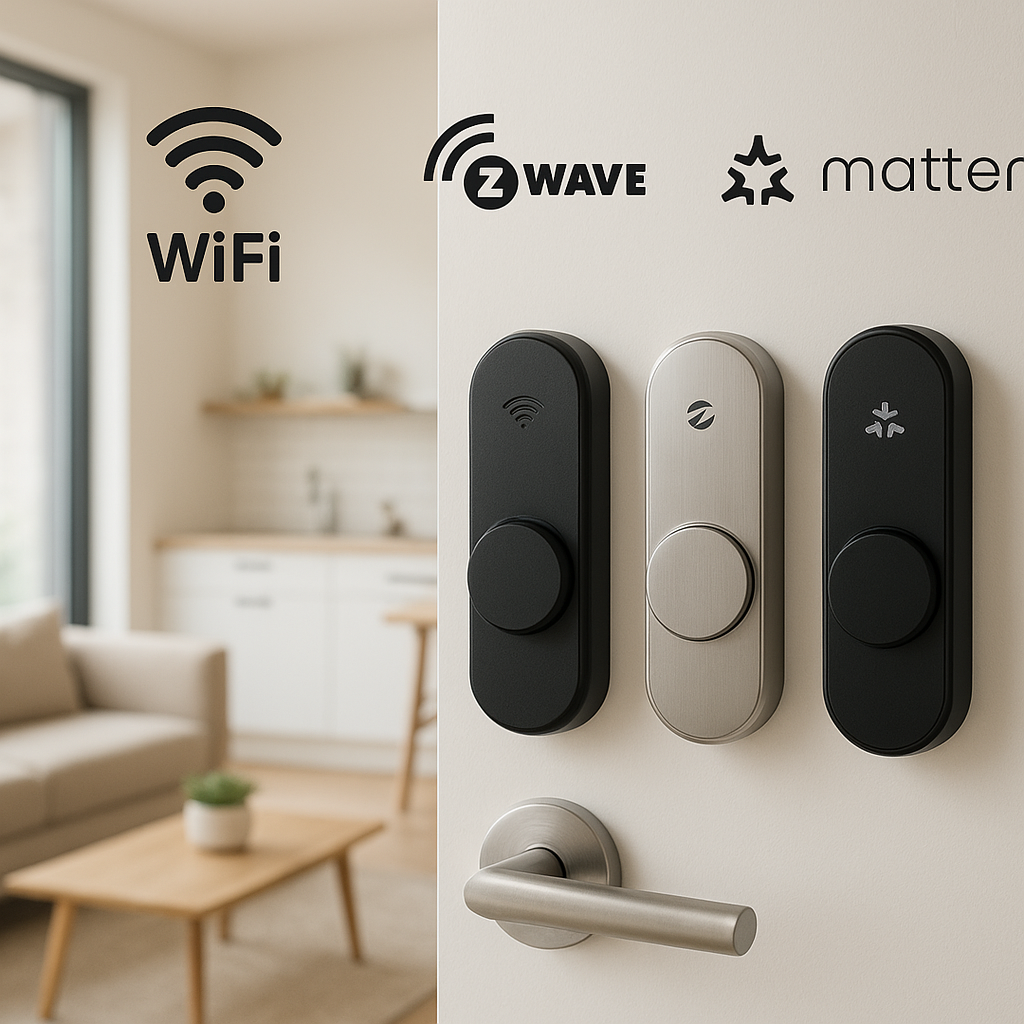
Protocol choices: Wi-Fi vs Zigbee vs Z-Wave vs Thread/Matter
The wireless protocol affects battery life, range, and how you connect:
- Wi-Fi: Easy setup, no hub required, but can be harder on batteries and clutters your Wi-Fi network if you add many sensors.
- Zigbee: Low power and reliable mesh networking via a hub (e.g., SmartThings, Aqara Hub, some Echo devices).
- Z-Wave: Similar to Zigbee, used widely with SmartThings and dedicated hubs; good range and battery life.
- Thread / Matter: Newer standards emphasizing low power and interoperability. Thread sensors paired with a Matter-enabled hub (HomePod mini, some routers, newer hubs) are a strong “future-proof” choice.
Indoor vs balcony, basement, and attic windows: special considerations
Some windows are harder to reach or in tougher environments:
- Balcony and terrace doors: Choose sturdier sensors, and avoid direct exposure to rain or extreme sun.
- Basement windows: Range can be a challenge through concrete; consider Zigbee/Z-Wave repeaters or Thread for better coverage.
- Attic windows: Heat can shorten battery life. Check the sensor’s operating temperature range before installing.
Budget options vs premium sensors with extra capabilities
Budget sensors are fine for simple open/close alerts. Premium models may add:
- Built-in temperature or humidity sensors for more detailed automations.
- Better build quality and more attractive design.
- Stronger privacy controls and better app experience.
If you’re just testing the idea, start with a couple of budget Zigbee or Matter contact sensors. For long-term use in visible spots, premium sensors often look better and need less fiddling.
Planning Your Window-Open Alert Setup Room by Room
Prioritizing rooms where heating and AC waste is highest
Start where waste is most likely:
- Rooms with powerful radiators or baseboard heaters.
- Spaces with mini-splits or window AC units.
- Bedrooms where windows are often left cracked for fresh air.
- Open-plan living rooms with large sliders or French doors.
Deciding which windows really need sensors
You probably don’t need a sensor on every tiny pane. Focus on:
- Windows that are opened regularly, especially in heated/cooled rooms.
- Ground-floor or basement windows that also have security relevance.
- Any window near a thermostat, heater, or AC unit.
Windows that are rarely opened or in unconditioned spaces (like unfinished attics) can usually be skipped.
Mapping sensors to thermostats, radiators, or zones
Before installing, sketch a quick mapping:
- Which windows affect which thermostat or room?
- Which radiators or minisplits need to respond to specific windows?
- Are there zones (upstairs vs downstairs) controlled separately?
This mapping helps you create clear rules like “If any window in Bedroom Zone is open for 2 minutes, turn off Bedroom radiator valve.”
Privacy and aesthetics: discreet placements and visitor awareness
Contact sensors can be quite discreet if you:
- Mount the magnet on the moving sash and the sensor on the frame, aligning them close to the edge.
- Use white or paintable sensors to blend with trim.
- Hide them behind blinds or curtains where possible.
For guest rooms or rentals, let visitors know that window sensors are present and used for energy and safety, not for surveillance. A small note by the thermostat can avoid confusion.
Installing Smart Sensors on Windows (Step-by-Step)
Preparing window frames and surfaces for reliable adhesion
Most sensors use adhesive pads. For long-lasting installations:
- Clean the mounting area with mild soap and water, then dry thoroughly.
- Wipe with isopropyl alcohol to remove oils and dust.
- Avoid mounting on flaking paint, textured surfaces, or flexible weatherstripping.
Correct alignment of sensor and magnet for accurate open/close detection
Alignment is key for contact sensors:
- Check the manual for the correct orientation and maximum gap (often 5–15 mm).
- Temporarily tape both pieces in place with painter’s tape.
- Open and close the window while watching the app to confirm it reliably changes between “open” and “closed.”
Testing signal strength and response time before final mounting
Before pressing the adhesive firmly:
- Check in your hub or app that the sensor shows a good connection.
- Open and close the window a few times and see how quickly the app updates.
- If signals are weak or delayed, move the sensor slightly or add a repeater (Zigbee/Z-Wave plug) nearby.
Common installation mistakes and how to avoid them
- Mounting too far apart: If the magnet is outside the rated gap, the sensor may always read “open.”
- Mounting on moving frames that flex: This can loosen adhesive over time. Choose solid sections of frame.
- Blocking window operation: Test that the window fully opens and closes without the sensor scraping or hitting the frame.
Connecting Sensors to Your Smart Home Platform
Pairing procedures for popular hubs (HomeKit, Alexa, Google Home, SmartThings)
The exact steps vary, but the general flow is similar:
- HomeKit: Open the Apple Home app, tap “+” → “Add Accessory,” scan the HomeKit code on the sensor or packaging, and follow prompts.
- Alexa: Put the sensor into pairing mode, then in the Alexa app go to Devices → “+” → “Add Device.” For Zigbee sensors, compatible Echo devices can act as hubs; others use a manufacturer hub.
- Google Home: Add the manufacturer service under “Works with Google,” then follow prompts to link your account and import sensors.
- SmartThings: In the SmartThings app, tap “+” → “Device,” choose the brand, then follow on-screen instructions while the sensor is in pairing mode.
Naming conventions so you always know which window triggered an alert
Clear names avoid confusion later. Use a structure like:
- Room – Window Type – Position (e.g., “Bedroom 1 – Window Left,” “Living Room – Patio Door”).
- Include floor if you have multiple stories (e.g., “2F Office – Window”).
Organizing sensors into rooms, zones, and energy groups
Most platforms let you group devices:
- Assign each sensor to the correct room for easy voice control and dashboards.
- Create zones like Upstairs, Downstairs, or Bedroom Wing if your platform supports them.
- If possible, set up energy groups such as “Radiator Rooms” or “Mini-Split Zones” to target automations at specific sets of windows and devices.
Creating Window-Open Alerts on Your Phone
Setting basic push notifications when a window is opened
Start simple with basic alerts:
- Create an automation that triggers when Window Sensor = Open.
- Set the action to send a push notification like “Kitchen window opened.”
- Optionally, send an additional alert if the window stays open for more than 5–10 minutes.
Limiting alerts to specific times (night, away mode, HVAC running)
To avoid constant pings:
- Limit alerts to night hours (e.g., 10 p.m.–6 a.m.).
- Only notify when the home is in an Away or Sleep mode.
- Combine with your thermostat’s state where possible: alert only when heating or cooling is active.
Reducing notification spam with delays and conditions
A short delay filters out quick open/close events:
- Add a “wait 2 minutes” condition before sending an alert.
- Notify only if the window is still open after the delay.
- For windy areas, you can add a second check at 10–15 minutes to remind you if it remains open.
Example automation recipes for iOS Shortcuts, Alexa Routines, and Google Home
Some practical examples:
- iOS / HomeKit: “When Bedroom Window opens and time is between 9 p.m. and 6 a.m., send notification ‘Bedroom window is open while you’re likely asleep.’”
- Alexa Routine: Trigger: Window sensor open. Conditions: Home mode = Away. Action: Send phone notification and announce on Echo devices “A window is open in the living room.”
- Google Home: Use a script (in the Google Home script editor, where available) to turn off a compatible AC plug when a specific window opens, and send a phone notification.
Linking Window Sensors to Your Thermostat or HVAC
Automatically pausing heating when a window opens
For heating, your rule might be:
- Trigger: Any window in a given room or zone opens.
- Condition: Heating mode is active.
- Action: Set thermostat to Off or reduce the setpoint for that room/zone (e.g., set to 50–55°F).
With smart radiator valves, you can close just that room’s valve instead of affecting the whole house.
Automatically pausing AC or cooling when a window opens
The same idea works for cooling:
- Trigger: Window opens in a cooled room.
- Action: Turn off the mini-split via its smart controller, or set the central AC to Off or a higher setpoint temporarily.
For portable or window AC units plugged into smart plugs, your action could simply be to turn off that specific plug.
Resuming heating or cooling when all windows are closed
Your automations need a “resume” step:
- Trigger: All windows in a room return to Closed for at least 2–5 minutes.
- Action: Restore the previous setpoint or mode (Heat/Cool/Auto) for that room or thermostat.
Some platforms support variables or “remembered” states; others may need a fixed fallback (like resuming your usual schedule).
Handling multi-zone systems and radiators individually
In multi-zone or radiator-based systems:
- Link bedroom windows only to bedroom radiators or that zone’s thermostat.
- Keep shared areas like hallways on their own rules so one open window doesn’t shut down the whole floor.
- For underfloor heating with large thermal mass, you may want longer delays (e.g., only pause if a window stays open for 10–15 minutes).
Advanced Energy-Saving Automations with Window Sensors
Using occupancy sensors plus window sensors for smarter logic
Adding motion or occupancy sensors prevents unnecessary changes:
- Only pause heating if a window opens and the room is currently unoccupied.
- If the room is occupied, just send a gentle reminder notification instead of cutting comfort immediately.
Seasonal rules: different behavior in winter vs summer
Seasonal logic keeps the system from fighting your intentions:
- In winter, pause heating quickly when windows open.
- In summer, focus on AC: turn off cooling but allow windows to open freely if cooling is off.
- Use your thermostat’s schedule or modes to switch between winter and summer rules.
Combining window alerts with humidity and temperature readings
Multi-sensors with humidity and temperature open up smarter automations:
- If indoor humidity is high and outdoor air is drier, you might allow or even encourage opening windows instead of running a dehumidifier.
- If temperature drops below a threshold while a window is open, escalate notifications (e.g., “Close the window to prevent condensation and mold”).
The U.S. Department of Energy’s guidance on programmable thermostats and efficient temperature control combines well with these window-based rules.
Using scenes and modes (Away, Vacation, Sleep) to change behavior
Most platforms support scenes or modes. You can adjust behavior based on them:
- Away/Vacation: Any open ground-floor window sends high-priority alerts, regardless of HVAC state.
- Sleep: Quiet alerts (no voice announcements), but more aggressive HVAC pauses to prevent overnight waste.
- Home/Daytime: More relaxed rules, focusing on reminders instead of automatic shutdowns.
Troubleshooting Common Window-Open Alert Problems
Alerts not triggering or delayed notifications
If alerts are slow or missing:
- Check that the sensor updates instantly in the app when you open/close the window.
- Ensure your phone has notification permissions enabled for the hub app.
- Reduce or remove delays in your automation while testing.
False alarms due to sensor misalignment or loose mounting
Random switches between open/closed often mean physical issues:
- Re-check magnet alignment; move pieces closer if needed.
- Replace worn adhesive with high-quality double-sided tape.
- Ensure the sensor isn’t being bumped by blinds or window handles.
Connectivity issues: interference, range, and dead zones
If sensors frequently show “offline”:
- Add plug-in Zigbee/Z-Wave repeaters between distant sensors and the hub.
- Move the hub to a more central location, away from thick concrete walls or metal cabinets.
- For Wi-Fi sensors, verify that your Wi-Fi signal is strong at the window; consider a mesh node if needed.
Battery drain and maintenance best practices
To extend battery life:
- Use quality name-brand batteries.
- Avoid extreme heat/cold locations when possible.
- Adjust reporting frequency (if configurable) so the sensor isn’t sending unnecessary updates.
- Check battery levels seasonally and replace before winter or summer peaks.
Security and Privacy Considerations
Using window sensors for both energy savings and intrusion alerts
The same sensors used for energy automations can double as security devices:
- Send loud alerts or trigger sirens when a window opens while in Away mode.
- Record video or snapshots from compatible cameras if a protected window opens unexpectedly.
Avoiding over-sharing location and presence data
Many apps use presence detection (your phone’s location) to switch modes:
- Review app permissions and turn off location sharing you don’t need.
- Limit which family members have access to detailed device history if privacy is a concern.
Local vs cloud processing for sensitive home data
Some platforms (HomeKit, certain hubs) can run logic locally, while others rely heavily on the cloud:
- Local processing keeps data about your doors and windows mostly within your home network.
- Cloud-based systems are easier to set up but depend on internet connectivity and vendor servers.
If privacy is a top priority, look for hubs and devices that support strong local automation capabilities.
Real-World Examples: How Much Energy Can You Save?
Sample scenarios in apartments vs. houses
Small apartment: Two window sensors (living room and bedroom) tied to a smart plug controlling a portable AC. Whenever a window opens for more than 2 minutes, the AC shuts off. Over a summer, this might save dozens of hours of wasted cooling.
Detached house: Ten sensors across key rooms, plus smart thermostats and radiator valves. When any window in a zone stays open for 5 minutes, heating pauses in that zone. Over a winter, this can reduce gas or electricity use noticeably, especially in homes where family members often forget to close windows.
Estimating savings using your utility bills and runtimes
To gauge impact:
- Check your thermostat or AC app for runtime stats before and after adding window automations.
- Compare month-to-month utility bills, adjusted for weather if possible (many utilities provide weather-normalized usage data).
- Track how often automations trigger using your hub’s history or logs.
When sensor-based control pays for itself
A basic setup (a handful of sensors plus a smart plug or thermostat integration) can pay itself back in:
- One or two seasons in homes with electric heating or high AC usage.
- A few years in milder climates with lower heating or cooling loads.
Even without huge savings, the added comfort, peace of mind, and security alerts often justify the modest hardware cost.
Maintenance Checklist to Keep Window-Open Alerts Reliable
Monthly test routine for each window sensor
Once a month (or at least once per season):
- Open and close each sensor-equipped window while watching the app.
- Confirm alerts and automations still fire as expected.
- Check for any “offline” sensors or low-battery warnings.
Cleaning, re-mounting, and replacing worn-out parts
Over time, adhesive pads and surfaces collect dust:
- Gently wipe sensors and magnets with a soft, dry cloth.
- If a sensor feels loose, remove it, clean the surface, and apply fresh adhesive.
- Replace cracked or warped plastic parts if the window or frame shifts over the years.
Updating firmware and revisiting automations over time
Check your hub and device apps every few months for:
- Firmware updates that improve stability or battery life.
- New automation features (like better presence detection or more conditions).
- Seasonal tweaks to delays, temperature thresholds, and which windows control which devices.
Summary: Turning Window-Open Alerts into a Smarter, More Efficient Home
Quick setup checklist for beginners
- Pick a platform (HomeKit, Alexa, Google Home, or SmartThings).
- Buy a few compatible window/door contact sensors for your most-used windows.
- Install and align sensors carefully; test detection and signal strength.
- Create basic alerts, then add rules to pause heating or cooling when windows open.
- Fine-tune delays and conditions to avoid notification overload.
Next steps: expanding from a few windows to whole-home automation
Once you’re comfortable with a couple of rooms, you can:
- Add sensors to more windows, especially in high-usage or high-loss areas.
- Integrate occupancy sensors, smart blinds, and air quality sensors for richer logic.
- Experiment with seasonal scenes and modes so your home automatically adapts as the weather changes.
With a modest investment in smart sensors and thoughtful automations, your home can gently remind you when windows are left open, protect your heating and AC from unnecessary work, and make every degree you pay for go a little further.
FAQ
Do I need a smart thermostat to benefit from window-open alerts?
No. Even without a smart thermostat, you can save energy by using sensors to turn off smart plugs for space heaters or portable AC units, and by getting timely alerts so you can manually adjust traditional thermostats.
Will window sensors still work if my internet goes down?
Many systems with local hubs (like some HomeKit setups or local-first hubs) keep basic automations running without internet. Cloud-only setups may lose automations when offline but will still detect open/close locally; the main limitation is that remote alerts may not be delivered.
How many window sensors should I start with?
Most households see good results starting with 3–6 sensors on the most-used or most-wasteful windows: bedrooms, living room, and any rooms with strong heating or cooling sources.
Are smart window sensors secure from hacking?
Reputable brands use encrypted communication and regular firmware updates. Reduce risk by changing default passwords on hubs, keeping firmware current, and using strong, unique passwords for cloud accounts.
Can renters install window sensors without damaging frames?
Yes. Most sensors use removable adhesive strips. Choose smaller, low-profile sensors, mount them on painted or finished surfaces (not bare wood), and remove them carefully when you move out.